We moved into this house back in 2010 and moved out halfway through 2013 after making a pretty decent amount of changes (a house in our dream neighborhood popped up and we jumped on it like a velociraptor). But we loved this ranch, and a ton happened over the years we spent here (three Christmases, three birthday parties for Clara, writing and shooting our entire book, watching Clara take her first steps and say her first words). So it was definitely bittersweet to leave. Oh and here are a few other links that might help you get your bearings: a paint color breakdown & a video tour.
***The Front Yard ***
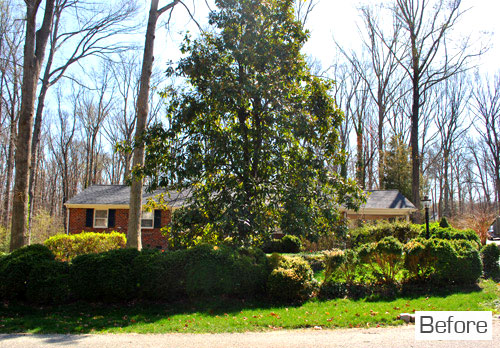
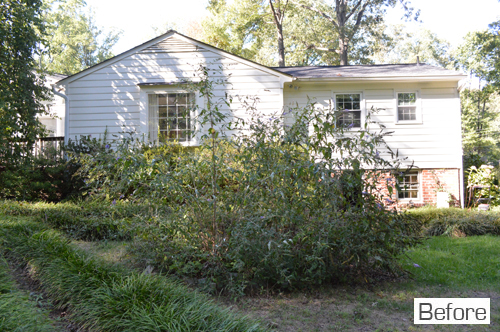
This is the exterior as it looked when we bought the house, giant house-blocking magnolia and all:
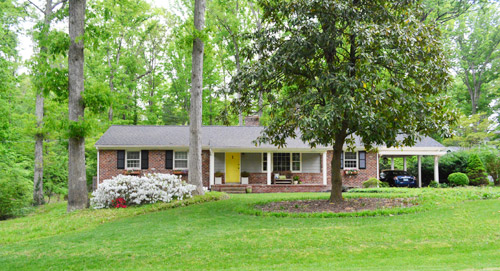
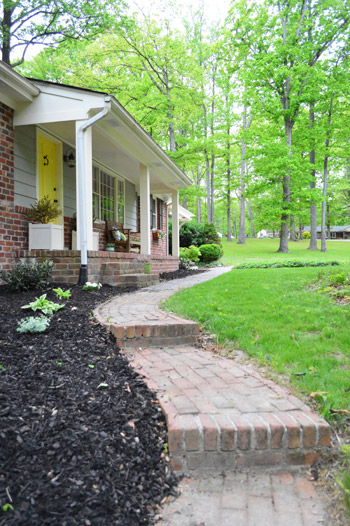
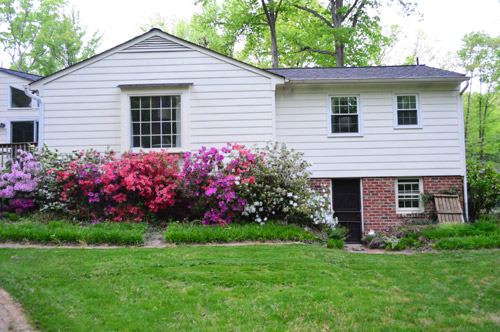
And here’s the exterior after we limbed up that house-dwarfing magnolia, painted the front door, transplanted a ton of fence-like bushes that completely obscured the view, did more planting/bush removal, and planted grass in all the bare patches.
*** The Front Porch***
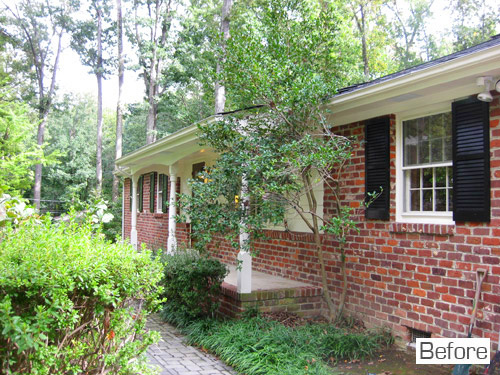
This is what our cozy little porch looked like when we moved in:
Here’s what the porch looked like after transplanting all of the house-blocking bushes and painting the front door.

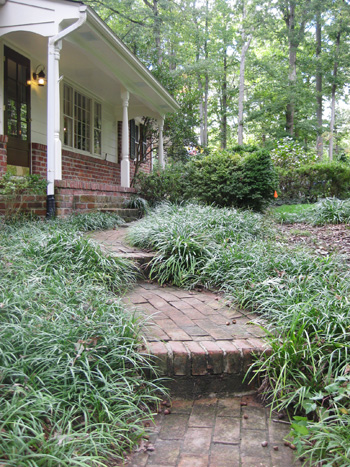
We also boxed out the porch columns so they’re the same as the four columns in our carport, and more true to a 60’s ranch home like ours. Here they are before:
And after:
*** The Carport***
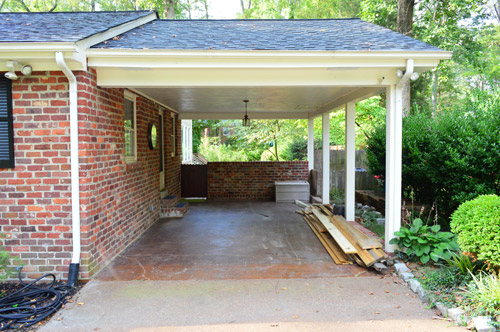
When we moved in, the carport looked like this:
Then we added a large iron outdoor lantern, built a pergola (cargola?), and bought in some potted plants for more interest and architecture.

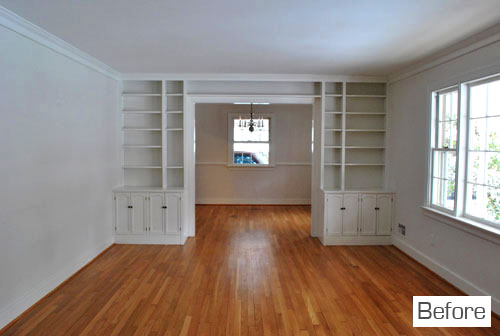
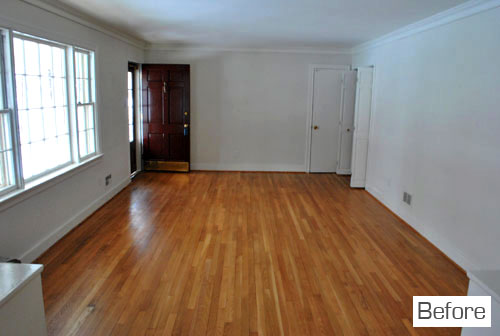
***Formal Living Room Turned Dining Room***
This room was a formal living room with a dining room behind those built-ins when we first saw this house, but we converted the formal living room into an entryway/dining room by adding a huge opening on the left wall that leads into the kitchen. And the back room that was once the dining room became our home office thanks to the addition of a big built-in desk.
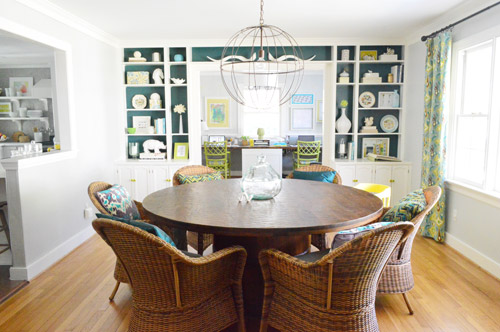
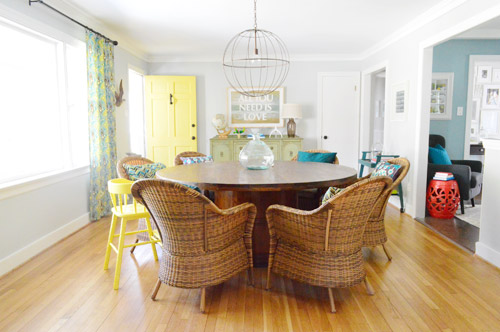
Here’s how it all looked after a few years of upgrading it. As for what we did, we arranged those shelves and painted the back wall of the built-ins. We also added a giant 70″ table, some $62 patio chairs (from Target on clearance), and some homemade curtains with a fun bold print. But the biggest change by far is the eight foot opening that we added to connect the dining room and kitchen (more on that project here and here).
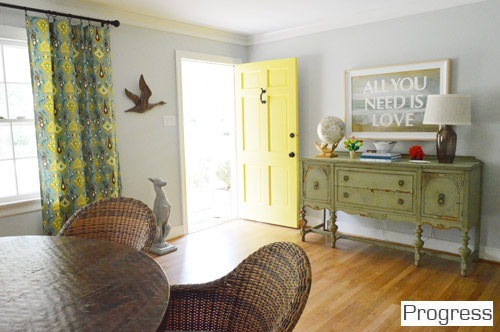
Here’s a before look of that room from the other direction back at the front door:
Here’s a similar POV after adding a large buffet that we found on craigslist and some yard sale art that we altered by painting some type on it.
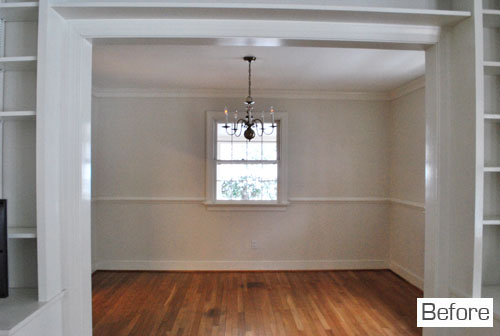
*** The Office ***
Here’s the office that we created beyond the formal-living-room-turned-dining-room (this much smaller space was the home’s original dining room):
And here’s the office after we added a built-in double desk that spans from wall to wall (it only set us back $125 thanks to some $6 thrift store cabinets). We also updated the old chandelier by painting it a rich indigo color and adding a large drum shade, stenciled the walls, painted & reupholstered our thrift store desk chairs, and added sentimental art.
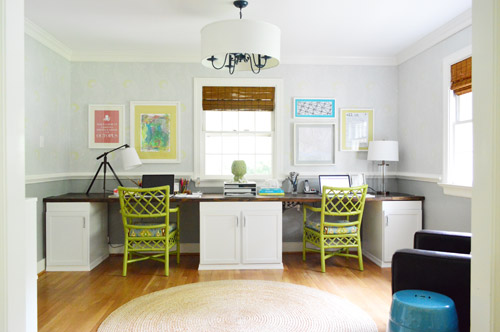
One of our favorite views in the house is the view from the dining room, past those built-ins, into the office.

***The Kitchen***
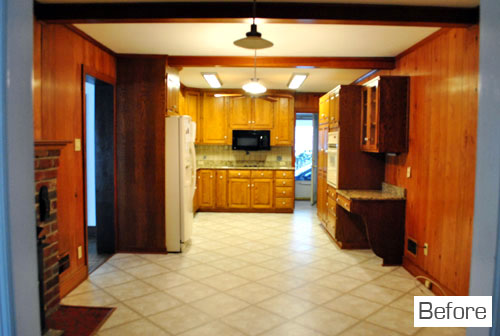
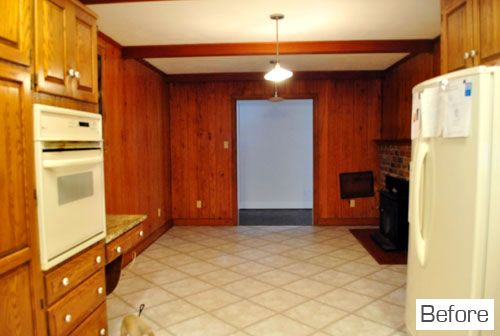
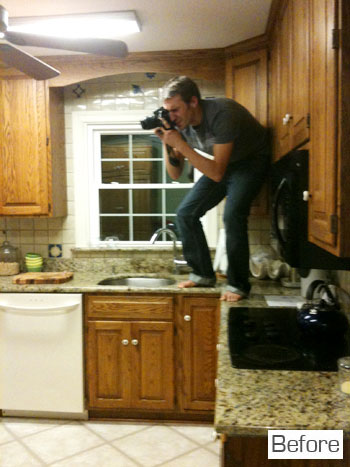
Here’s the long eat-in kitchen when we moved in. The eight foot opening to the new dining room wasn’t there yet (but from the very first day that we saw the house, we knew we wanted to add it).
After nearly a year of planning and saving our pennies, we started the reno. Here’s the room after we painted the fireplace, removed a desk and cabinet, and painted the paneling. We also added the eight foot opening to the dining room (more on that project here and here).
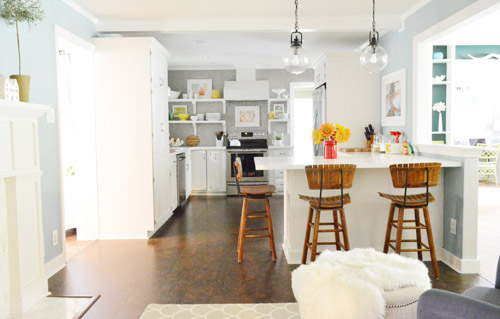
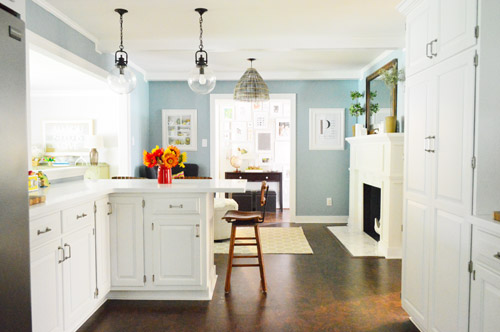
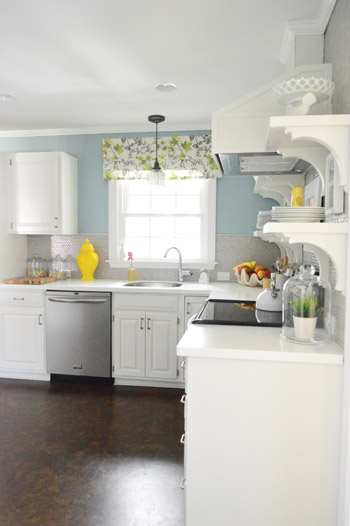
Then we built a peninsula, got new Corian counters, primed and painted the cabinets, tiled the backsplash with gray penny tile all the way to the ceiling to create an accent wall, redid the lighting, hung a range hood and built a range hood cover, added open shelves, hung crown molding, and redid the floors with mocha cork.
It took us about four months, but we chugged along. Here’s the reveal post with a ton of budget and source details. Oh yeah and then we got some craigslist swivel stools and added a homemade basket pendant light in the fireplace area and repainted the walls (the second time was the charm).
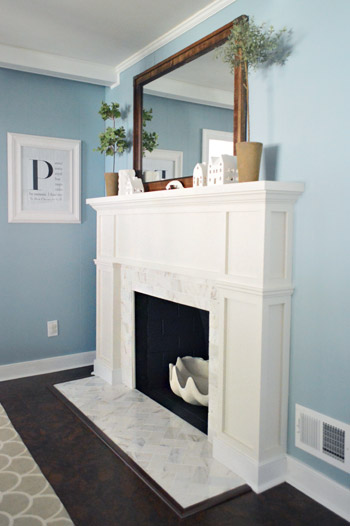
That fireplace in the corner of the room started out looking pretty bleak.

But then we tiled the surround with marble and rebuilt the mantel – for under $200!
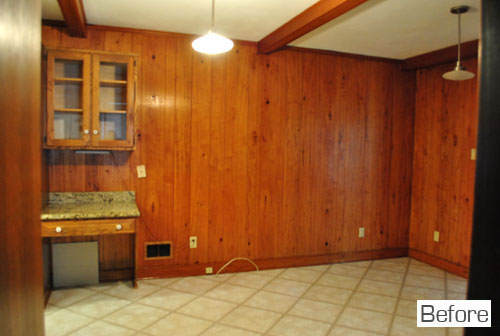
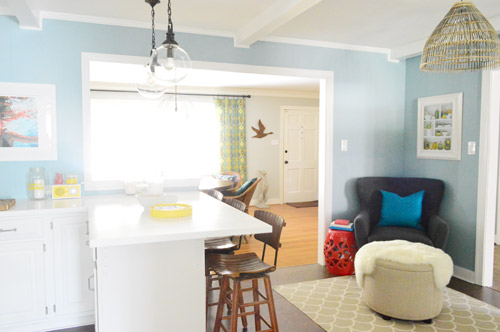
This was the view of the kitchen from the office when we moved in:
And here’s the view after our reno. It’s so much more open without dark cabinetry everywhere.
*** The Main Hallway***
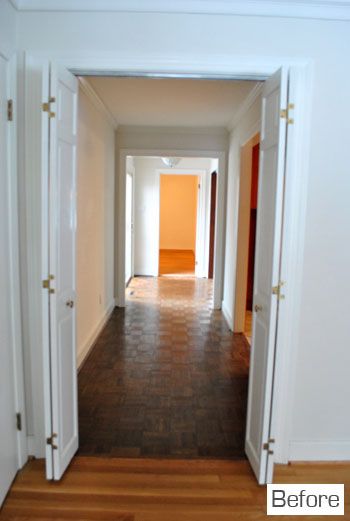
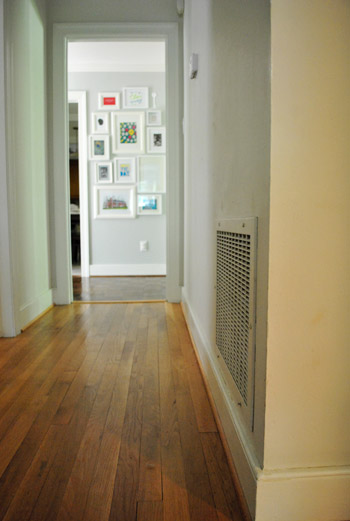
Here’s the hallway when we moved in:
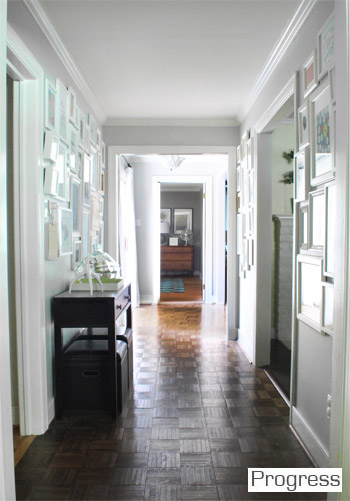
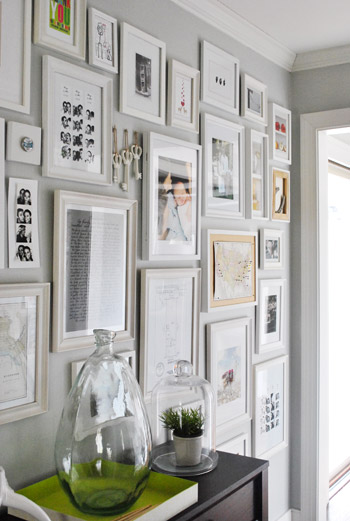
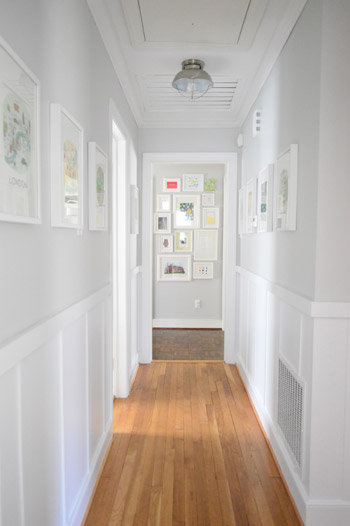
Here’s the hallway after we hung a ton of frames (see how we did that here and here) on both sides of the wall for a playful wallpapered-with-frames effect.
***The Living Room***
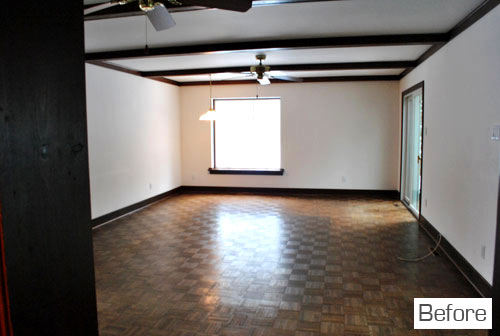
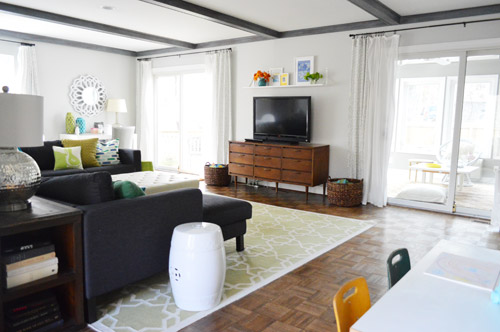
Here’s the living room as it looked when we moved in.

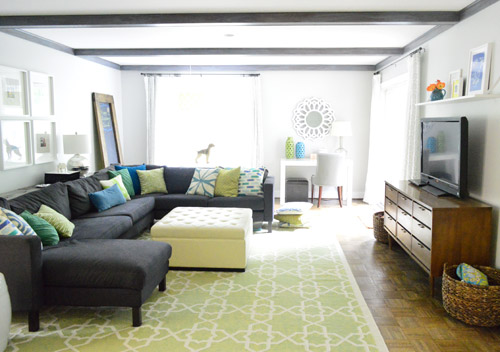
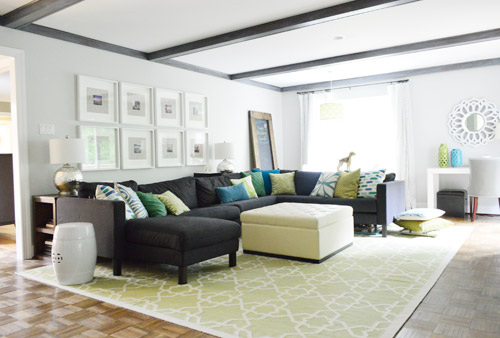
This is the living room after we painted the walls, painted the trim, painted the beams, built a console table for behind the sectional (see it all accessorized here), hung some subtle patterned curtains, and brought in a new rug, ottoman, and desk chair. We also got a larger media cabinet and built a leaning chalkboard along with adding some overhead lighting.
***The Sunroom***
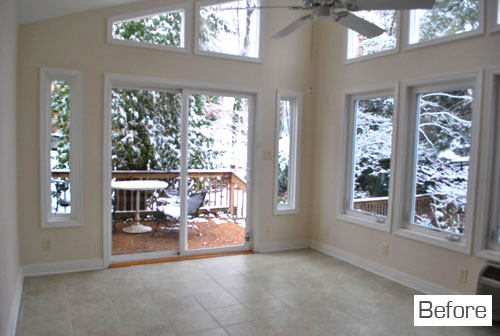
Here’s the sunroom as it looked right on our snowy moving day back in 2010.
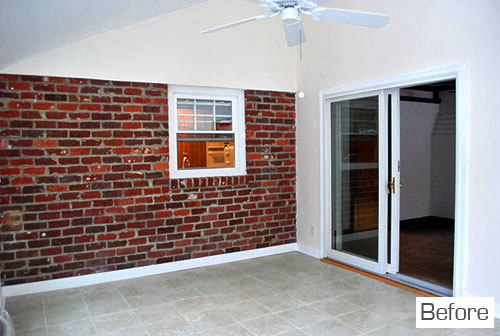
This is the other side of the sunroom as it looked when we moved in:
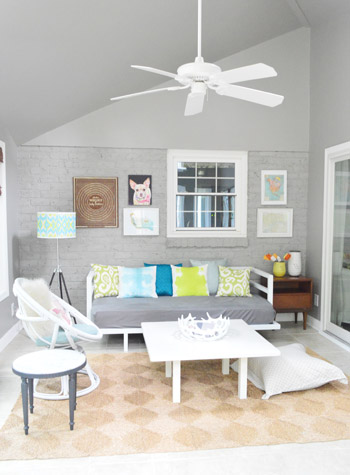
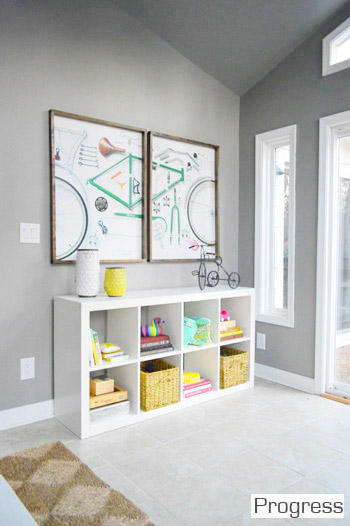
Here’s the sunroom after painting the walls and ceiling, unifying the odd patch of brick on that back wall with more paint, adding some art, and bringing in some functional storage.
*** Our Bedroom***
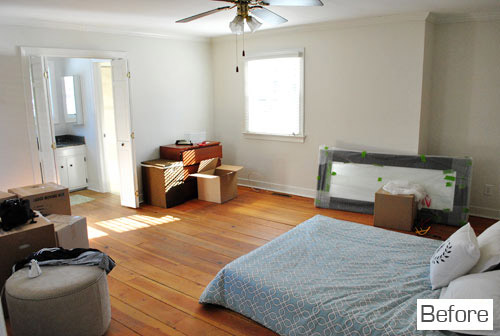
Here’s our bedroom as it looked on moving day:
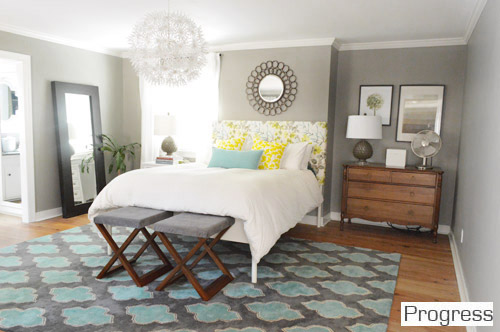
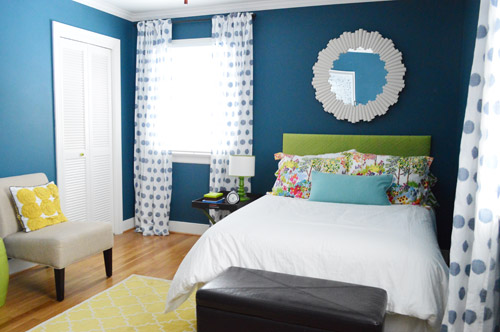
And here’s our bedroom after we got a new bed, switched out the light fixture, hung some free DIY art, got a new rug, made a headboard, repainted it for a moodier vibe and upholstered old side tables to make benches for the foot of the bed.
*** The Bedroom Sink Nook***
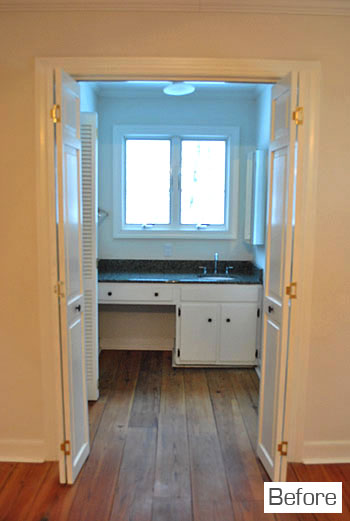
Here’s the sink nook as it looked when we first moved in. It’s on the far side of the bedroom (with a shower and a toilet in a room to the right and a walk-in closet to the left). It was definitely a challenge to make a sink that’s visible from the bed feel integrated (let alone romantic) but we love a challenge…
Here’s the sink nook after we removed the bi-fold doors, demo’d the backsplash around the sink (to make it look more like a piece of furniture and less bathroom-y) and switched out that awkward medicine cabinet to the right of the sink (neck-cramp anyone?) for a mirror that hangs right over the window. We also upgraded the knobs with $2 finds from Hobby Lobby.

*** Our Bathroom***
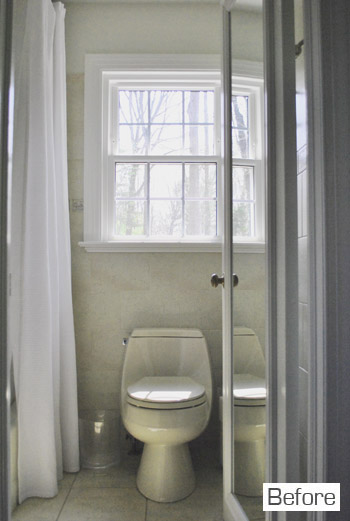
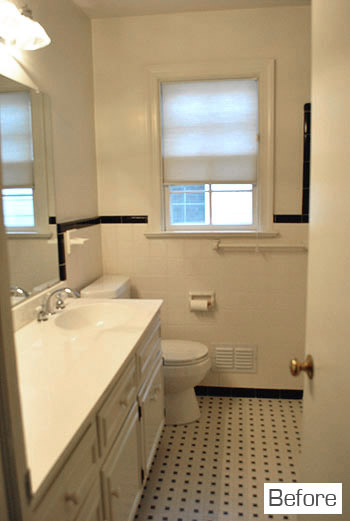
Here’s our bathroom as it looked when we moved in. We immediately hung an extra long shower curtain to add height and lighten things up in this beige-on-beige room, but then we stalled for about 15 months.
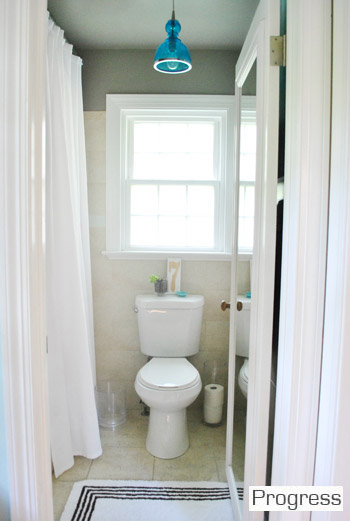
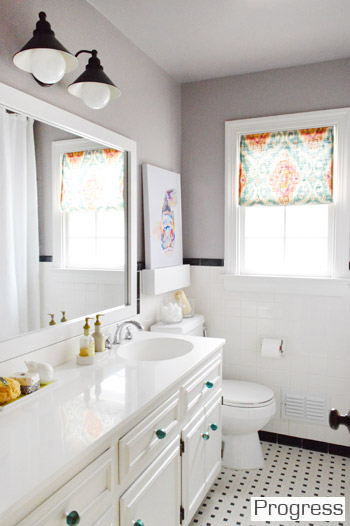
Here’s the bathroom after we did a bunch of little upgrades (from painting the trim and the walls to replacing the light, toilet, some border tile, and frosting the window).
***The Back Hallway***
Here’s the back hallway that leads to all the bedrooms except for our bedroom before we attacked it (although we did hang those photos in the frame hallway):
And here’s the back hallway after we added board and batten, painted the walls a soft gray color, switched out the light fixture & doorbell, and hung some inexpensive calendar art.
*** The Hall Bathroom***
Here’s the hall bath that’s back near the other three bedrooms. We loved that it was so similar to the original full bath in our first house (and the tile was luckily in much better shape).
Here’s the hall bathroom when we finished (we remembered to white balance the camera this time, hence the brighter pic). First we removed the weird off-centered bar under the window, added some window trim for balance, and raised the shower curtain for some extra drama and height. Then we painted the walls, hung art, framed out the mirror, DIYed a window shade, and added some accessories (more details on those projects here). Our total budget for this room’s upgrade was just $168.

***Clara’s Nursery***
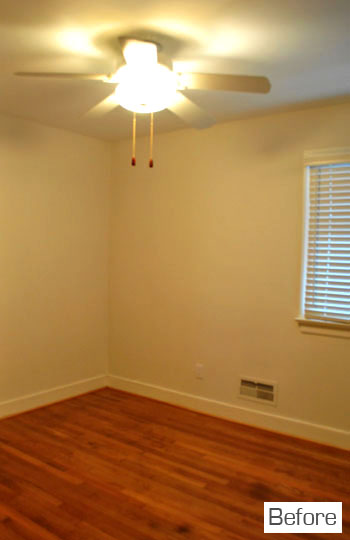
Here’s Clara’s nursery on the day that we moved in:
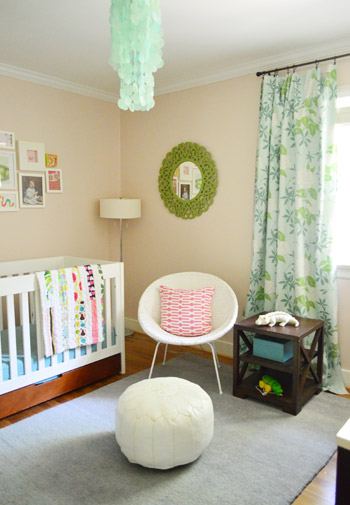
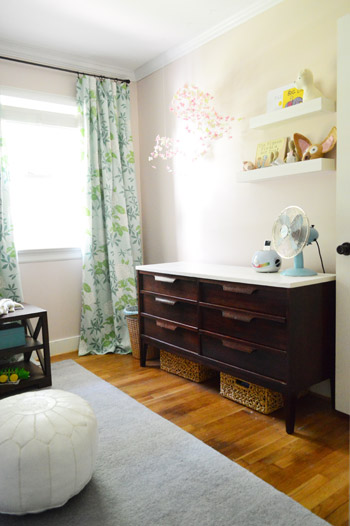
And here’s Clara’s room after we painted the walls, hung all of her art, and rearranged things a few times:
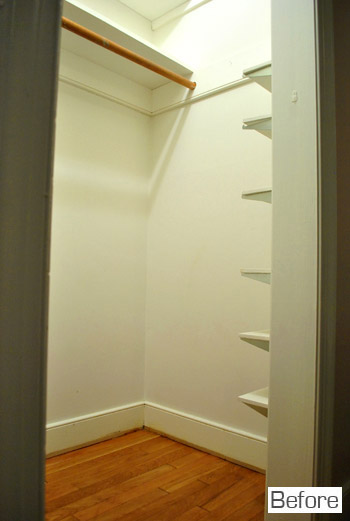
*** Clara’s Closet***
We also updated Clara’s closet, which was previously concealed by a basic bi-fold door.
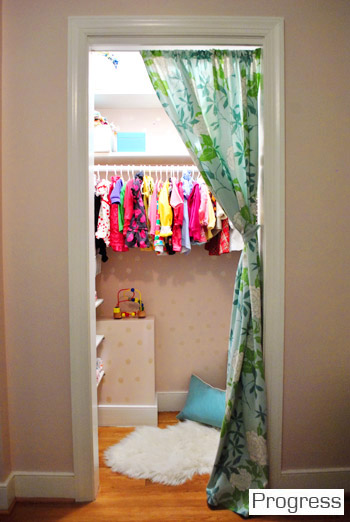
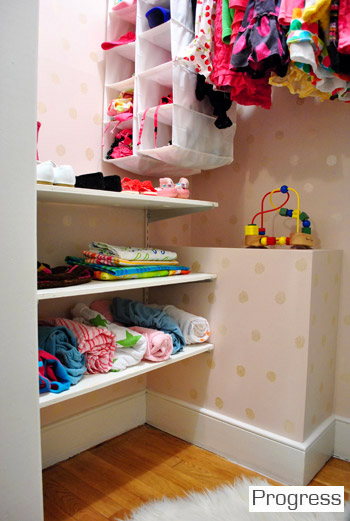
Here’s Clara’s closet after turning it into a reading nook by removing the bi-folds, hanging a homemade curtain, painting and stamping the walls with metallic paint (and a potato), and bringing in books & pillows to create a little reading nook:
*** The Playroom***
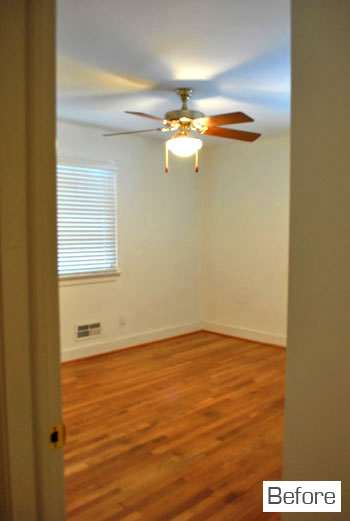
Here’s the middle bedroom as it looked when we moved in:
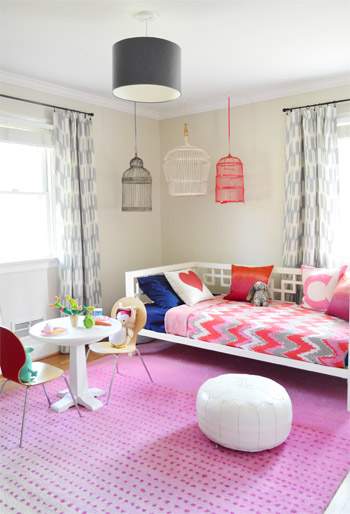
And here’s the playroom after we got some fun bedding, made curtains, found a dresser on craigslist, grabbed a rug from an online sale, hung some personal art, and added some thrift store bird cages for 3D interest (more on all of that here). We always thought painting the ceiling a bright color would have been fun (a soft coral? sky blue?) but just couldn’t squeeze it in…
*** The Guest Bedroom***
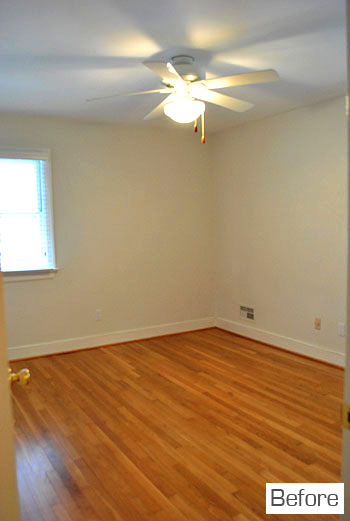
Here’s the guest bedroom that was looking pretty generic when we first moved in:
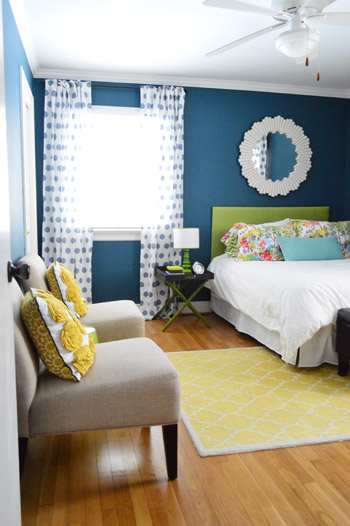
Here’s the guest room after we added some bold peacock blue paint on the walls along with some curtains, a bed, bedding, colorful accessories, and a DIYed luggage rack side table (more on that here). Oh and we also added some crown molding and hung a new mirror over the bed.
*** The Guest Bathroom***
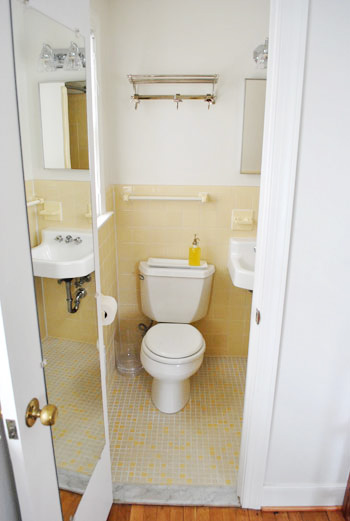
And here’s the quirky little yellow guest bathroom that was attached to the guest bedroom. We decided to work with the vintage tile since it was in great shape and actually charmed us after living with it for a while, but to lose the dated and dingy look.
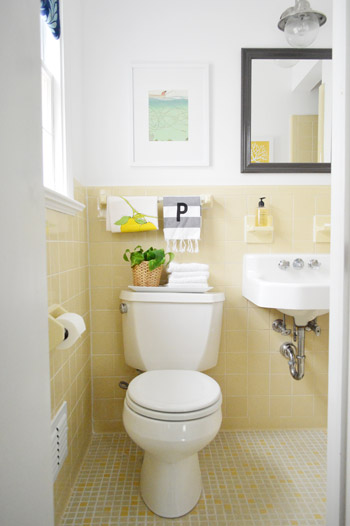
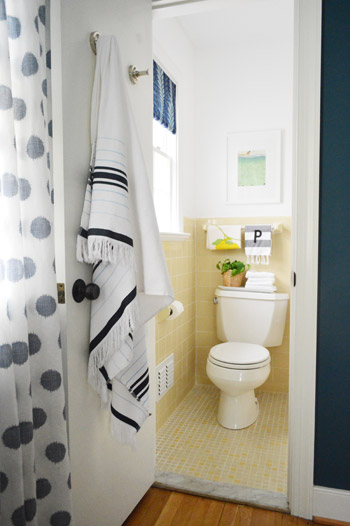
Here’s the guest room after we upgraded the light fixture, painted the walls and trim, made a window treatment, hung some art, painted the mirror darker, and added some fun accessories (you can find more details on all of that here).
*** The Laundry Room***
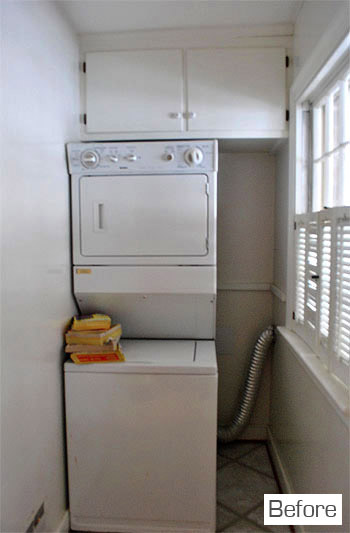
And here’s the little laundry room (it’s just 3.5′ wide!) that we couldn’t wait to perk up when we moved in:
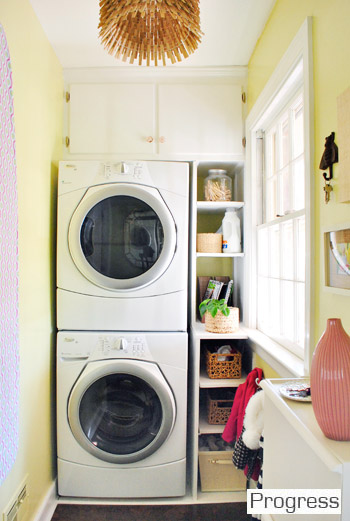
Here’s the laundry room after we added energy efficient front loaders (scored at one of the deepest discounts we’ve ever stumbled upon), painted the walls, built some shelving to make the most of that nook to the right of the washer/dryer, DIYed a chandelier out of clothespins (along with a few other updates explained here), and added cork floors.
***The Basement***
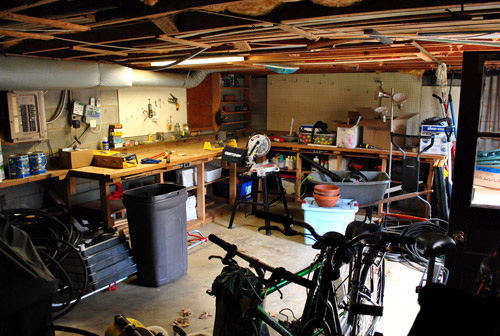
There’s a separate entry basement under the living room which started out pretty messy.
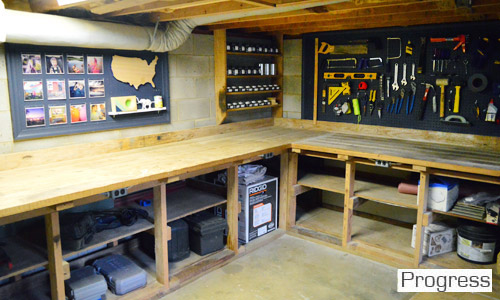
Slowly we added some organization thanks to renting a bag-like dumpster to get rid of lots of junk, painting and framing out the pegboards, hanging some sawdust-proof art, and organizing the insane collection of paint that we amassed.
*** The Side Yard***
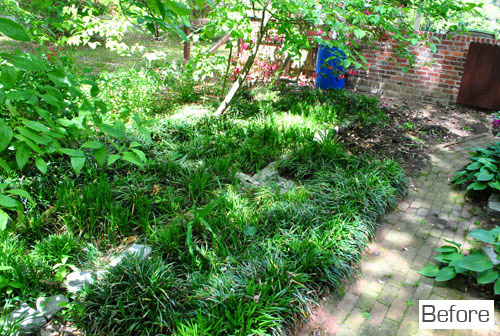
One the side of the house, located just off of the sunroom and the living room, there was a fenced in area that was overrun with weeds and liriope when we moved in:
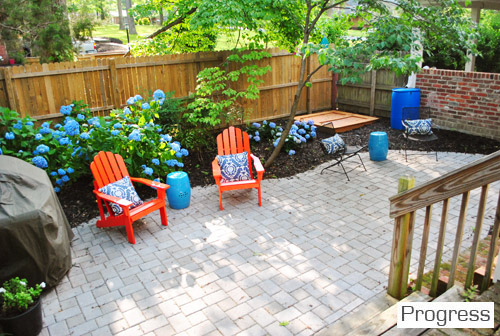
We decided that building our own 300 square foot paver patio would make much better use of the space. All of the hard work paid off and we loved our little patio for casual weekends and even for Clara’s annual party (you can read about the process of laying the patio here). We later added a privacy fence, built a rock box for Clara, planted some hydrangeas, and got some red adirondack chairs.
***The Weird Alley***
Yup, you read that right. There was a weird alley between the original part of the house and the addition that was added in the seventies, and this is a shot we took during our first walk-through.
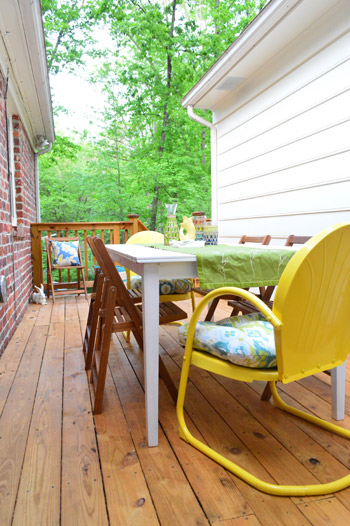
Here’s that same space now that we built a deck, got it furnished, and switched out that old broken slider for a brand new french door. We later stained & sealed the deck to finish things off.
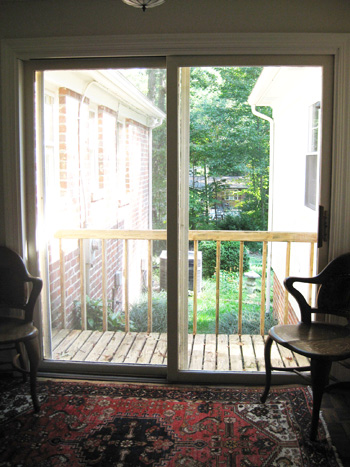
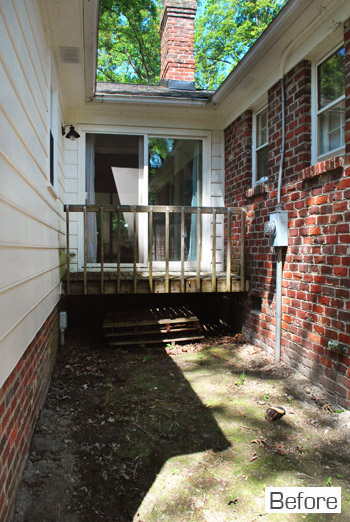
Here’s the POV from the outside looking in before:
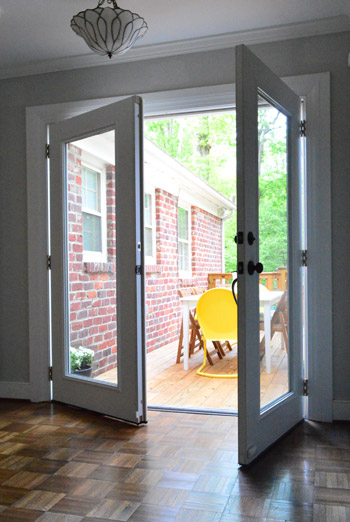
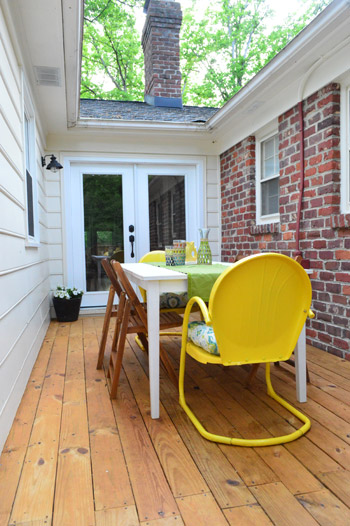
And here’s the same view after.
***The Backyard***
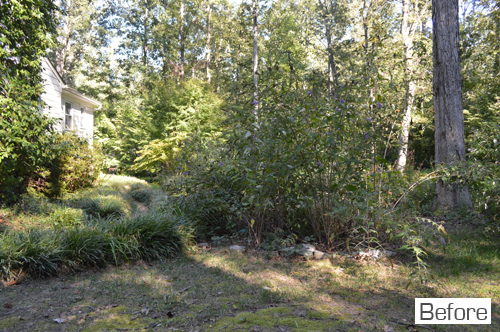
Here’s our backyard as it looked when we got the house. All wild and weedy and full of quickly-spreading liriope.
Here’s how it looked after we dug out and transplanted a lot of things that were getting in the way of a nice green lawn (here’s the rundown on that process).
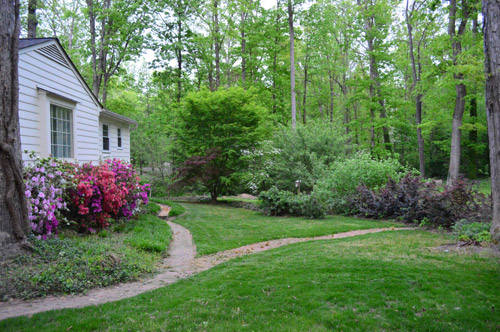
Here’s the backyard before from another angle (looking back at the house).
And here it is after we cleared that stuff out and seeded it with some new grass.
So that’s the tour. Hope you guys wiped your feet had fun :)
Psst- Wanna know where we got something in our house? Just click on this button:
