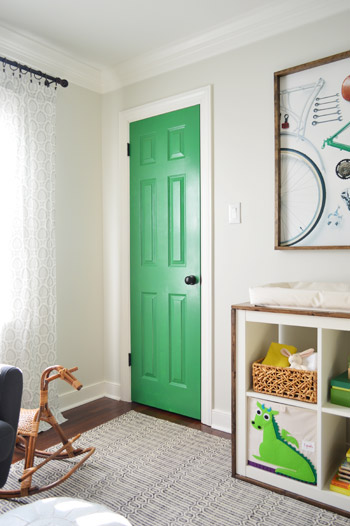
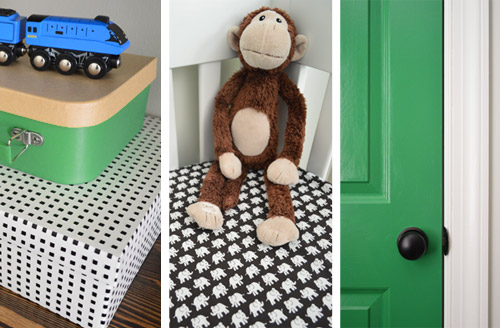
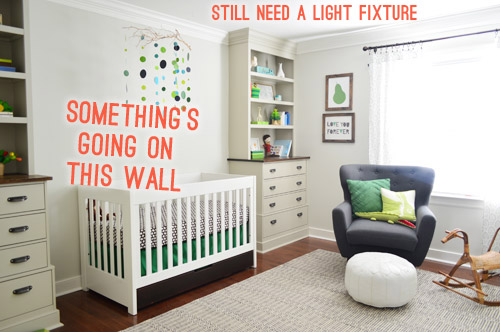
At two weeks from my due date we’re checking off a few more lingering nursery updates, like painting the closet door a bright happy color, organizing the clutter within…
… making/hanging some more art, and changing our minds in the curtain arena (you know we love a good final-hour switcheroo).
The green closet door was heavily influenced by Clara, who kept saying “my baby will like a colored door like mine but not pink” – and since a bold green door was originally in our plan back in January (which we mentioned to Clara, hence her obsession) we decided to stop hemming and hawing and just go for it.
After hanging our apple-green curtains and adding a kelly green sheet to the changing table, we worried a bright door between them would be too much. But the realization that we already had some breezy Ikea curtains from our last house meant we had nothing to lose by tossing those up to see how they looked (they used to hang on the deck sliders, but came down when we got french doors).

Although I couldn’t recoup the time I spent making the colorful curtains, they were under $10 a pop, so it seemed silly to stay married to them at the expense of losing something else we had all looked forward to in the room. And I pulled off the faux-changing-pad-cover (just a fabric remnant I tossed on to picture what a green cover might look like) when we decided a bright closet door was too hard to resist.
We still think the curtains need something (I want to line them in blackout fabric, and maybe trim them on all sides with black or brown ribbon – maybe green? Not sure) but we’re getting closer I think. And of course we still need to get a real changing pad cover, so that’s on the list.
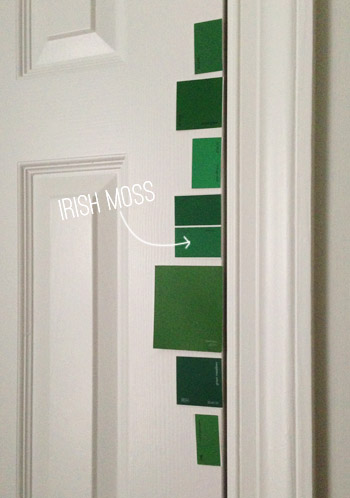
As for picking a green door color, we relied on our usual method of taping up contender swatches to see which one we liked best in a bunch of different lighting scenarios (early morning, afternoon, late at night with the light on, etc). The winner was Irish Moss by Benjamin Moore. Not too dark, not too light, not too neon, and not too yellow or blue.
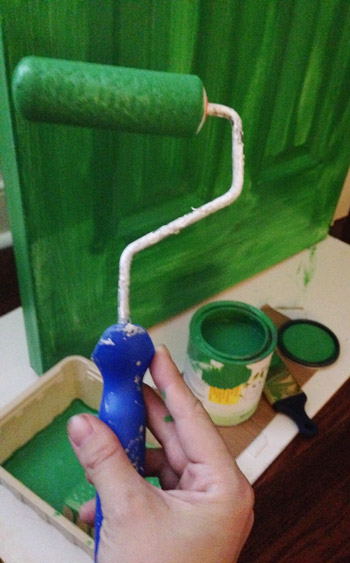
I only needed a quart to get it done (I went with semi-gloss), even though it took three coats to get a nice shiny finish with good coverage. Bold colors like this tend to look horrific for the first coat or two and then magically shape up at the end. Tinted primer probably could have saved me one coat (in exchange for one coat of that) but I didn’t have it on hand, so I just did three coats of paint instead. I applied the first one with a brush…
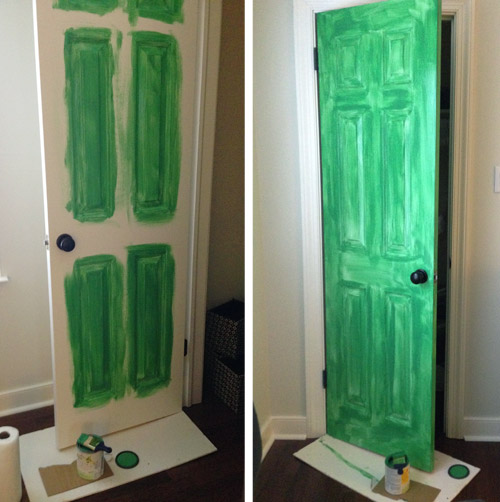
… but switched to a brush + small foam roller combo for the second two coats, just to knock things out a little faster. It’s the same method we used on Clara’s door (three coats of paint applied with a roller/brush combo) which has held up well for the last five months with heavy use so that’s nice to know.
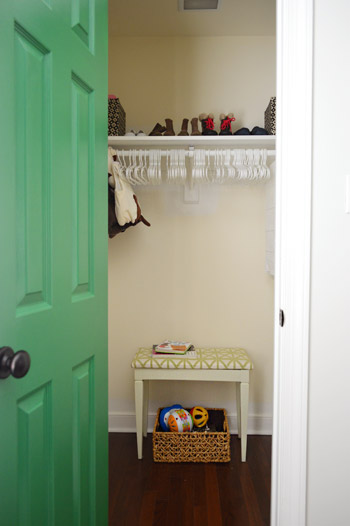
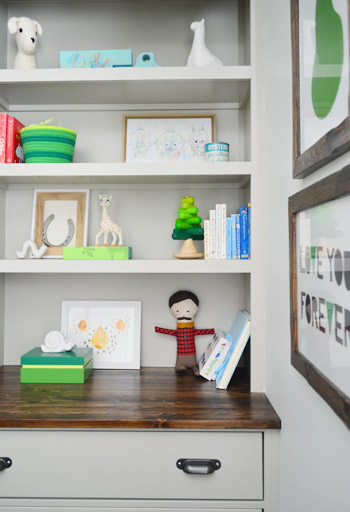
As for actually getting the closet ready, that just meant organizing things (lining up shoes, putting a few empty baskets on that top shelf for future use, placing some extra toys in a bin on the floor, and transferring excess clutter to the hall closet). The hall closet is a more spacious double-doored closet, so things that we won’t use for a while like a bumbo and the play table can go in there. We’re sure the nursery closet will evolve into more sophisticated storage as the baby grows (might add some cubbies, a basket system, or a reading area on the floor depending on our needs as we go), but it’s nice to have a clean slate in there now.
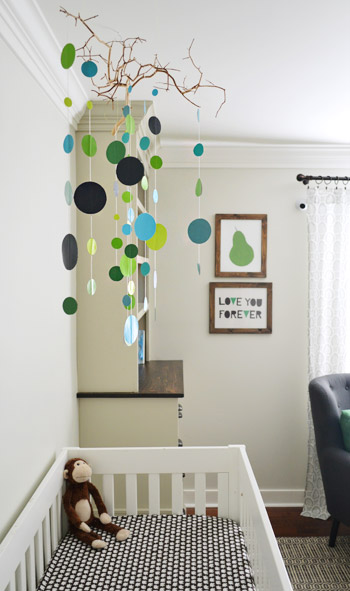
We also had two nice wood frames that I wanted to hang on the curtain wall, so I was inspired by this no-longer-for-sale pear poster and just drew the shape in pencil on white foam core and used green & brown finger paint from Clara’s stash. I’m sure as the bun grows we’ll switch it out for a family picture or a subject/animal that he loves – but it’s sweet to have something there for now.
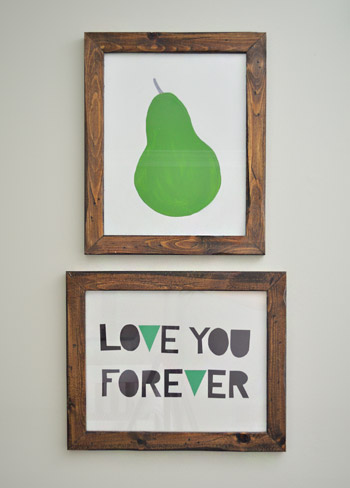
To make the lettered “Love You Forever” message below that, I took inspiration from this print from a no-longer-in-business Etsy shop, and used black construction paper and a pencil. I sketched out the letters roughly, cut them out, and laid them on another white piece of foam core. I tried to keep them all similar in height, but I didn’t get caught up in perfection, thanks to the charming irregularities in the inspiration print.
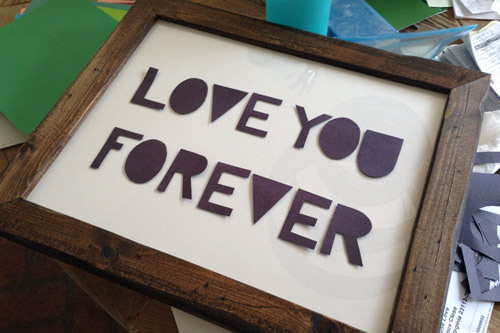
When I was done I showed John and he came up with the idea to add some color to the V’s, so I used decorative paper from my craft closet and a glue stick to attach them all to the foam core. We both love how it came out – and you can’t beat the price (free) or the amount of time it took (around fifteen minutes).

Since Clara has a print in her room that says “You Are So Loved” it feels nice to have a similar sentiment hanging in our son’s room. Sniffle.
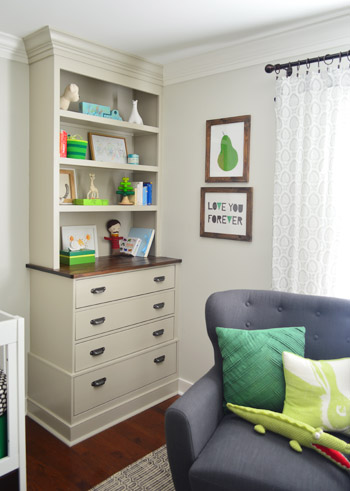
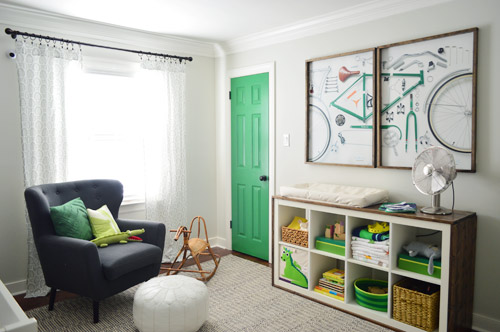
Aren’t those wood frames nice with the stained top of the built-ins and the dark hardware on the drawers?
They also tie-in to the frames of the bike art and the changing table on the other side of the room, so there’s more balance going on.

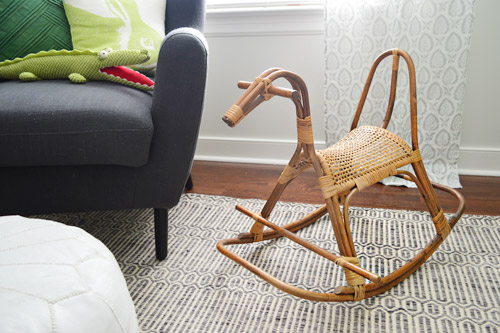
Speaking of wooden things, we found this cute rocker at a local thrift store called Consignment Connection for $15. Clara is obsessed (even though it looks fragile it easily holds her weight) and thinks her brother is going to LOVE it. Can’t wait to see if she’s right.
Slowly but surely, this room is coming along – we even think we have a plan for the wall behind the crib after this post o’ brainstorming (thanks to everyone for their thoughts and ideas!). We might wait until the baby’s here to knock that out, but in the meantime everything from the toys on the built-ins to those elephants marching across the crib sheets and our new green closet door is making us more excited than ever to bring home this little man of ours.
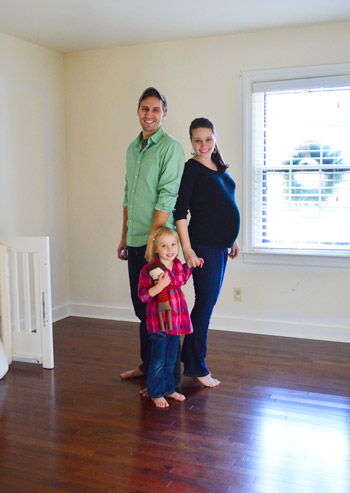
Even though we’re not done in here, we worried we’d miss the chance to re-take our family picture before the bun is born (a tradition that we started with Clara), so here’s the one we took when we started on the room back in January…
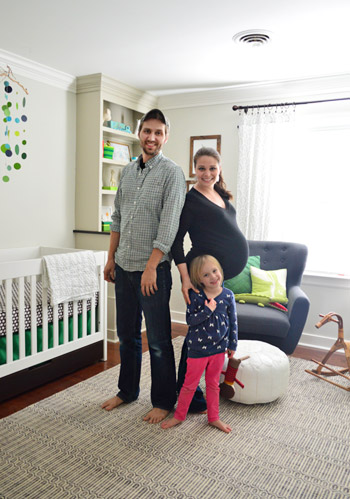
… and here’s one that we snapped yesterday. Could I be more pregnant? I laughed and asked John if he inflated my bump in photoshop (or hid my legs). Turns out I just look like this and my belly really is that far out in front of me. #watermelonsmuggler
And just because I can’t resist a good waaaay back shot, here’s how the room looked before we moved in last summer.
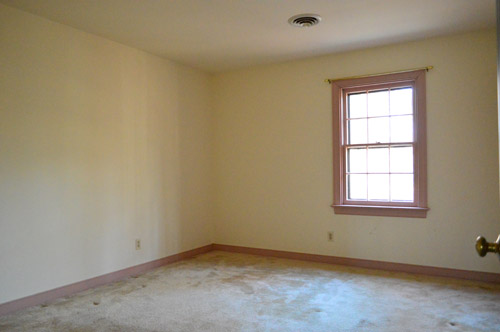
Even though we still have a bunch of remaining to-do list items, it’s definitely feeling more like a baby-ready space.
So our to-do list officially looks like this:
- get a changing pad cover
- line the curtains with blackout liner and add some sort of black/brown/green trim detail?
- tweak the wall behind the crib with wallpaper, a stencil, slatted wood, or some sort of accent color (we have a plan… we think…)
- make a woodsy little cuckoo clock (since I made one for Clara, I’d like to make a charming little rustic one for the bun as well)
- add an overhead light on a dimmer since nothing’s there at all right now (wish we could check this off but we can’t agree on a light we both like)
- possibly add a softly colored ceiling someday? maybe sky blue to add another color to the mostly green/yellow/neutral/white palette?
- add sconces to wall between the built-ins in a few years (we’ve decided these will be more functional after the crib is swapped out for a twin bed, to be used as reading lights)
Is anyone else making art? Having a curtain change of heart? Or painting something a bold, saturated color? We never could have guessed we’d have a bold foyer door along with two in our kids rooms, but they’re proving to be somewhat addictive.
Psst- To read about all of the nursery updates from the beginning, here’s how we painted all the pink trim, laid new hardwood floors, got a rug, painted the walls and ceiling, added built-ins to each corner of the crib wall, tackled some baby bedding, hung some extra thick crown molding, filled up the built-ins, made some curtains, added a cabinet for open storage and diaper changes, and made a mobile for over the crib.
Psst- Wanna know where we got something in our house? Just click on this button:


Leave a Reply