
Reader Redesigns
Check out hundreds of amazing home makeovers, DIY projects, and awesome ideas that talented readers shared with us. We can't pick a favorite - they're all so inspiring!
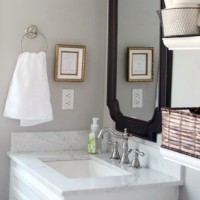
A Bathroom Makeover With Floating Shelves
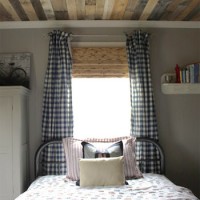
A Boy’s Bedroom With A Wood Plank Ceiling & Checkered Curtains
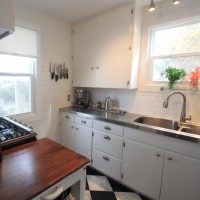
Adding Stainless Steel Counters To The Kitchen
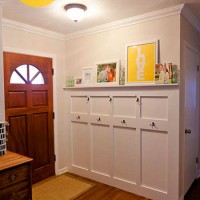
Adding A Board & Batten Wall With Hooks To The Entryway
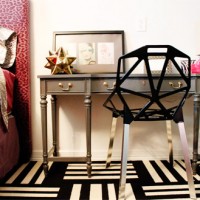
An Eclectic Glam Tween Bedroom
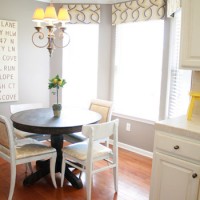
Adding Pelmet Board Window Treatments
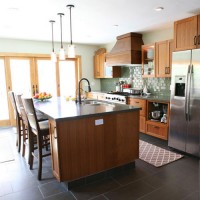
A Kitchen With Wood Cabinets & Sage Green Tile
A Red, White, and Teal Bunkroom For 4 Girls
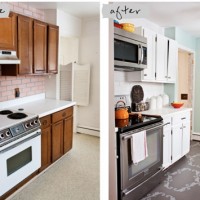
A Quick Kitchen Update With Stenciled Floors
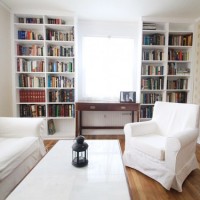
Adding White Built-In Bookcases Around A Window
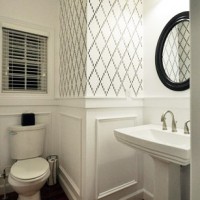
Adding A Trellis Stencil To The Bathroom Wall
- « Previous Page
- 1
- 2
- 3
- 4
- 5
- 6
- …
- 20
- Next Page »