Mwah, hah, hah. Picture me laughing like a cartoon villain while rubbing my hands together maniacally. That’s sort of how I feel when I get to the “finishing touches” part of a room. Home stretch bay-bay!
Remember how the middle makes no sense? Well, this weekend I think we rounded a corner thanks to a few small tie-things-together updates (you know, between all the board & batten we’re furiously installing/caulking/painting for Wednesday’s big reveal). So let’s take a look-see, shall we?
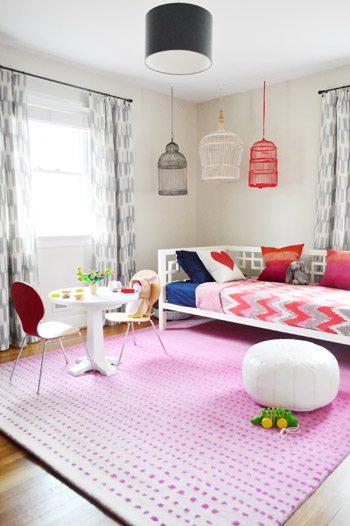
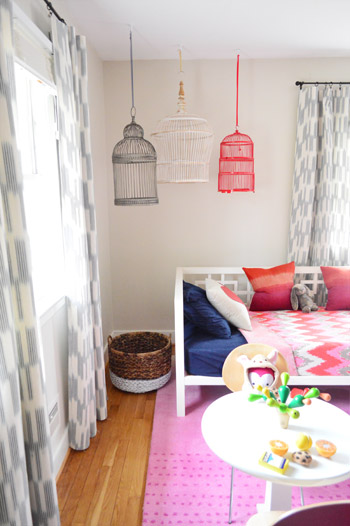
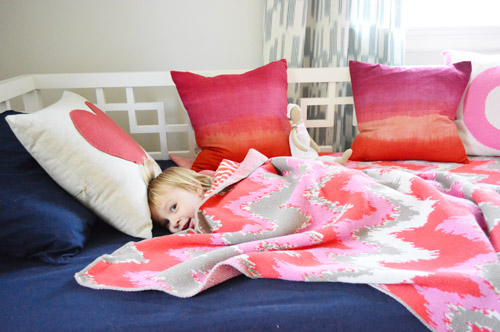
As you can see, we finally got a new sheet set for the daybed (just a basic navy blue 100% cotton set from Target for a twin bed) to replace the worn and faded old tan fitted sheet that has lived on this daybed for almost six years since we got it. We also grabbed a cushy mattress pad while we were at it, just to make the bed Clara-ready whenever she wants to officially move in (she’s still happy to sleep in her crib so we’re following her lead).
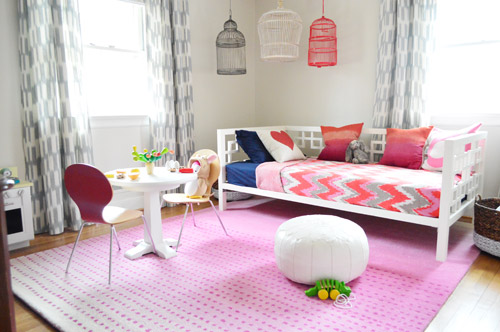
Oh and we ended up rotating the rug the other way (don’t know what took us so long!) when we finally realized that we got more dots out of it that way (lots of them were hiding under the daybed when it was the other direction). We liked the idea of walking in and seeing a gradient from the door, which is why we originally put it the other way, but we realized (duh!) that there’s actually a gradient on both sides, so seeing a gradient + dots when you walk in = even more fun.
Among the other small changes, you might notice that we finally added the storage baskets for toys & books that were on our list (in those little corners on either side of the daybed). They involved a little “customization” – which made for a fun afternoon project. They’re the same $25 baskets we’ve had from Target all over the house (you’ve seen them here and randomly in the background on Instagram)…
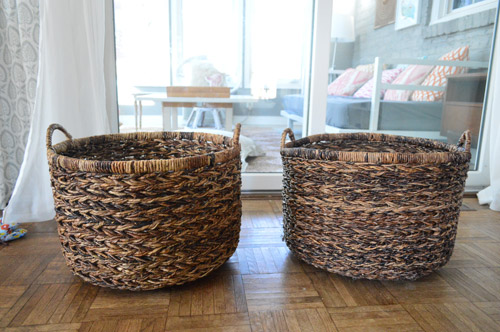
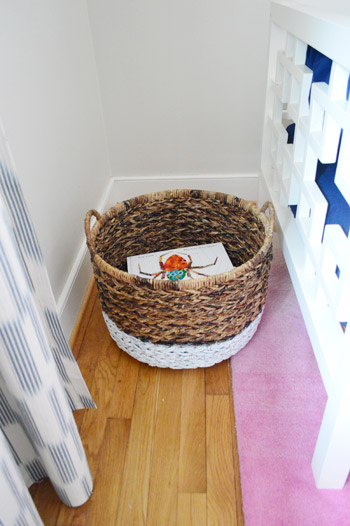
… and I decided to add a playful band of white along the bottom. I just thought some light paint could brighten them up so the corners where they’ll live won’t look all dark and shadowy. All I did was use a garbage bag to tape off the tops of each one and some Frog Tape to hold the bag down so we’d have a nice clean line.

A few coats of Rustoleum Universal spray paint later (it has built-in primer and a trigger finger thing to pull, so it’s my favorite)…
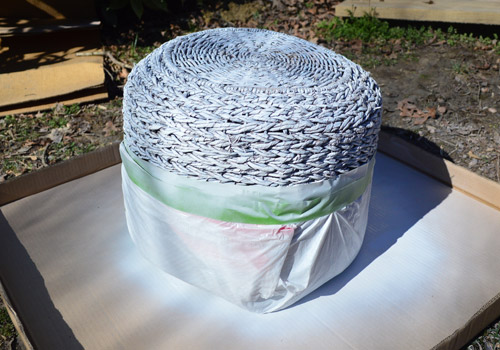
… and these guys were looking pretty spiffy. The funny thing is that I wondered if any of the spray would pass through the cracks of the basket when it was upside down and get on the inside, but it didn’t at all, so it was a really easy project (no pouring a gallon of paint into a giant plastic bin and manually dipping the baskets or anything like that).
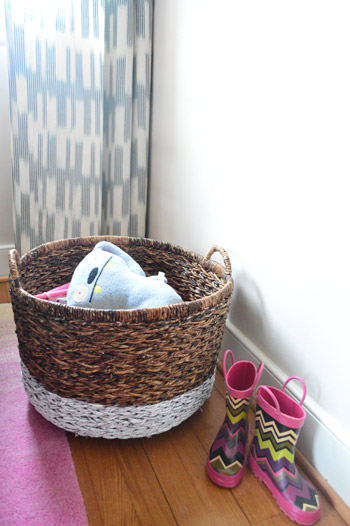
The one to the right of the daybed is full of toys and stuffed animals and games and puzzles, while the one on the left of the daybed is full of her favorite books.
It’s nice to add some function to those formerly unoccupied corners on either side of the bed.

And I like that the layout is flexible enough to replace the baskets with nightstands if we’d rather go that route when she’s old enough for an alarm clock or a cup of water by the bed.
As for the added art project that you caught a peek at here, we’re back with the details for everyone that asked.

You might remember that we bought those red dominoes and old scrabble letters that spell “love” at a secondhand store in Austin called Uncommon Objects (more on that here) and I specifically had Clara’s big girl room in mind when I did, since they perfectly echoed the colors going on in here and I knew I could make them into some easy yet meaningful art. See, 143 is pager code for I love you (it’s the number of letters in each word) so that’s why the dominoes are doubles of 1, 4, and 3. And of course the scrabble letters that spell out love above them hammer it home: we have no shortage of love for the bean.
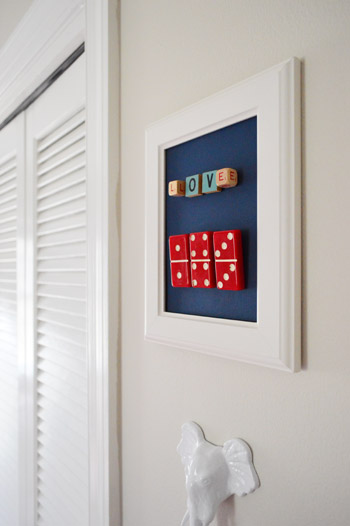
When it came to actually framing them, I grabbed an old Ikea frame that we already had (are you sensing that we have a stack of unused frames lying around at all times? because we do) and removed the glass frame in front. This was my alternative to running out and buying a shadowbox, since I thought everything would look just as cute in a glass-less frame and you know we love using what we have.
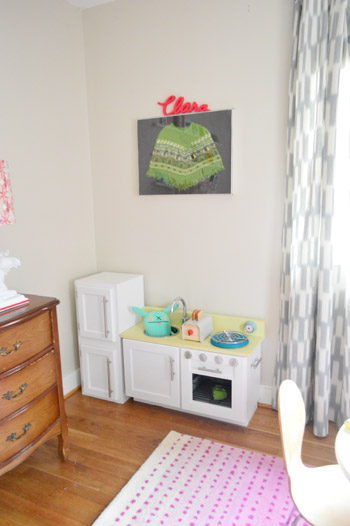
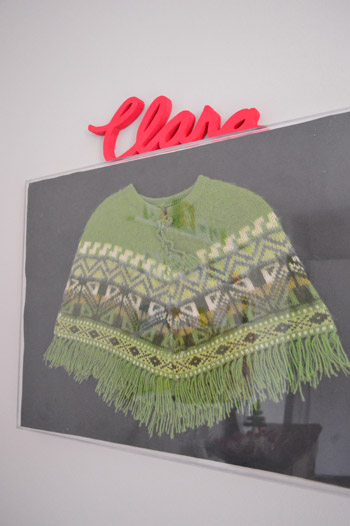
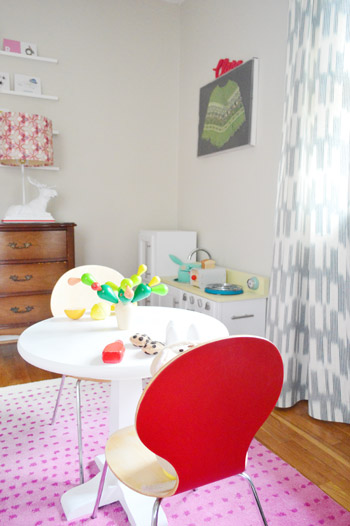
Another fun little project was one that I got to do with Clara to add a little personalization over the Peruvian poncho that we framed above her play kitchen.
We had a grand old time painting this wooden wall plaque that says her name together (which was homemade by an insanely talented and generous reader from one of our signings- how amazing is that?!). When I asked her what colors she wanted to paint it, it was no surprise when she said red (red & pink have been her two favorite colors for a while now) so we got some red craft paint out.
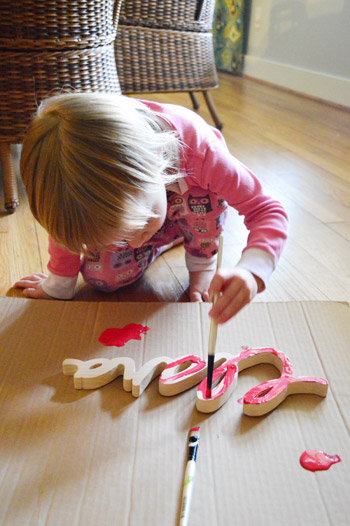
I got in on the fun too (mostly I did the harder-to-reach corners and smoothed things out a little while she went to town on everything else). It only took about fifteen minutes (and one coat of paint, which surprised me) but she talked about it the rest of the day. So we definitely will be doing more crafts like this together. I loved just focusing on something fun with her. And you know I love to see her rock a paintbrush…
It’s cool that as this room has evolved, Clara has gradually grown to have more things to do in her big girl room – between her play-kitchen corner, the fun games and toys in her closet…
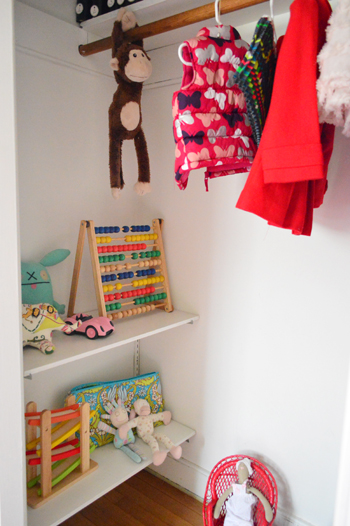
… the toy and book baskets we just added, and the hooks on the wall that hold her hair clips/headbands/necklaces.
But one of her favorite things is still fake-sleeping in her big girl bed. Cutest thing ever. Seriously, come over and see it firsthand. It involves fake snoring.
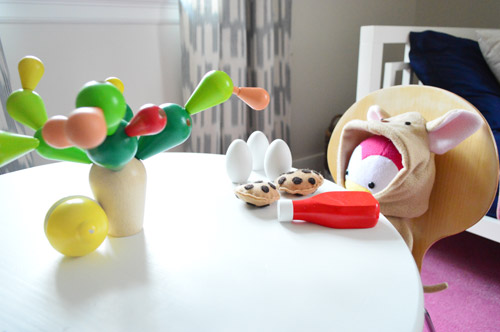
Oh and how can I forget her other favorite spot. Her little tea-party table. There’s always someone chowing down there (from a doll to a stuffed animal). Sometimes there are even tiny plastic animal meetings where twelve or so of them congregate on the table. And I love the pop of bright color that the red chair-backs add. Not that the various stuffed & plastic animals seem to notice them.
Today it looks like Clara’s cute penguin dressed as a chihuahua (more on him here) is having a nice nutritional breakfast of eggs, cookies, and ketchup. You know, the usual.
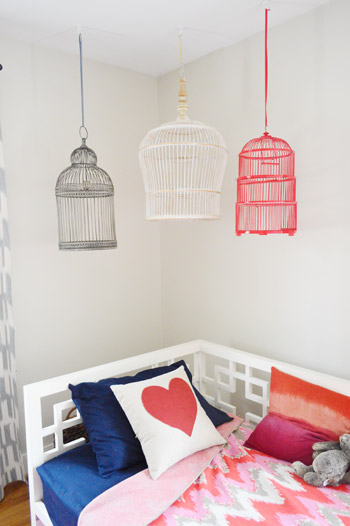
Oh and when it comes to adding those navy sheets, they definitely look sweet with the heart pillow on top (a Joss & Main find a little while back) and Clara still loves gazing up at her birdcages (and the cool shadows they make at night), so we’re glad that we went with those guys to fill that bare wall-space instead of just bringing in more framed art. Once she has proven that she doesn’t want to swing around on them like a monkey (so far so good) we might add some fun toys or faux birds or butterflies down the line, but for now we don’t want to entice her to try to scale the wall. Haha!
Speaking of some other not-framed art, we’ve all been having a lot of fun with the flash card shelves over the dresser. As you can probably tell, we’ve switched out some of the cards for other fun and random objects that Clara likes to look at. And since she has a bunch of flash cards down at her disposal in her toy basket, it’s nice to have some shelving that’s out of her reach for adding more “delicate things” to the mix – like metallic prints of a rhino and an aardvark that we got from a local art fair along with a few cool pop-art Clara prints that a reader named Jenna sweetly gave to us during one of our tour stops. I’d love to add some of Clara’s own art work up here too…
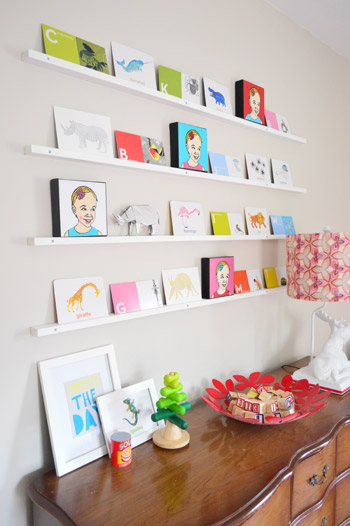
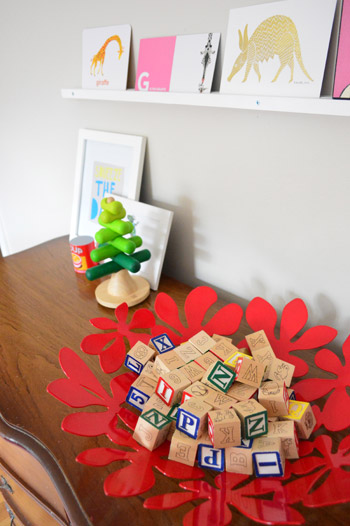
We also brought a few more of Clara’s favorite toys in here from her nursery (like her wooden stacking tree and her lettered blocks). Since the red bowl on her desk is lightweight and made of metal I love that it’s not breakable like a ceramic bowl would be – so it has worked really well for bringing the blocks down to the floor whenever we want to play with them (sometimes not having all of her toys on the floor somehow makes them more enticing to her). The bowl’s actually from Ikea a while back and I just spray painted it bright red (it was white originally).
So there you go. A few baskets I painted, a name plaque for the wall that Clara helped me with, new sheets for the bed, some homemade domino art, and more toys/games/books in the room. It’s really starting to feel like a room instead of a “room in progress.” Although we still have a few last things on the ol’ to-do list:
paint the room(more on that here)cut down our old den side table to make a play table(more on that here)bring in a dresser (we’d love to find something secondhand)(more on that here)
make/hang some curtains(more on that here)
add a rug(more on that here)
make a frame collage full of animals Clara loves, and even some Clara art(more on that here)paint the backs of the chairs along with her play table(more on that here)hang our postcard ledges and fill them with favorite flashcards(more on that here)install a new light fixture(more on that here)hang a few 3D objects that we have in mind for wall decor (how’s that for cryptic?)(more on that here)
turn the junked up closet into an actual clothes closet/reading nook(more on that here)get a new set of sheets for the daybed (most likely in navy) along with a cushy mattress padadd accessories like more toys, storage bins, personalized art, etc- refinish or paint Clara’s new dresser (which we got here)
- add crown molding (along with tackling the other un-crown-molding-ed bedrooms on this side of the house)
- paint the closet and the ceiling a fun color (maybe soft coral or blue?)
Hope you guys have enjoyed seeing this room come together day by day over the course of a month or two, just like we tackled Clara’s nursery back in the day. Ah memories. And as much as I loved her little nursery in our first house (it was always my favorite place to be) I think her big girl room is my favorite spot in our current house, so I’m glad it’s not just a first-love thing with kids rooms (I thought maybe I’d never feel the same excitement as I did that first time). Turns out it’s fun every time. Haha!
What did you guys do this weekend? Anyone else working on board & batten? We can’t wait to reveal the full monty on Wednesday!

Leave a Reply