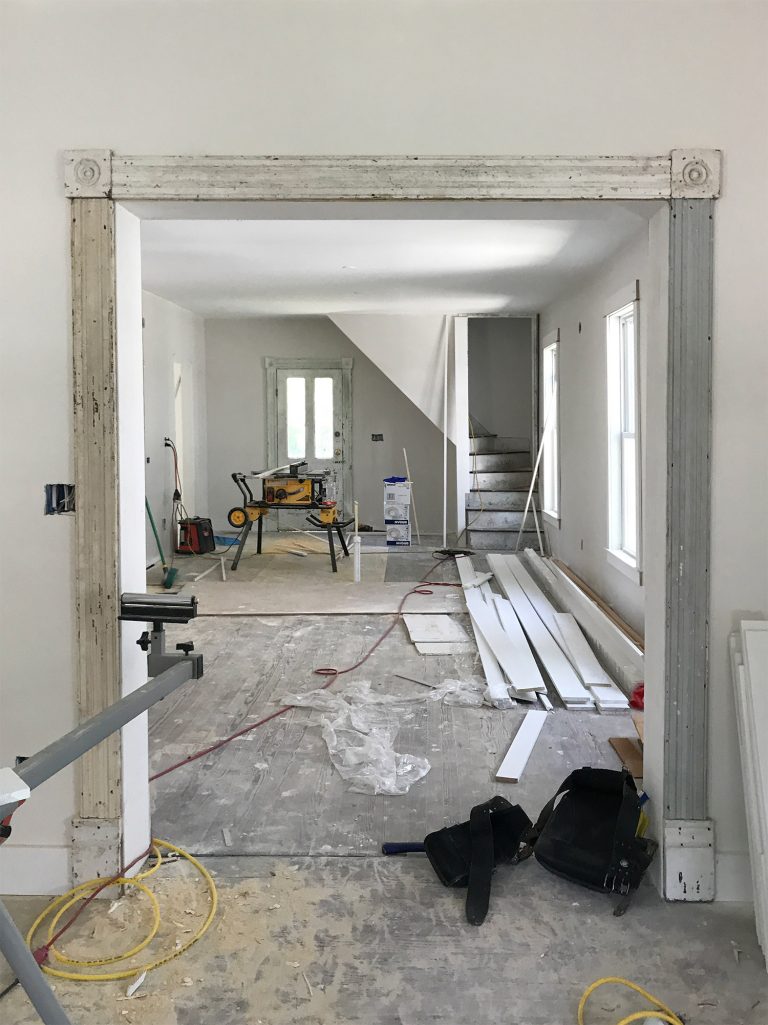
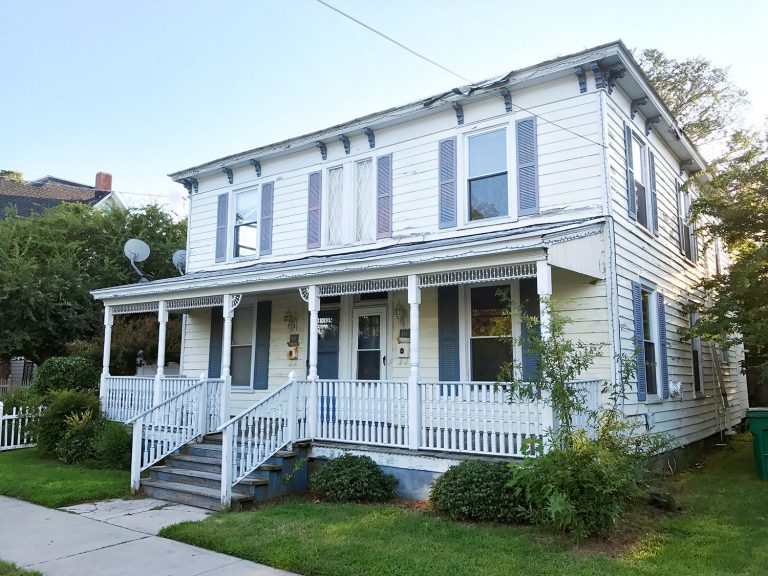
At this point you’ve probably seen our finished and furnished bonus room above our garage, but let’s take a quick joyride back in the DeLorean to talk about how we installed the oak hardwood flooring in there. When we mentioned it oh-so-briefly in our first post about the space, we also promised to share more how-to details, since it was our first time doing a traditional nail-in installation (we previously did a floating hardwood installation). It wasn’t terribly difficult, but it did have its challenges. So for anyone else who might be taking on the task, here’s a rundown of what we did and how we did it. Choosing Our Floors First off, why hardwoods? Originally we had planned to do wall-to-wall
Holy Cats, We Have A Podcast!
Well, we’re upping the nerd factor around here and giving podcasting a go. The name? Young House Love Has A Podcast. I’ll give everyone a moment to let that process. I know it’s a tricky one. So much nuance. Listen on iTunes | Google Play | TuneIn Radio | Pocket Casts | Stitcher You can check out our latest episode (a new one pops up every Monday) and all of the previous episodes that we have released (we’ve officially released over 50!). If you’re already a podcast listener, just head over to iTunes, Google Play, TuneIn Radio, Pocket Casts, or Stitcher to subscribe and download all of our episodes. And if you’re new to podcasts, here’s how to listen in (it might sound complicated but it’s completely free and just takes a
Our Bonus Room Makeover
Hallelujah – the sun is back on the East Coast! So when it finally reappeared after weeks of rain, we broke out the camera and took some photos of our finally finished bonus room (well, “finished” is a loose term, since I don’t think we’re ever actually done tweaking things). We’re happy to report that we crammed in a decent amount of fun, function, and a big ol’ spot to sit down and never get back up again. The couch in here is truly a vortex that’s impossible to resist. But I digress… If you missed what got us to this point (and are wondering where the heck this room is), you can catch up on
Adding A Dual Flush Kit & A Diaper Sprayer To Your Toilet
We’ve super-charged our toilet with two new functions that cost under $75, took less than 2 hours and required zero tools to install.
How To Hide TV Wires In The Wall
While our recently-finished bonus room upstairs was never intended to be a dedicated “media room” or “theater room,” we always knew it’d make a great spot for special family movie nights. But in adding a television, we didn’t want to create Cordfest 2016, and have always wanted to try mounting a TV on the wall. So we thought we’d break down the 4 steps that we took to hang our TV, eliminate every visible cord, and hide the cable box. All-in-all, these four steps cost us less than $75 and none took more than an hour to execute (a couple only took a few minutes). They were: Mounting the TV to the wall (we used this $18 mounting hardware from Amazon) Installing an in-wall cord system
Switchin’ Things Up
One of the most common questions we get asked these days is what we’re up to (specifically, what we’re doing for work). We covered a lot of that back in this post, but in a nutshell it’s a combination of stuff we did before we started blogging (copywriting, ad consulting) and some newer skills that we learned while blogging (like product design and helping a local builder design his spec houses). Perhaps you saw this Instagram photo of the herringbone backsplash we chose for a recent kitchen we worked on. It was hard to get that shot because Sherry kept reaching in and whispering sweet nothings to it. True story. But this check-in isn’t about all
Finishing The Bonus Room Over Our Garage
Who remembers our old furniture and pillow hoarding room at the end of the hall that we used to call “the storage room”? You may recall that we stole a bit of its square footage to create our laundry room), which conveniently left us with a more rectangular shaped room and easier access via the new glass door that we installed at the end of the hallway. And if you follow us on Instagram or Facebook, you already know that it has been undergoing a bit of a transformation lately… First, some background. We knew this room would someday become a great bonus space for us. Many of our neighbors’ homes had their above-the-garage area finished from the get-go,
Easy DIY Wainscoting For Your Hallway
Our upstairs hallway recently got the wainscot treatment, and it’s kind of like the debonair older cousin to the DIY board & batten from our last house. Kind of a board & batten meets picture-frame molding look. Let’s just say, if our hallways were the Lindsay Lohans from The Parent Trap, this one would be the fancier-sounding English one (who I sometimes imagine grew up to live a less chaotic life than the American one). The Easy Approach To Installing DIY Wainscoting This DIY project began as one of those no-brainer tasks that we didn’t expect to spread much beyond the confines of a weekend. We planned to just repeat the board & batten look from our last house.
How To Install House Uplighting
This is a project we did over the summer and kept meaning to Instagram, but it refused to be contained by the limits of one shot just like the writers of The Walking Dead refuse to care about our VERY REAL FEELINGS about very fictional characters. But I digress. So here we are, swinging by like we mentioned we might randomly do in our update post/podcast. We had filed this idea away for waaaay down the line (thinking it would be cost and time intensive), but turns out it was actually neither. In fact, as the sun set on the very same day that we started, we got to enjoy the finished product. We’ve always gawked lustily at
Hello? Is This Thing On?
Well, last week marked a year since we took our big blog break. We didn’t really know what to expect would happen after stepping away from the blog last fall, and we certainly didn’t expect all of the love, support, and interest you guys have continued to show us over the last year. So before anything else, let us just say thank you and bow down and do the “not worthy” hand motions. Truly, you guys are the best. There have been so many questions about what we’ve been doing these days, and we’ve been mulling over the best way to share one big what-the-heck-we’ve-been-up-to update. Sherry suggested a Real Housewives-style freeze frame with update text next to
Fab Freebie: It’s Curtains For You
Update: We hoped to have a Thursday post for you guys but this week didn’t go as planned. So sorry! Update #2: We’d love your thoughts on this thread that popped up on this post. What are your opinions about smaller posts when we can’t write something juicy? Skip them and just own that we can’t post that day with a little update like this one, or would you rather see something small instead of nothing (like a quick organizing update, a Reader Redesign, a dilemma we’re debating, etc)? Thanks for the feedback! Curtains can make the room. And pillows, well, you can never have too many (at least according to my pillow obsessed wife).
How To Hang A Door
Hope you guys had an awesome Labor Day. We split time between family and house projects which is pretty much our sweet spot. This week is going to be especially hairy thanks to having book stuff nearly every day, but we did manage to eke out a few things to share and hope to be back to normal next week (might not be as on top of comments until then either). But back to my jamb. Or should I say my jambs? They don’t have casings yet, the leftover doorknobs will be upgraded to these backplated-versions, and one door still needs to be painted like whoa – but boy does it feel good to have
- « Previous Page
- 1
- …
- 24
- 25
- 26
- 27
- 28
- …
- 111
- Next Page »