Reader Redesigns
Check out hundreds of amazing home makeovers, DIY projects, and awesome ideas that talented readers shared with us. We can't pick a favorite - they're all so inspiring!
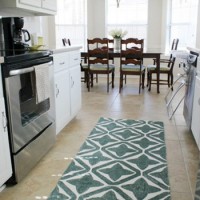
Chip & Joanna’s Farmhouse Kitchen Reno

A Kitchen With Dark Gray Lower Cabinets & White Uppers
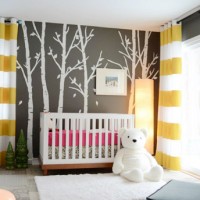
A Dark Gray Nursery With A Tree Mural & Striped Curtains
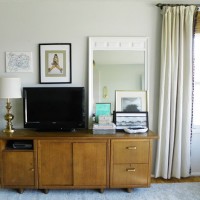
A Graphic Mid Century Living Room Makeover
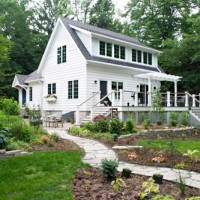
The Amazing Renovation Of A 1938 Cottage Near Lake Michigan
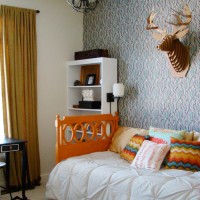
An Amazing Big Boy Room With Patterned Wallpaper
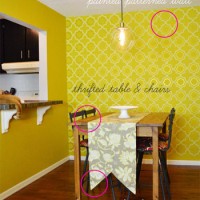
A Dining Room Makeover With Yellow Wallpaper
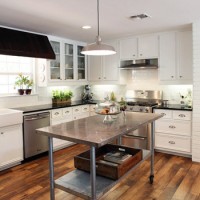
A Tuxedo Kitchen Makeover With Wood & White Cabinets
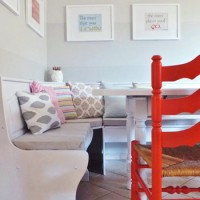
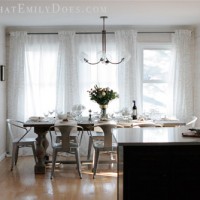
Adding A Kitchen Banquette Eating Nook

A Sweet Art Studio Makeover By Chris Loves Julia
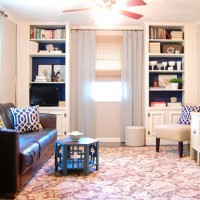
Turning Bookcases Into Built-Ins & Painting Them
- « Previous Page
- 1
- 2
- 3
- 4
- …
- 20
- Next Page »