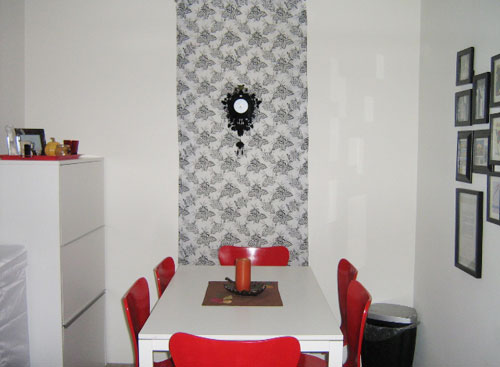
We couldn’t believe our eyes when we saw our DIY photographer Erik Johnson’s gorgeous home. Take of your shoes and stay a while…
[ Read More ]
Home Decorating & DIY Tutorials
We couldn’t believe our eyes when we saw our DIY photographer Erik Johnson’s gorgeous home. Take of your shoes and stay a while…
Kelli’s fabulous before and after was easy and inexpensive… but what a difference! Never underestimate the power of paint.
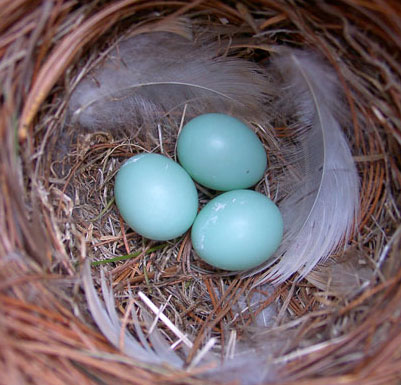
How could a married couple like us find love at DC’s Eastern Market? Take a look at what we saw there and you’ll see what we mean.
We’ve compiled an exhaustive list of the ways that we scrimp and save our pennies that actually add up to major savings each year. Take a peek inside our piggy-bank-friendly habits… who knows how much moolah you’ll end up saving!
Check out Evelyn’s quick fix kitchen redo full of innovative and inexpensive ideas to transform your very own home on a dime. Ab fab!
There’s another magazine photoshoot at our house and we’re so excited to see how things turn out. Stay tuned for all the dirty details.
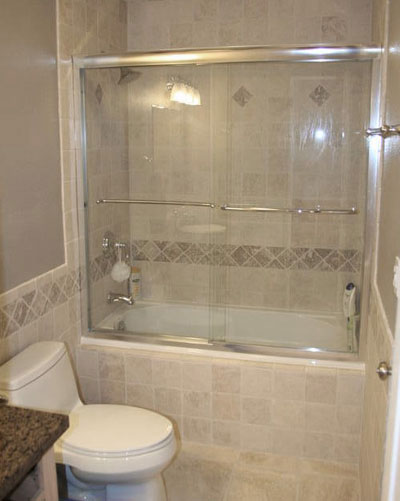
Brianne’s bathroom makeover is chock full of fabulous DIY ideas that transformed a stark white room into a soothing and spa like retreat. Yummy.
When it comes to scoring the lowest estimate or negotiating with a contractor, we’re sharing five helpful hints for getting more bang for your buck. Get your game face on and get ready to save some money!
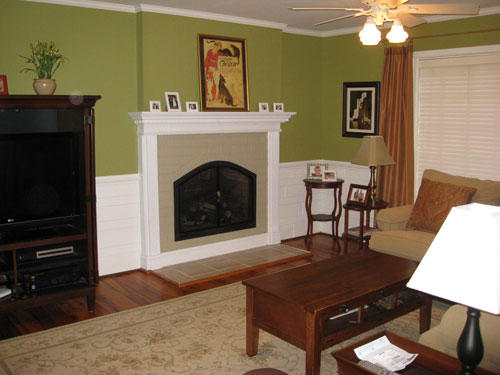
Megan and her hubby did an amazing job overhauling their fireplace completely on their own. Check out the stunning before and afters that they so graciously sent our way!
When it comes time to mulch our bushes and shrubs for the fall, we always appreciate the magical (and pesticide free) weed-repellent that is mulch. And we love that it seems to attract adorable puppies too.
We didn’t miss trash day, we skipped it. That’s because all of our composting and recycling is finally paying off.
Refinishing your kitchen cabinets is a science people. It’s simple and easy and anyone can do it. And now that we’ve broken down the step by step process, you can start this weekend if you wanna…