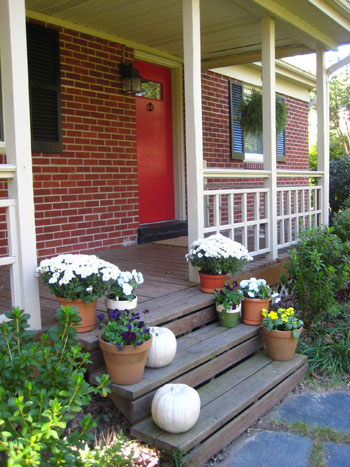
Check out the free faux pumpkin makeover that we whipped up in a flash for some seasonal Halloween decor just in the nick of time!
[ Read More ]
Home Decorating & DIY Tutorials
Check out the free faux pumpkin makeover that we whipped up in a flash for some seasonal Halloween decor just in the nick of time!
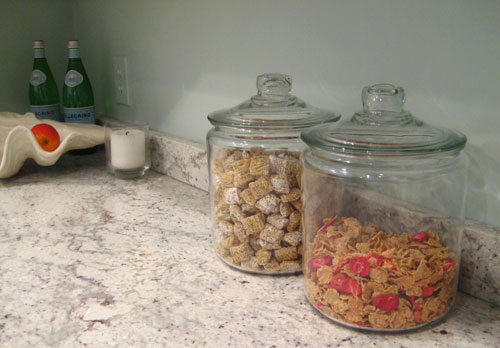
We couldn’t help but bring home two of these fantastically affordable glass jugs for stunning and sweet cereal storage. Happy shopping!
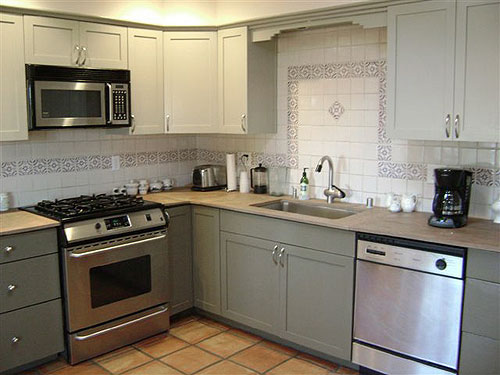
Check out the major difference that some primer and paint can make to a set of smurfy kitchen cabinets. Kim did an amazing job transforming her bright blue kitchen on a dime and we can’t wait to share her results!
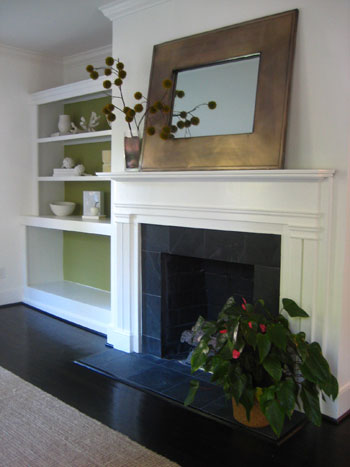
Check out Christi & Barrett’s Charlotte home after a major pre-baby overhaul (which they finished just in the nick of time!).
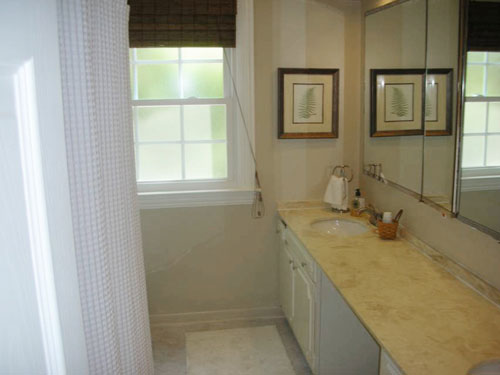
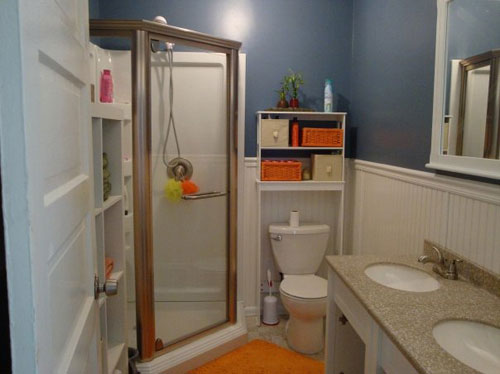
When Carol wrote to us about how she transformed her guest bathroom on a dime we couldn’t wait to share her simple and cost-effective ideas for a whole new guest bath.
Check out how I took my wedding gown to a party-friendly cocktail dress in six easy steps. Here’s a project that’s to dye for!
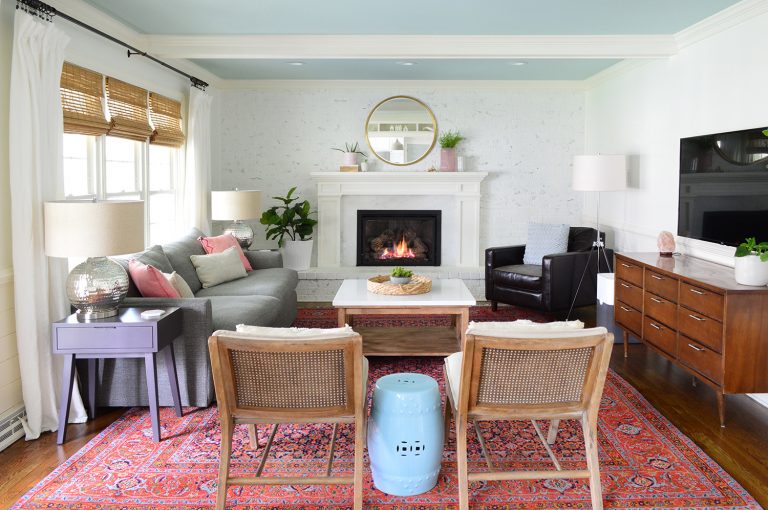
Anyone looking to cozy up their floor might wanna read our little primer in picking the perfect rug. Check out our rug rules and use ’em to cozy up your space!
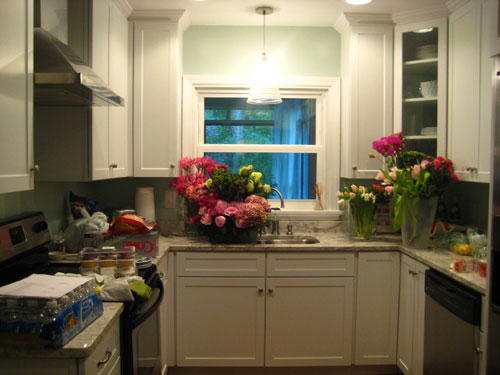
DIY magazine is here to shoot our house, and we’re over the moon. Here’s a little teaser shot of our kitchen overflowing with props…
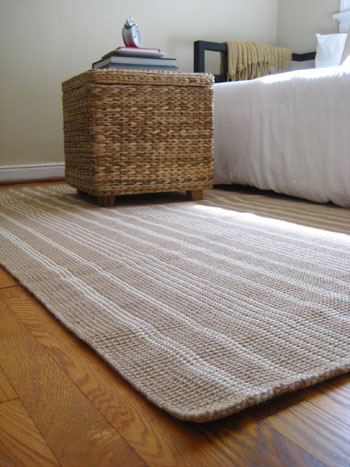
When we saw Katie’s serene and soothing sleeping space we couldn’t wait to share her before and after photos (and her inspiration!) with you guys. See how fabric + your bedroom = heaven.
It was love at first sight when we laid eyes on Matt & Kristin’s adorable Charlotte, North Carolina bungalow after 4 long hours in the car. Come on in and make yourself at home!
Check out how Liv’s handy hubby single-handedly transformed their bathroom in a major way.
Check out our very first steal of the week- a feature that we plan to institute to share all of the fabulous deals out there on the interweb. You may just thank your lucky stripes that we dug this up!