Our Third House
Here are all of the updates, projects and makeovers that we did to our third house located in Richmond VA, complete with before & after photos and tutorials.

Holiday House Tour – Come See Our Christmas Decorating
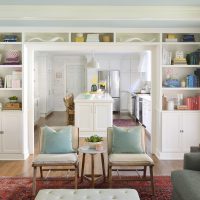
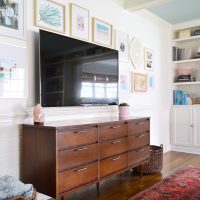
Living Room Updates, Major Sales, And What I’m Buying
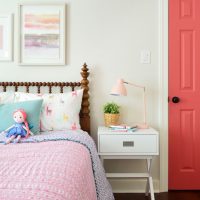
Using An Antique Jenny Lind Bed In Our Little Girl’s Room
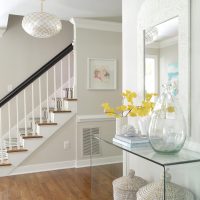
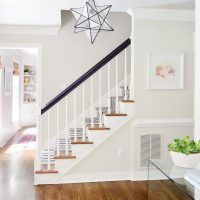
A Foyer Makeover With New Lighting & Furniture
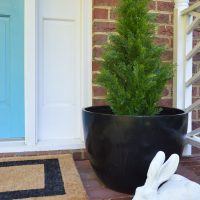
Three Quick Front Porch Updates

How To Install An Irrigation System
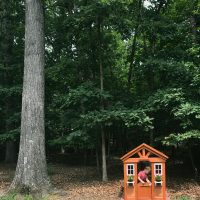
Adding A Little Wooden Playhouse
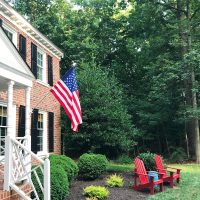
Our Patriotic Front Porch + Front Yard Planning
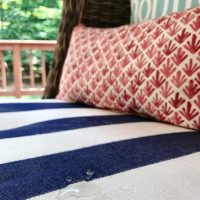
How To Pressure Wash Your Outdoor Cushions
Two Things I Bought (And A Whole Lotta Weekend Sales)
A Custom Kids Portrait
- « Previous Page
- 1
- 2
- 3
- 4
- 5
- 6
- …
- 22
- Next Page »