Outside
Here are a bunch of outside ideas for fixing up your home's curb appeal and updating your outdoors! From laying a paver patio and building a deck to adding a pergola around a garage or carport (or redoing your landscaping and painting your front door) there's lots to see.
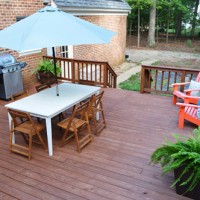
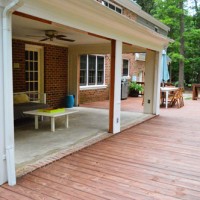
How To Stain And Seal A Deck

How To Install A DIY Sprinkler System

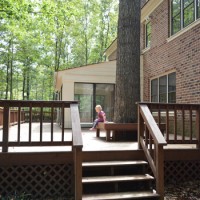
An Outdoor Tour Of Our New House
Changing A Door Knocker And A Doorbell
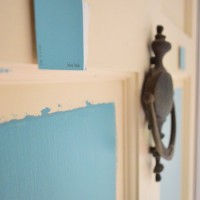
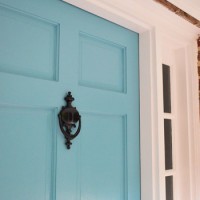
How To Pick A Color And Paint Your Front Door
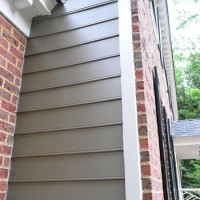
Picking A New Siding Color & Updating Our Exterior Trim
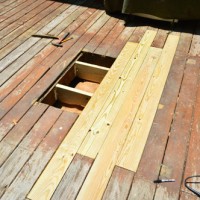
How To Repair A Hole In Your Deck
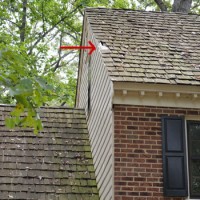
So, There’s A Big Tree That’s Way Too Close To The House

Digging Up And Moving A Japanese Maple
Replacing An Old Furnace & Getting A New Roof

Our Landscaping Makeover
- « Previous Page
- 1
- …
- 4
- 5
- 6
- 7
- 8
- …
- 16
- Next Page »