Decorating
Here are a bunch of decorating tips and tricks to upgrade any home and makeover rooms on a budget. From curtain hanging tips to what kind of rug to get (and how to mix patterns) there's a lot of info to discover.
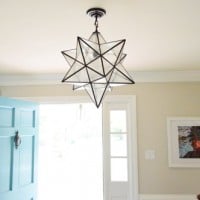
Hanging A Moravian Star Light In The Foyer

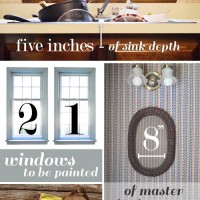
Listy VonListerson: Updated
Breaking Down The New Pad
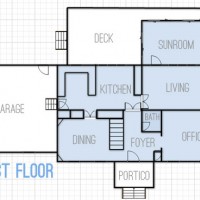
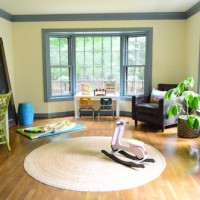
Pondering Layout Ideas For A New House
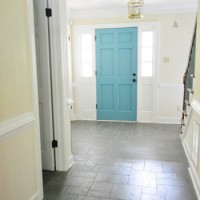
Painting The Back Of Your Front Door A Bold Color
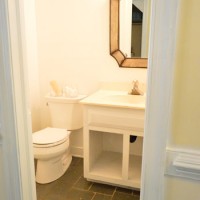
Priming & Painting The Bathroom
One Month In
HGTV’d
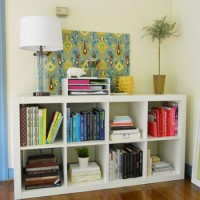
How To Add Some Office Organization
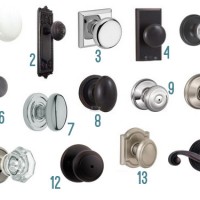
Fourteen New Interior Door Knob Options

Furnishing Our Living Room With Our Ikea Sofa
- « Previous Page
- 1
- …
- 12
- 13
- 14
- 15
- 16
- …
- 34
- Next Page »