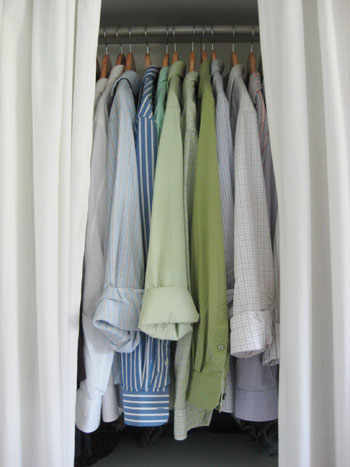
We’re breaking down all of our baskets and bins to share you how we organize almost every aspect of our house. Hooray for systems that keep our house humming!
[ Read More ]
Home Decorating & DIY Tutorials
We’re breaking down all of our baskets and bins to share you how we organize almost every aspect of our house. Hooray for systems that keep our house humming!
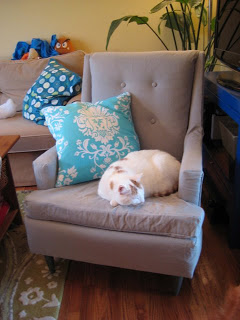
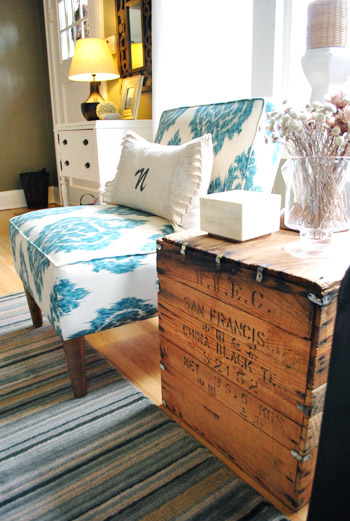
We’re over the moon for this fantastic chair makeover. Here’s Vanessa’s letter: I read your blog daily and just wanted to send you a link to a project I just completed. It was inspired by your recommendation of this Target chair during their Home Design Event… … a few months later I came across a chair at my FAVORITE second hand store, Second Thyme Around in Manhattan, KS. I liked the lines and thought, maybe this could be my first foray into reupholstery. I read about reupholstering on the internet and then I bought the chair for $25. Using multiple coupons for Hobby Lobby and Joann’s, I bought all the supplies I needed. Every single
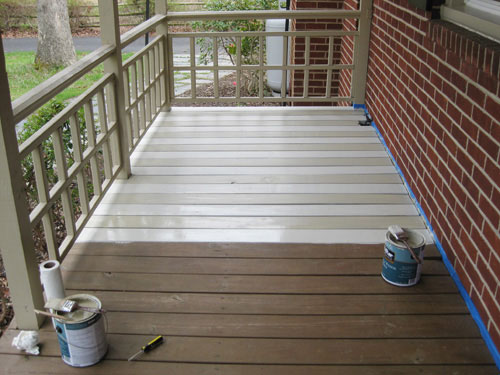
We’re nearing the end of our 48-Hour Challenge with Home Depot and Better Homes & Gardens. Here’s how we’ve been creating a total porch makeover with a $500 gift card to Home Depot.
I’ve often heard the phrase “things are as easy or as hard as you make them” and if you stop and think about it, it really makes sense. So as I go about my day I often think “am I making this harder than it needs to be?” or “is there anything I can do to make this easier/faster/more automatic/less annoying?” Thinking like this over time has actually helped us to develop a few systems and habits that help our house feel a bit more like it’s working for us. As most people know, I’m sort of a freak about organization, but I just find that it’s often the key to being efficient, knowing where
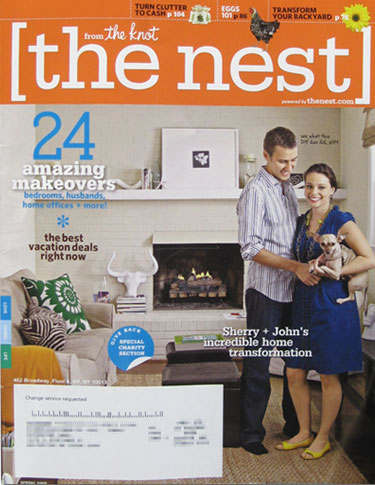
Here are all the dirty details from our behind the scenes photoshoot with The Nest magazine. It was quite a wild and wonderful experience and we did our best to capture it all to share it with you!
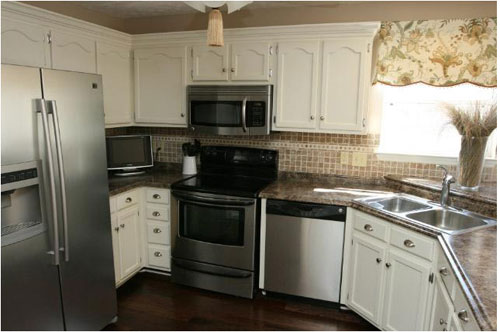
Julie made over her kitchen from top to bottom on a budget and it’s seriously amazing. It doesn’t even look like the same space!
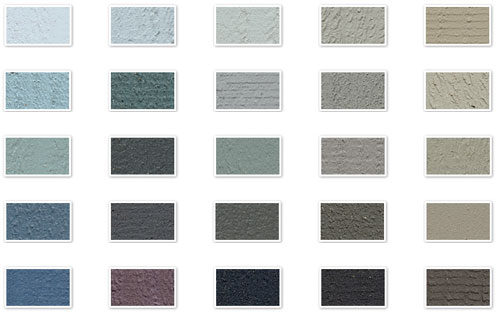
Got a wood porch, deck, piece of furniture or house full of siding in need of some fresh color? Enter our Olympic Paint Exterior Stain giveaway for the perfect solution.
Who made the cover of The Nest magazine? We did! And we’re just as surprised as you are! Here are the pics and a few of the dirty details.
Better Homes & Gardens along with Home Depot challenged us to make over our porch with a $500 Home Depot gift card in 48 hours. Here’s the plan…
Money doesn’t grow on trees, but it can be a bit easier to save if you take a few strategic approaches. Here’s how we pinch pennies in this less than fabulous economy.
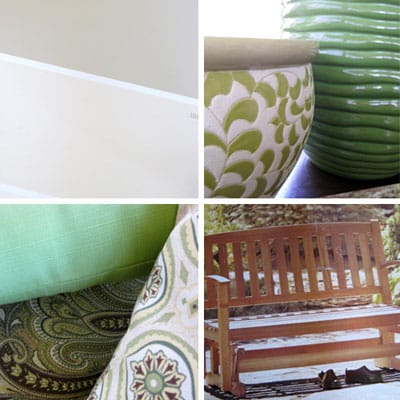
How do you create a room that’s interesting and stylish but not too matchy-matchy? Sometimes a room that’s too pulled together feels flat, but a room that’s all over the place isn’t much better. Here’s how to layer materials and textures like a pro!
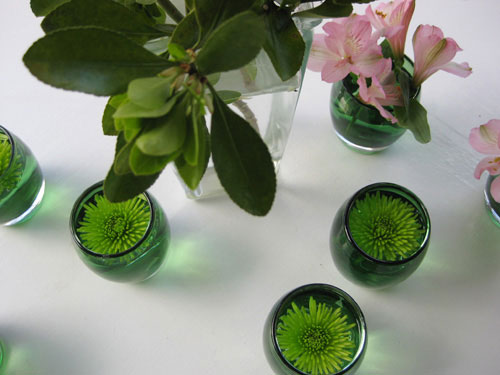
April showers bring April flowers? Here’s our grocery store bouquet displayed in a most unusual way.