Building Clara a sandbox has been a project that was nearly a year in the making. Just check out this post about her first birthday party from last May (yes, our girl is a month away from being TWO). So much for “any day now.”

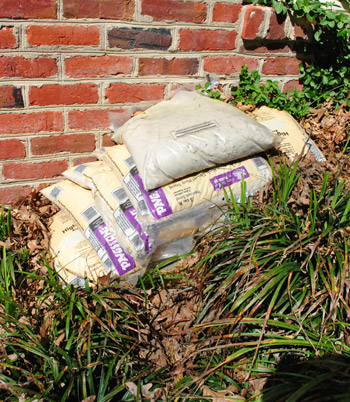
My excuse, well, our excuse is that we couldn’t figure out where we wanted it. We debated building one on wheels that could sit in the middle of the patio when in use (and be pulled out of the way and stored at all other times), but with so much land around us it felt like we should just find a permanent spot for one instead of making an eternally-rolling-around sandbox. I guess we just couldn’t commit to a spot, so Project Sandbox went on an 11 month hiatus. Although the play sand that we had already started stocking did come in handy when sandbagging our basement when Hurricane Irene swept through in August. Though it mostly just sat in a sad pile in the backyard… a symbol of a broken promise. Picture a single tear sliding down my cheek as I say that.
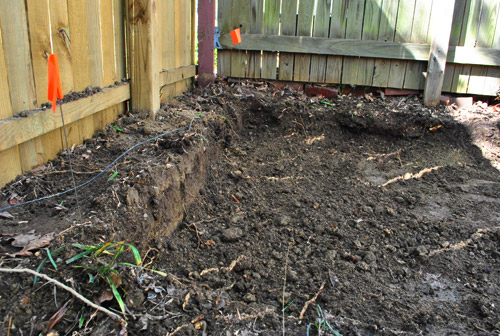
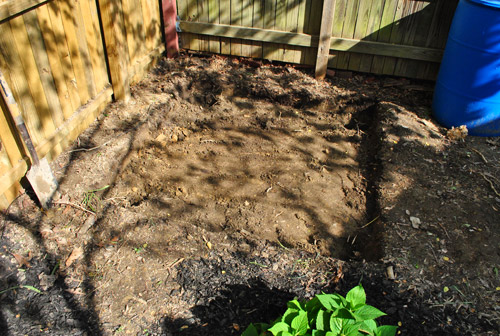
But our recent outdoor projects have given us renewed energy to actually get this baby done. More specifically, while tidying up the patio we uncovered the perfect sandbox spot. It had been hiding behind the now-deceased-and-therefore-removed rhododendron which made way for what is now a nice big open area that’s partially shaded by a pretty dogwood tree and adjacent to the patio. We instantly thought “hey, we could add a few stepping stones to lead Clara right to it from the patio, and it’ll be nice to have it placed within our small fenced-in side yard.” So we mulled it over for a little while longer and then decided that we weren’t getting any younger (nor was Clara) and this was THE place. Sold.
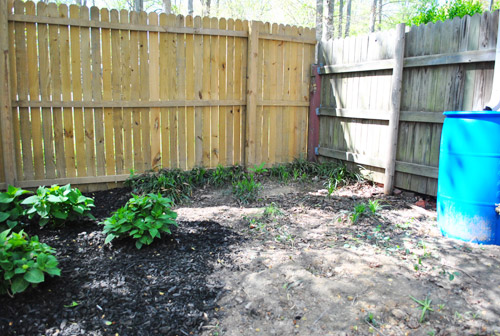
It might look like a small cramped corner of the side garden, but it’s actually a nice level 7 x 7′ area – perfect for housing something functional and fun for the bean.
Now we just had to figure out how we wanted to create this thing. I turned to Pinterest (yes, even I go to Pinterest sometimes even though I don’t have an account myself) for inspiration. There were lots of cute, ingenious, and creative incarnations of sandboxes – some very intricate, some pretty straightforward, all proof that there’s more than one way to skin this kitty. Here are some of our favorites: Dana Made It, Small & Friendly, Modern Parents Messy Kids, and Dover Projects.
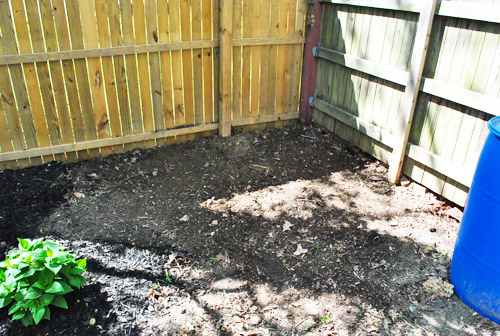
I knew I wanted something pretty uncomplicated. I’m great at making things harder on myself than necessary, so I was determined not to make a simple sandbox more intricate (or stressful) than it needed to be. But, you’ll see as I continue this post that I was only moderately successful at this. Anyways, the first step was clearing the area of – surprise! – liriope. Fortunately it wasn’t too thick here so it was a pretty quick task.
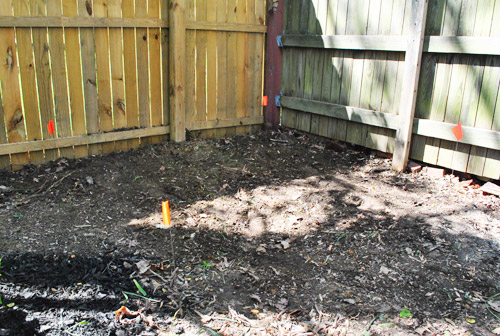
Based on the available space, we decided we wanted a roughly 5′ x 5′ sandbox. Not huge, but large enough that Clara and a friend/cousin or two could play without knocking heads. So I measured it out and used some orange flags that the previous owner left in the basement (they marked off our property line during closing) to mark my corners.
I then dug out the area about 6″ so that the sandbox could actually be sunk in the ground. I figured this would achieve a couple of things. For one, it would help keep the box in one place (and keep its shape). But more importantly, it would allow us to make a deep enough box to allow for some good sand-digging (Clara exhibits signs of becoming a future archeologist thanks to her extreme love of digging). Sure we could’ve just made a taller box – but we wanted the sides to be low enough that Clara could get in and out without any trouble.
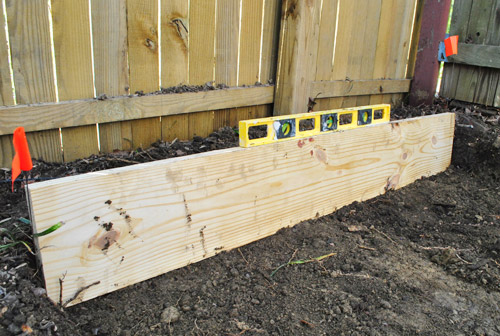
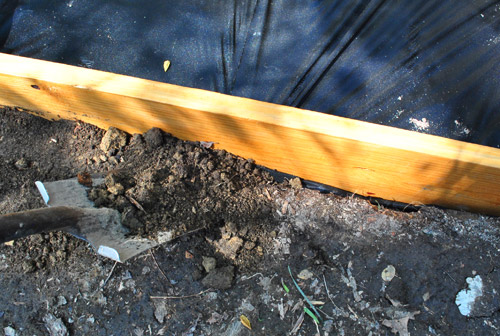
The hole wasn’t perfectly level throughout, but I did want to make sure all four sides were level so that my boards would sit square and even. Speaking of the boards, these are 2 x 10″ pieces of framing lumber (the same stuff we used for our office desktop). We didn’t get pressure treated wood since we learned that a lot of it is treated with chemicals that aren’t meant for children to be in regular contact with (more on that here). So we decided regular framing lumber that we could seal for outside use would do the trick.
I bought two 10 ft pieces and had them cut into 5 ft lengths in the store (for about $17 total). We chose it because it’s thicker than your average board so I thought it’d be nice and sturdy – and maybe wide enough for a toddler’s bottom to sit on (we have both since perched our own bottoms on it and it’s not too bad, although we prefer to sit in a nearby patio chair that we just turn to face the box). We decided not to do any actual seats or overhangs for one singular reason. KILLER SPIDERS. I had distinct memories of those being incessantly creepy and spider-webby in the sandbox that I had growing up (picture thick webs with sinister eight-legged things lurking under every overhang). Plus we always just sat right inside of it and played, so they never got used.
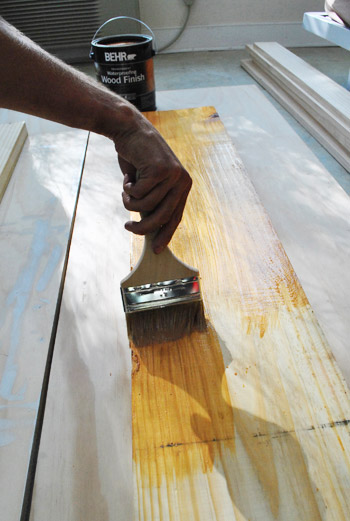
To seal and extend the life of our framing lumber we used some waterproof deck stain on it. We picked up some basic Behr stuff at Home Depot (for about $25). We chose the “Natural” stain after opting not to paint or otherwise add color to the sandbox. We were tempted to give it a cool pattern or color (we loved the striped example from Pinterest), but we figured that effort would be lost after the general wear and tear of being outside would make it dull and dirty (we intentionally buy wood, ORB, or black outdoor furniture/planters most of the time since after a rain the dirt speckles that pop up and are visible on painted items bum us out). Plus over time this finish will match the fence we added around the patio – so it’ll hopefully just be a neutral color that repeats itself around the garden so it fits right in.
Here are the four sides all stained and drying (they’re a little orange here, but look more natural outside – especially after we spreaded some rich dark mulch around them a bit later). The four pieces in the back were some scrap framing lumber that I had from another project (our desk perhaps?) that I cut into short corner posts on my table saw.
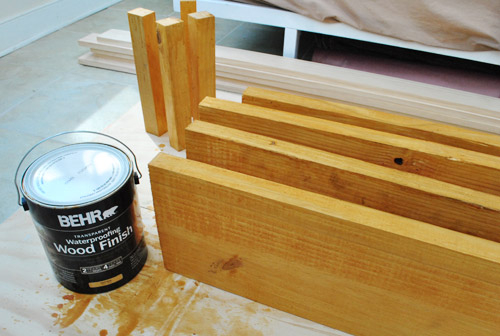
I did two coats of the stain on all sides of them as recommended on the can and let them dry over night. Then it was time to start assembling things so it no longer looked like I was digging a grave for a very skinny and very box-y creature.
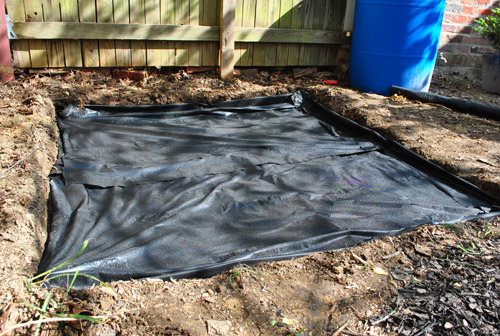
Before installing the boards, I put down some Weed Block as a base. This would help block weeds (duh) while also creating a barrier between the sand and the dirt. Although we made a sandbox cover, we wanted to be sure to use something that allowed air and especially moisture/water to pass through so that our sandbox didn’t get all clammy. In most cases, breathable = infinitely less nasty.
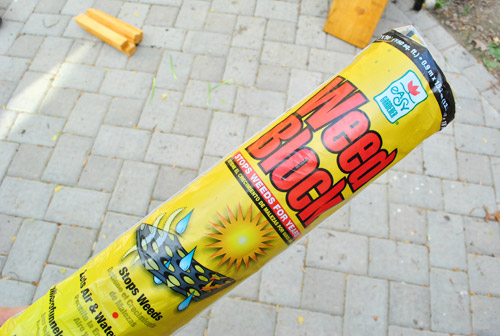
I had lots of leftover Weed Block from an old mailbox project so I laid two layers (going opposite directions) to help minimize sand-to-dirt contact. I held it down in the corners with some garden staples.
As far as construction, I ended up mimicking the design of Modern Kids Messy Parents‘ sandbox the most – thought instead of building my box and laying it into the hole, I built mine in place (I worried about being able to maneuver the already-constructed box as easily).
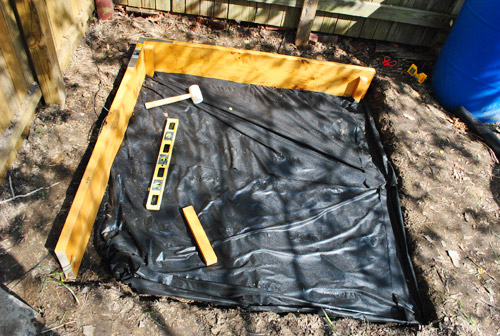
The basic system here is that I dug a stake into each corner. They were only 4 or 5″ inches into the ground, so ultimately they didn’t provide that much stability (that instead came from the boards themselves). So mainly the stakes were just helpful in providing a common place for each board to be attached.
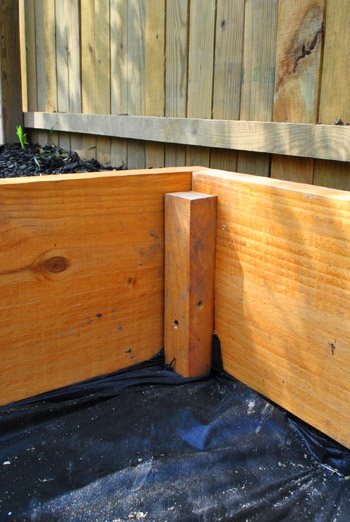
After digging each stake in (and packing some dirt around it before recovering the area with Weed Block) I used a square ruler to make sure my corners were 90-degrees.

Then I drilled in some 2.5″ exterior decking screws – one from the outside and one from the inside – to attach the board to the stake.
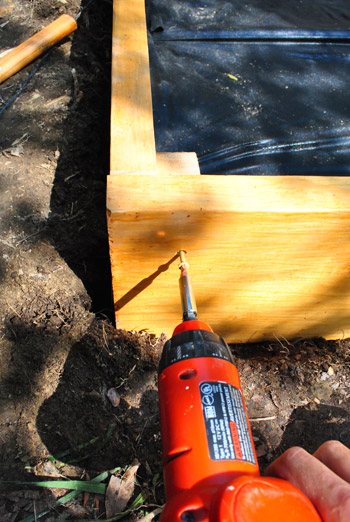
It wasn’t the fastest system in the world, I’ll admit (since there was lots of triple checking level and square corners) but I slowly started to get what looked like a sand box. Minus the sand.
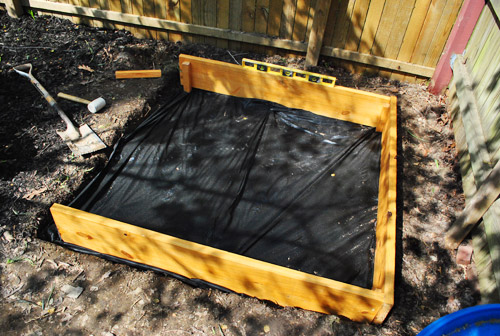
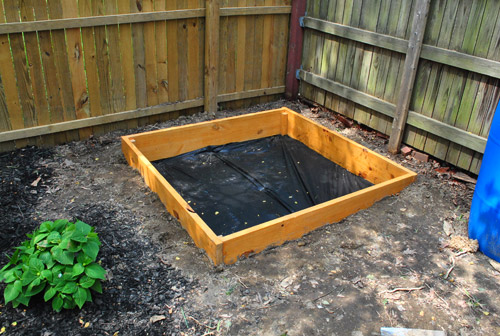
Here’s the completed box. I was DYING to just dump sand into it and invite Clara out to play, but there was still more to do to make sure it was toddler-ready. Sigh.
First I had to backfill the sides with dirt so that there wasn’t a moat around the edge. You’ll also note in this picture that I placed the board on top of the Weed Block fabric (see it peeking out there). That was to help it stay in place even better.
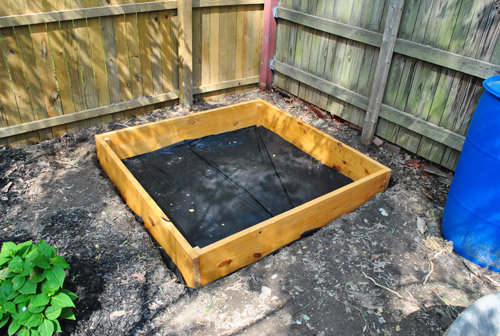
Here it is with dirt all filled in around it. Of course now it looks like it’s begging for sand inside and mulch outside. That would still have to wait because there’s still one more critical element to this sand box…
…A COVER! You know to keep neighborhood cats from thinking it’s a giant litter box. And to keep birds from dropping some presents if they’re flying by. But not just any cover. One with hardware that hinges open and can be secured so we don’t worry about Clara pulling it closed on herself. Yup, Sherry and I did some brainstorming, and we had some fun coming up with a cover that adds safety and function to the whole shebang. And since this post is already too long, I’m gonna put the details about making the cover in a second post for you this afternoon. Hence the title of The Sandbox Chronicles. It’s not quite Narnia, but it’s a heartwarming story of a girl and her toy trucks.
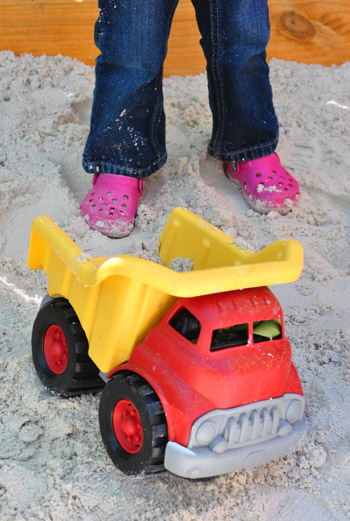
You’re probably already getting a sense that I made it more complicated than it needed to be (you’d be right), but ultimately we’re really happy with how it all turned out. And since I feel bad about writing a whole post with no shots of the sandbox actually in use, how’s this for a sneak preview?
PS: Want an quick sandbox alternative? Check out this tutorial for easy DIY Moon Sand, which is basically an fun indoor version that is great for rainy days or for folks who don’t have room for an outdoor sandbox.
Psst- We had fun weighing in on some open shelving pro/con chatter over here.
Pssssst- To read The Sandbox Chronicles in their entirety, here’s Part 2 (about building the lid which secures to the fence for safety reasons) and Part 3 (about swapping what we found out was “bad sand” for pea gravel).

Leave a Reply