Painting
Painting your home (both inside and outside) doesn't have to be complicated! Here's how to pick the right paint color, choose the right paint finish, avoid annoying painting mistakes, learn how to paint your cabinets (or even paint an appliance like your fridge) and much more.

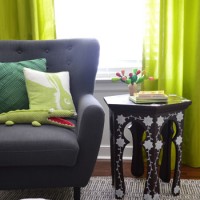
A Soft Neutral Paint Color For The Nursery
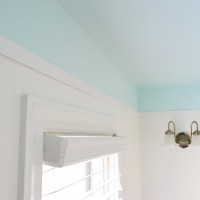
Painting A Bathroom Ceiling And Adding Trim
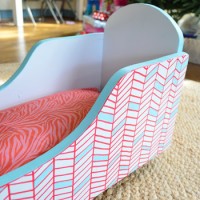
How To Paint A Chevron Pattern On Wood
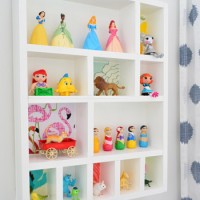
How To Make A Wood Cubby For A Kids Room
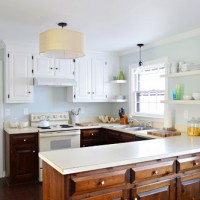
How To Paint Your Upper Cabinets White

A Soft Blue-Gray Paint Color For The Kitchen
Painting The Ceiling A Little Darker (And Glossier)
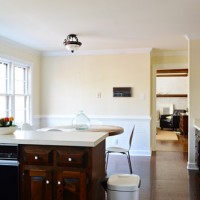
Painting Dark Trim & Paneling In The Kitchen
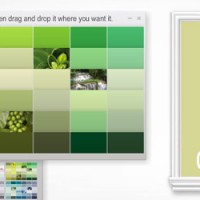
How To Pick The Right Paint Colors
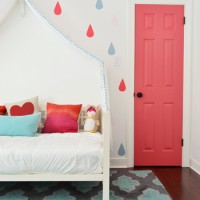
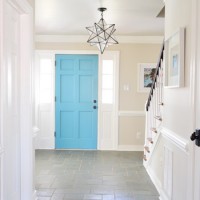
Painting A Closet Door Pink & Raindrops On The Wall

Those Times We Made Bad Painting Decisions
- « Previous Page
- 1
- 2
- 3
- 4
- 5
- 6
- …
- 15
- Next Page »