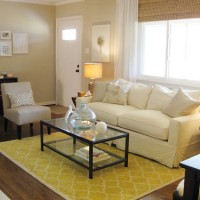
Our First House
Come check out all of the decorating & home improvement projects we worked on to transform our first house. We loved showing our fixer-upper some love, and doing room makeovers on a budget thanks to lots of DIY enthusiasm.
Our Favorite Tabletop Accessories

14 DIY Anniversary Gift Ideas
Wall Art Ideas For Over Our Desks
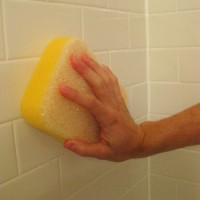
How To Seal Grout
Squeezing In Playroom Into Our Office
Picking The Right Paint Finish
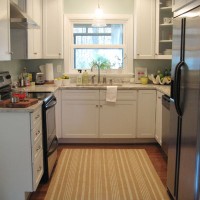
How To Warm Up A White Kitchen
Why We Like Being Eco-Friendly
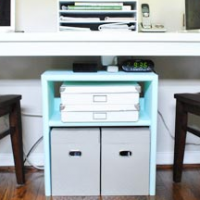
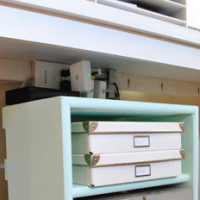
How To Build A Wood File Storage Stand
How To Clean Your House Faster
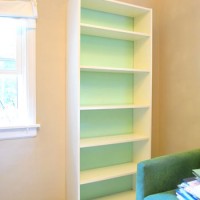
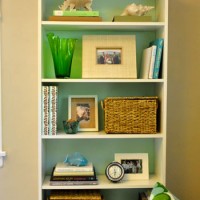
Making An Ikea Bookcase Look Built In
- « Previous Page
- 1
- …
- 4
- 5
- 6
- 7
- 8
- …
- 32
- Next Page »