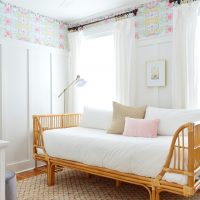
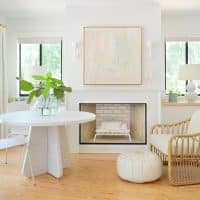
Furniture Upgrades & Building Stuff
Check out a ton of furniture upgrades and tips for things like Ikea hacks and other simple projects to update your home on a budget. Find detailed instructions for building stuff and making your space more organized and upgraded.
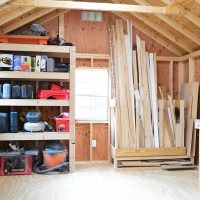
How To Build Easy DIY Garage Shelving
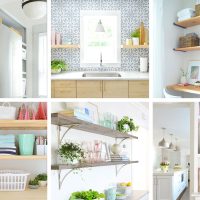
17 DIY Shelf Ideas
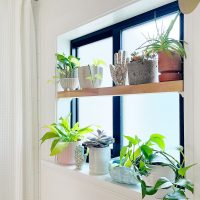
Easy DIY Window Plant Shelf
Easy Board & Batten Tutorial
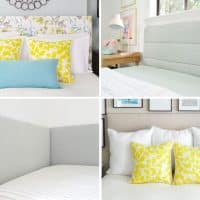
How To Make An Upholstered Headboard
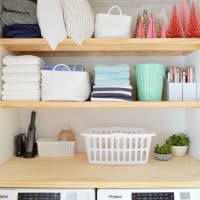
How To Build Easy Closet Shelves
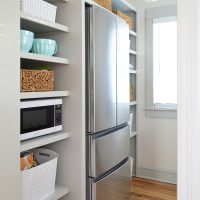
How To Build Pantry Shelves
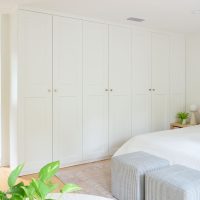
Ikea Besta Hack: Turn Them Into Built-Ins
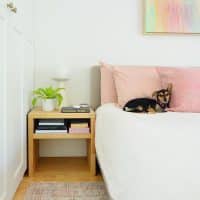
How To Build Modern DIY Nightstands
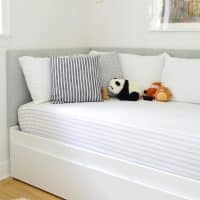
The Easiest DIY Headboard
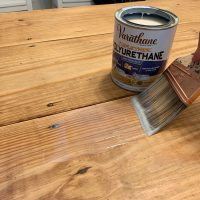
How To Refinish A Table
- 1
- 2
- 3
- …
- 13
- Next Page »