Videos
Videos are worth a thousand pictures. From tutorials for painting a room or building a console to random hilarity on tape, here's an archive full of our favorite video tutorials and chart-topping rap singles.
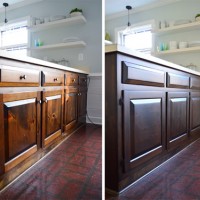
How To Stain Your Wood Cabinets Darker
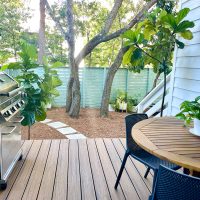
Our New Kitchen Porch

9 Small Kitchen Ideas

How To Hang An Outdoor Daybed (On Video!)

Our Painted Brick House’s Exterior Makeover

How We Organized The Beach House Kitchen

Ikea Pax Closet Makeover With Budget & Video Tour

A Video Tour Of The Duplex
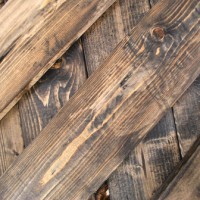
How To Make New Wood To Look Old
New Video House Tour!
Video House Tour 2016!
- 1
- 2
- 3
- …
- 11
- Next Page »