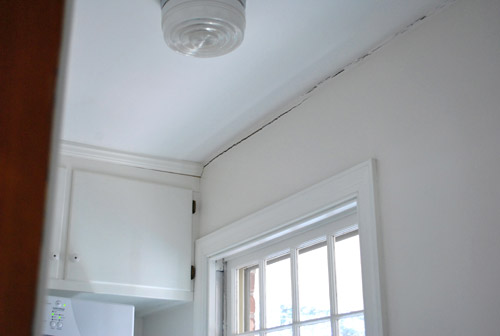
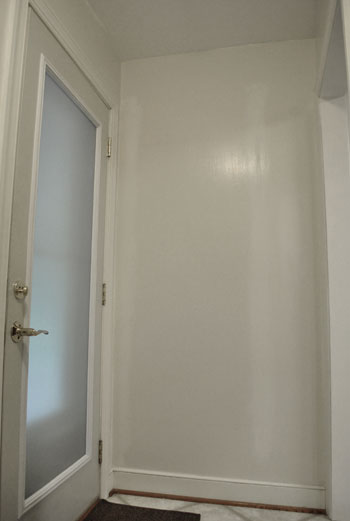
Crack is still whack. I couldn’t resist breaking out that Whitney Houston inspired one-liner, even though we already used it here. Why? Because this is a serious hard-hitting blog about real life issues. Just kidding. This time my fifth grade crack joke is in reference to a giant crack that was running across the side of the ceiling in the laundry room. Here’s the craggy before:
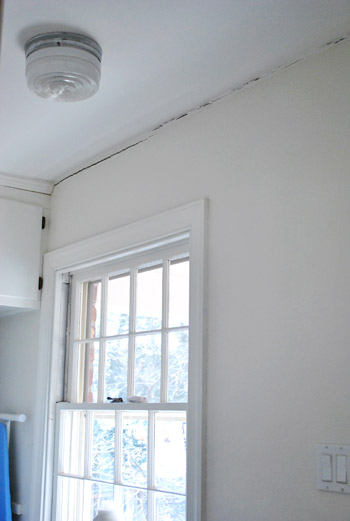
And the much less craggy after:
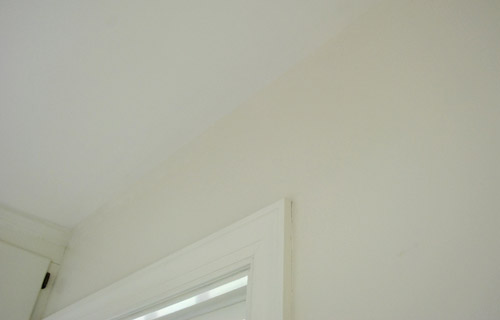
We had them check that beast of a crack out during inspection and learned it’s nothing like foundation issues (just normal house settling). Whew. And it was nothing that a little paintable white caulk couldn’t fix. Double whew. Tip: always make sure it’s paintable for jobs like this or it’ll never blend in correctly – we like Dap’s white paintable window & door caulk. We didn’t use spackle (as opposed to caulk) because we’ve heard experts mention that it can shrink up and “fall out” of the crack over time, but caulk usually doesn’t shrink or crack as much. Anyway, it was a super easy process. I just:
- Squeezed out a line of it along the crack
- Smeared it with my finger to remove excess caulk
- Went over it with a wet rag for an even smoother look
- Let it fully dry (I waited around 48 hours, mostly out of laziness)
- Touched it up with wall & ceiling paint left in the basement by the previous owners
So if you have a crack in your wall or ceiling and are wondering if you can handle it, I promise you can. Even if you’re 5’2″ and have to stand on a chair while the baby naps and the dog looks questioningly at you as if you’ve lost your mind and gives you the stink eye the. entire. time.
Like this, but picture one bug-out eye and one sinister squinty one:

My mom even recently caulked her bathroom all by herself (after calling me ten times from the hardware store to compare the merits of different caulk guns). So proud of her.
And so (almost) ends our second crack-related adventure. You thought I could keep it short? Do you even know me? Not in real life, I mean via the internet. Anyway, we’re actually sharing this mundane caulking detail since we’ve decided that it’s high time we tackled our laundry room makeover. Woo to the hoo. Cue the fireworks! Strike up the drum line! Watch out for those fire juggling clowns (don’t be afraid, they’re of the friendly and not freaky or nightmarish at all variety).
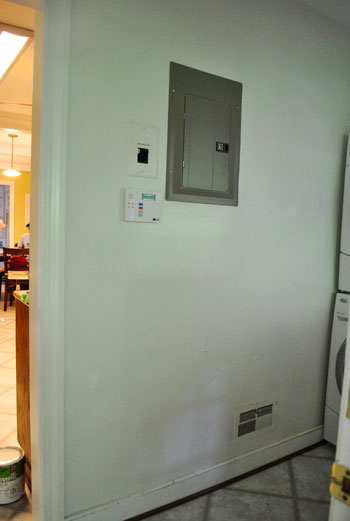
We’re planning to make a few one-project-at-a-time changes that hopefully add up to a nice refreshing difference when it comes to the look and function of our tiny 3.5′ x 8′ space. Here’s what it looked like when we moved in:
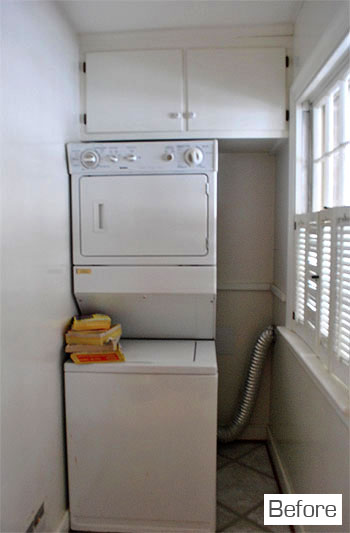
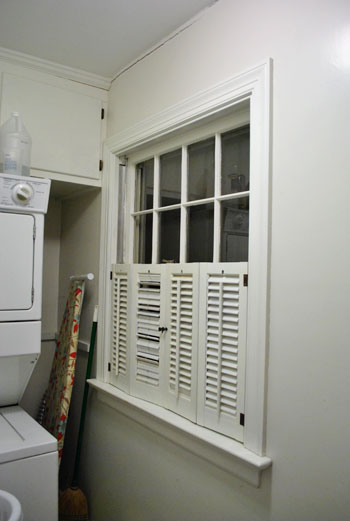
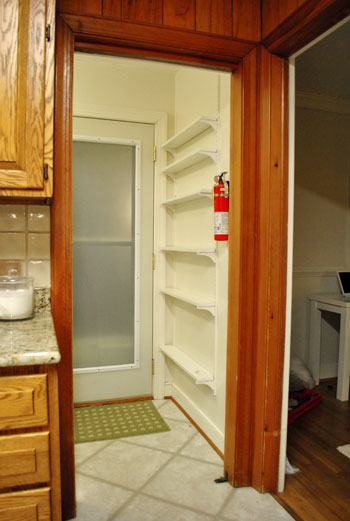
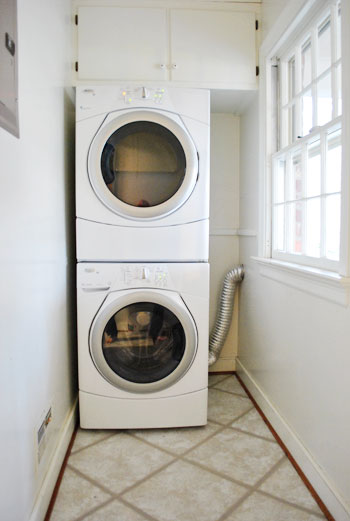
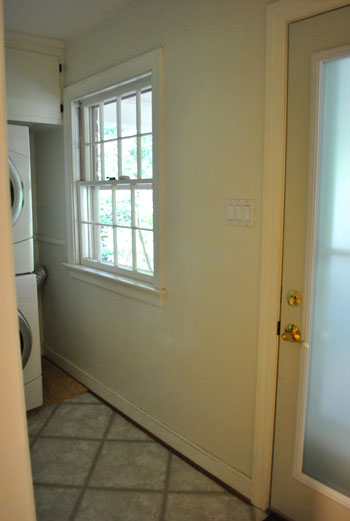
And here’s what it looked like after we 1) upgraded to some new (very on sale) front loading appliances, 2) took down the window shutters, 3) frosted the everybody-can-see-me-breastfeeding side door that looks into the kitchen, 4) removed the shelves behind the side door (opposite the washer/dryer):
We’ve been meaning to add some built-in storage next to the stacked washer and dryer among a few other functional (and just plain purty) things, so here’s the to-do list as it stands today:
- Paint the odd brown quarter round near the baseboards glossy white
- Redo all the dinged up trim (also in semi-gloss white)
- Paint the walls (we’ll be back with color details later this week)
- Add adjustable built-in shelving in that nook next to the stacked washer & dryer <– we can’t unstack them and put them on the long wall since the room is only 3.5′ wide, so we’d only be left with seven inches of space between the front of the unit and the opposite wall if we moved ’em
- Replace the hinges and knobs on the upper cabinetry
- Get a new light fixture (see the old one in the first two pics?) <- DIY something?
- Add a window treatment (maybe a homemade one?)
- Add other functional storage near the door for shoes, Burger’s leash, etc
- Hang some art to keep it cheerful and obscure the giant metal fuse box
And of course in the long term we’d love to rip out the vinyl tile to hopefully uncover hardwoods that we’ll someday refinish (we’re crossing our fingers that they carry into the kitchen as well). But that’s a waaay down the road thing since it’ll necessitate removing all of our kitchen cabinets to get to it (they rest on the vinyl tile and a layer of plywood with hardwoods underneath- oh the humanity). So for now the focus is on adding some everyday function and storage… and some cuteness while we’re at it. Game on.
Do you guys have any laundry room makeovers going on? Any projects or art or colors that you love in your laundry area? Do you think all clowns are of the terrifying murder-you-in-your-sleep variety? I think there are two kinds. Friendly and skeeeeery. It’s all in the eyes and hair.
Psst- Check out how we hid a big ol’ electrical box at our first house here and here, and how we pimped an old bi-fold laundry closet here and here.

Leave a Reply