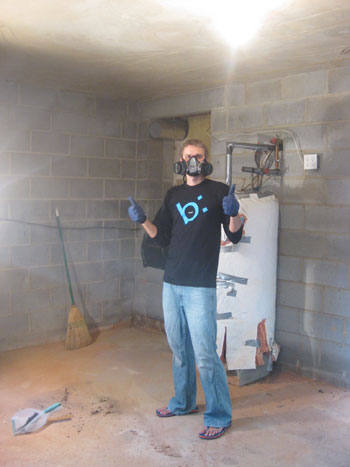
So we started the big basement makeover and let’s just say it’s proving to be quite a challenge. Good thing we love a challenge…
[ Read More ]
Home Decorating & DIY Tutorials
So we started the big basement makeover and let’s just say it’s proving to be quite a challenge. Good thing we love a challenge…
Our nephew is coming this week, so we’re doing a baby-themed giveaway from LaJobi Industries – an eco-friendly crib and mattress combo worth over $300!
Q: I am wondering how you keep all your decorating ideas and images organized. Do you keep all the magazines and catalogs with good design ideas (if so how do you organize them?). Do you cut out images? Do you keep everything electronic or scan in images? Just wondering because I always want to keep lots of inspiring decorating ideas but then never know how to organize them or find them again without allowing the clutter to get overwhelming. Love the blog! -Lindsay A: Good question! Of course I used to have piles and piles of torn out pages from glossy shelter magazines sitting around waiting to be filed or flipped through. But a few years ago I
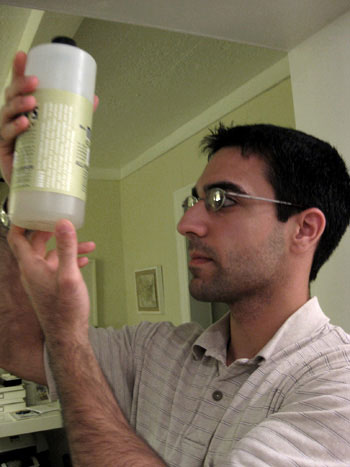
It’s October 15th and that means we’re back to share some earth friendly info courtesy of Almost-Doctor Dan for Blog Action Day 2009 (click here for more details on the big event). Since we consistently cover ways to live greener and give back to the planet (we have an entire section devoted to Eco Living on our How To page) this little online event seemed to fit right in, but we really wanted to go beyond ever-present eco encouragement like “use CFLs!” and “don’t forget to recycle!” (which are both great suggestions, they’re just a bit tried and true). So we looked no further than my brainy scientist brother to see what sorts of things
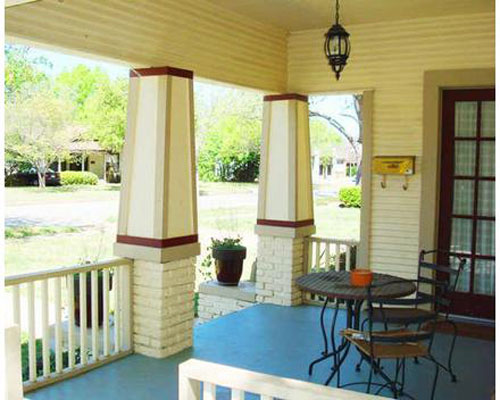
When Casey sent us these almost unbelievable photos of his home’s exterior makeover we couldn’t wait to share the goods. Here’s his letter: I’m a huge fan of your website and your remodeling. It’s simply awesome. I just bought my first house, and it was built in 1925. It’s in Dallas, Texas, and was completely remodeled in 2006. While I can’t take credit for everything that was done, I wanted to share the exterior before and after pictures. They’re pretty cool, I think. Urban Strong is the name of the company that did the renovations. They are based out of Dallas, TX. I’m just the lucky beneficiary of their fine work. Best regards and many
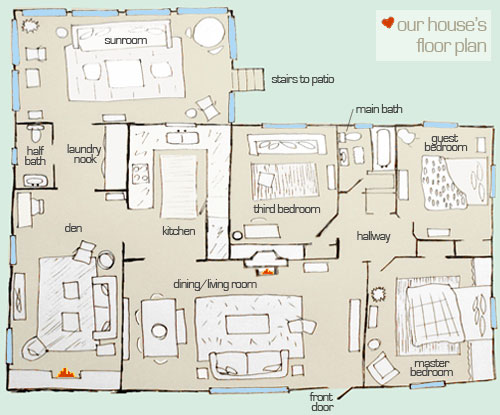
We had so much fun showing you the ins and outs of our house’s exterior layout back in June, that we’re back to share Casa Petersik’s actual interior floor plan. We know it’s pretty hard to picture how rooms flow into one another when you’re looking at a series of photos (like the before & afters on our House Tour page), so here’s hoping this makes some sense out of the three bedroom, one and a half bathroom brick ranch that we call home… Of course the house didn’t start out as a three bedroom (remember we moved our dining area into the living room and converted the formal dining room into a third bedroom
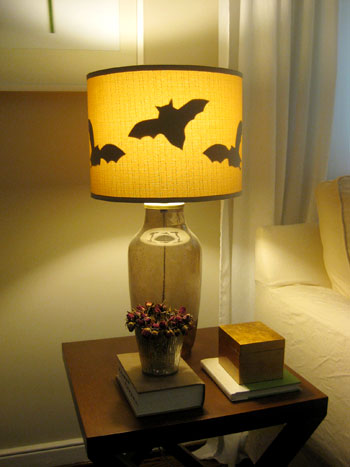
Last week’s Halloween fun didn’t end with that post. In fact we had a few more easy (and cheap!) ideas up our sleeves so we’re back to share the goods. First we took another little Martha Stewart trick and added black bat silhouettes to the insides of our living room lamps: And it was really easy. Here’s how we did it in under ten minutes using stuff we already had around the house (total cost: $0.00). First I sketched out bat shapes (inspired by a quick google search) on small white pieces of paper (tip: it helps to cut the paper into rectangles that are about the size that you want your finished bats to
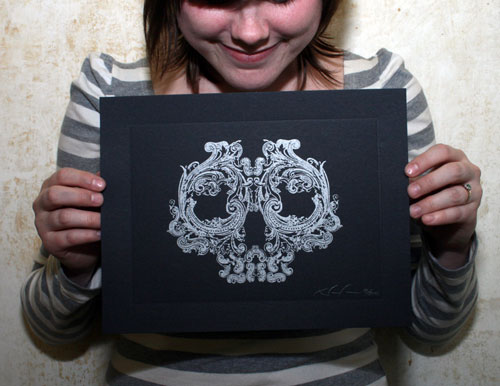
We unearthed a Halloween giveaway for you courtesy of Skull-A-Day and Cardboard Safari. Score your skullerific prize pack here through Wednesday, Oct 14th.
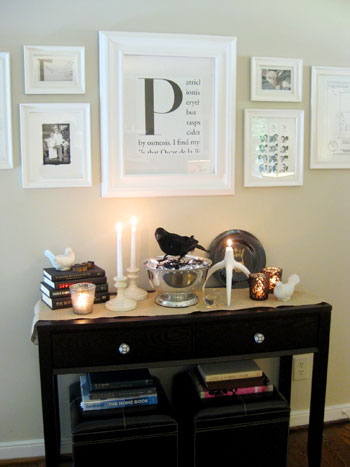
We get lots of inquiries about the big letter P that’s framed above our console table so we’re here to provide a little DIY tutorial so anyone can make their own in an afternoon with a few bucks. Hooray for cheap customized art.
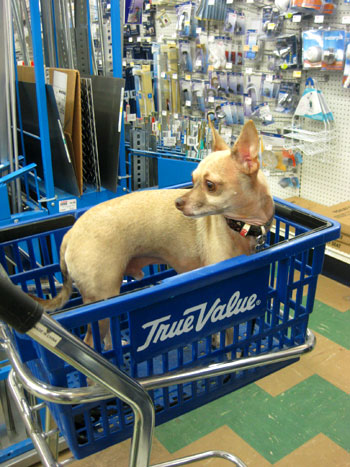
We’re super psyched to announce that True Value has put together a little DIY blog squad and we actually made the cut! Yes that weird flesh squeezing sound accompanied by a soft whimper is us pinching ourselves. We’re among some pretty amazing fellow bloggers so we’ve both got jazz hands over being in such good company (one hand is pinching while the other one is jazzing). Check out our fellow squad members: Our girl Katie over at All Bower Power Layla & Kevin from The Lettered Cottage Josh over at Bungalow 23 Brian & Paul with The Handyguys Podcast Quite a bevy of brilliant bloggers, no? In fact we’re sort of spinning our wheels when
Every once in a great while we’re given the opportunity to share something that could actually help the planet even if just one in ten people who read our blog put it into practice (like toting reusable shopping bags or collecting rainwater in a barrel). And this, my friends, is one of those times. Please feel free to pass this info on to your friends and family members! And who do we have to thank for this wealth of information that just might change the world as we know it (or at least change your impact on the planet from this day forward)? Why none other than my über intelligent little brother Dan (also affectionately
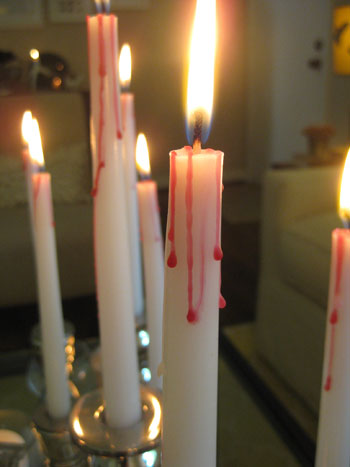
We don’t usually go all out for the spookiest day of the year, but when we realized that purchasing a few cheap accessories could transform three areas of our house (along with some stuff we already had) we were totally game.