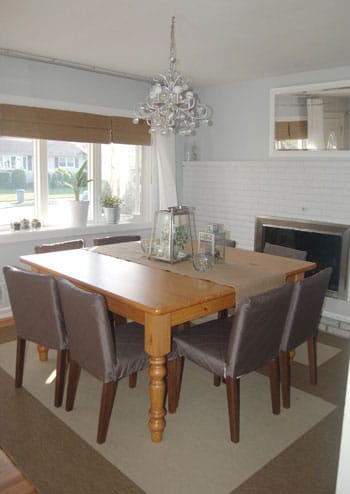
Eve sent us some stunning after pictures of her dining room (which we helped her transform back in January) and we can’t wait to share the eye candy!
[ Read More ]
Home Decorating & DIY Tutorials
Eve sent us some stunning after pictures of her dining room (which we helped her transform back in January) and we can’t wait to share the eye candy!
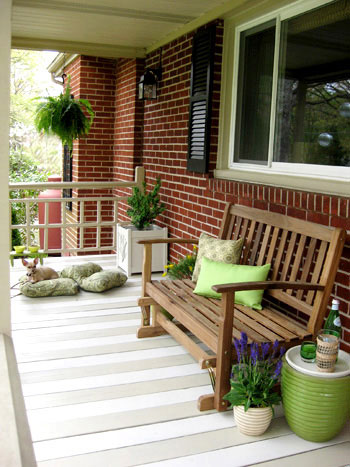
We painted our front porch in alternating cream and tan stripes and we’re back to break down the step by step process for you in our porch and deck painting tutorial. It’s easy!
We’re breaking down the simple process of laying peel and stick linoleum tiles. It’s affordable and easy and anyone can do it. Here’s all you need to know to get started!
A corset for a cushion? Sounds strange, but this oh-so-stylish solution to dressing up a pillow is this week’s giveaway courtesy of Fresh Leaf Designs.
We’re back to FINALLY reveal our front porch makeover for Better Homes & Gardens’ 48-Hour Challenge. We’ll show you just how far $500 can go when you use your wits!
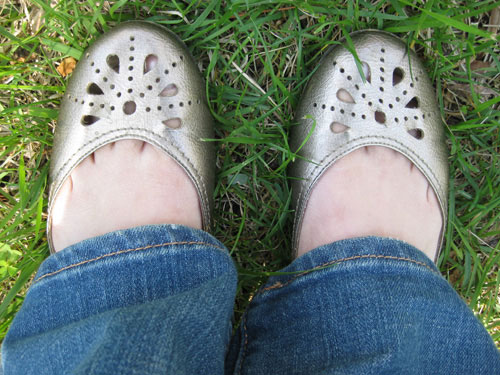
Wanna walk a mile in my shoes? How about just 12 hours? Here’s a day in the life of little ol’ me.
A surprise belated birthday gift from ZGallerie knocked our socks off- and we couldn’t wait to hang it up and tell you all about it.
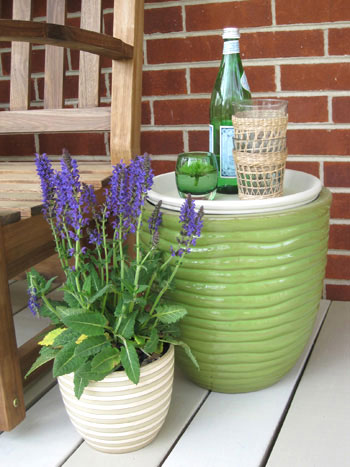
Our big porch reveal is right around the corner and we’re giving you a sneak peek at some of the finer details…
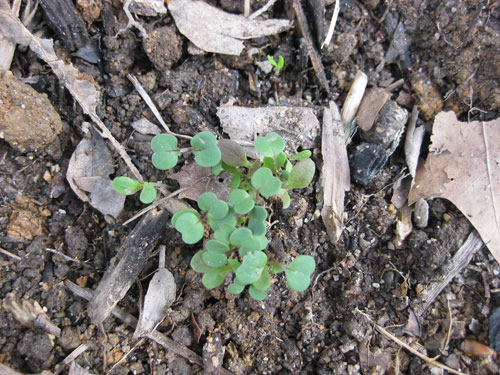
We’re celebrating Earth Day by creating an edible herb, veggie and fruit garden in the backyard. Check out our progress and cross your fingers that we don’t kill the raspberry bush!
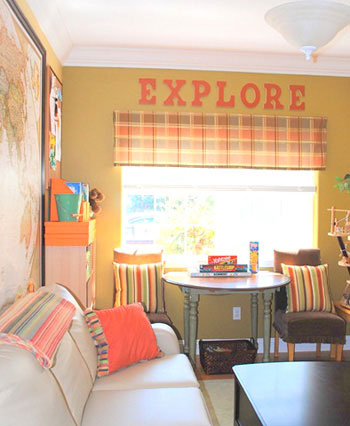
Kate’s playroom makeover truly has to be seen to be believed. We’re picking our jaws off of the floor to share the fabulous before and after photos with you!
Oh happy day! Our second installment of a three part story that we’re writing for Do It Yourself magazine has hit the newsstands- and we couldn’t be more excited to share the details!
Looking to turn your pooch into a rockstar? Enter to win one of three stylish, leather Dog Collars by FredFred courtesy of Jon Wye. Enter here through April 22nd, 2009.