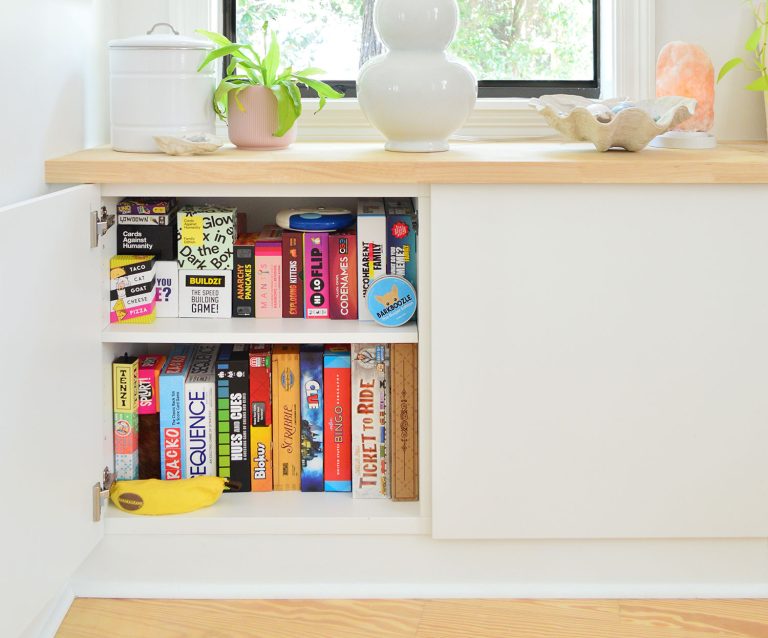
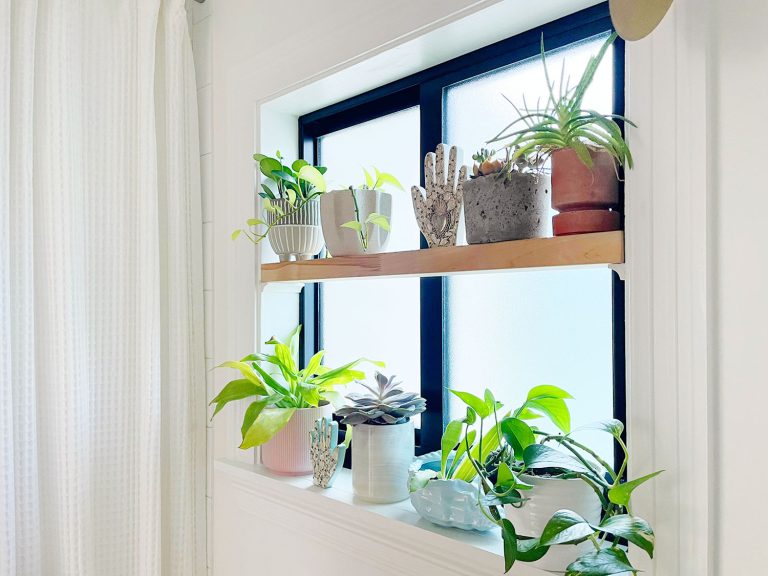
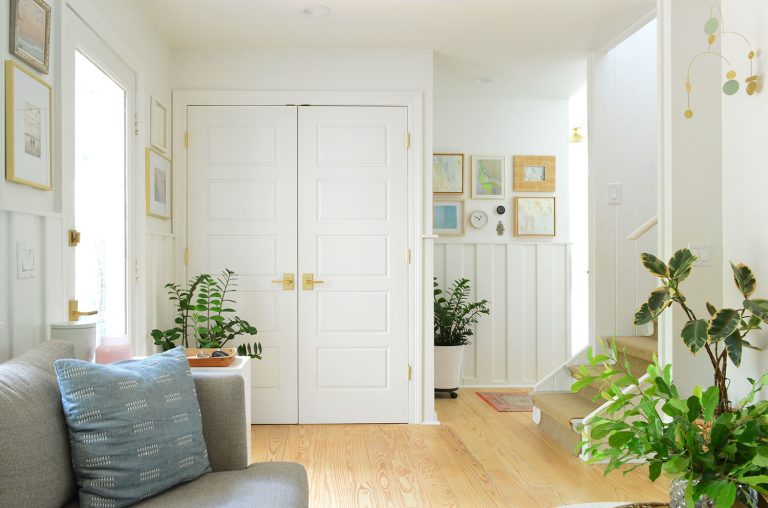
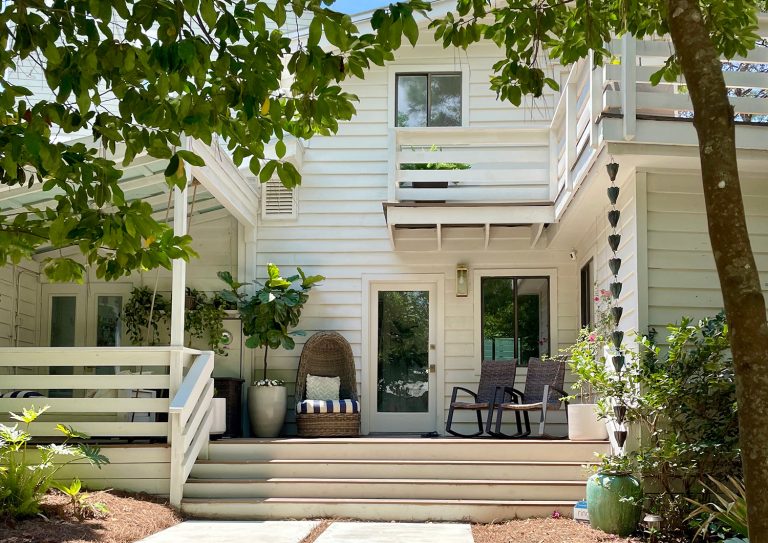
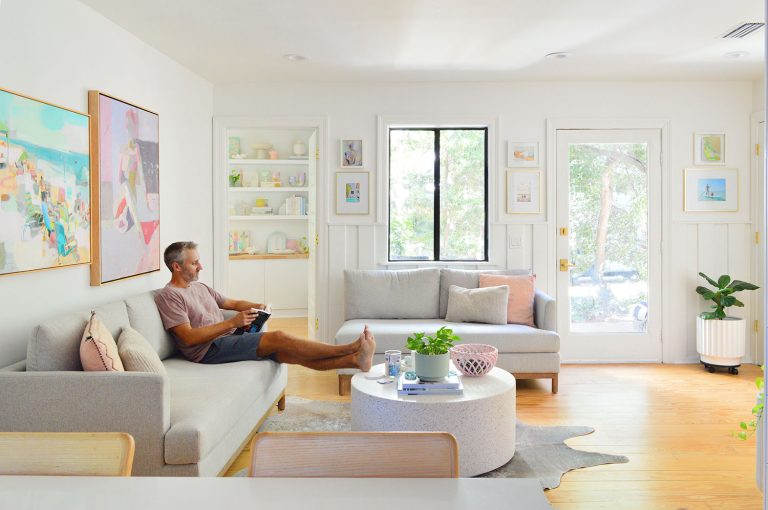
BRB, just changing the name of this blog to “Solving Problems With Plants.” And I know we promised a huge pool post, but the pool is still very much in progress. Hopefully it’ll be done next month and we can write one big breakdown with approximately 473 photos. But back to how plants can not only hide ugly stuff, they can also offer some pretty great privacy, as we’re about to demonstrate below. One of the things that contributes to our house being extra walkable to shops, parks, the beach, and restaurants is that it’s less like a sprawling suburban neighborhood due to the lots being a good deal smaller (you can read more about
A DIY Outdoor Shelf To Disguise Ugly Utility Boxes
When we shared pictures of our front porch last fall, we said that our decorating strategy out here was basically “plants and more plants.” It helps visually connect the porch to all of the greenery surrounding our house and – as we’ll show you today – it’s also helping us hide some less-than-pretty parts of this outdoor area. Let’s call them wall warts. Three large rectangular wall warts. But more on that in a second. First let’s travel back in time to what this all looked like last February when we put an offer in on this house (that’s our realtor in the photo below) As you can see, we’ve already come quite a long
Our Bedroom Ten Months In (Houston, We Have A Closet!)
Long story short, instead of having 8 doors that lead outside in our bedroom (yes, we really had that many), we now have 6. And spoiler alert: it’s still plenty. We really just use the middle set along this huge wall of doors to go in and out, but the view and the light that the other doors let in is truly a room-making detail. We love the view in here and all of the brightness that shines in, and the addition of the fence for our own little private courtyard out there has been so nice. It not only makes the yard feel more private, it makes the bedroom feel more nestled and private
How We Created A Cozy Fire Pit Area
We’ve been enjoying this fire pit hangout spot for months now, but it hasn’t been on the blog… until today. This is basically a lesson in how a fence can make a HUGE difference in defining an area, which can lead to adding some simple outdoor furnishings (in this case, it was four adirondak chairs and a fire pit – which hit the ground and instantly created an entirely new “outdoor room” for our whole family to enjoy). We hang out here and make s’mores at least once a week (and sometimes a lot more than that), so it has been a very welcome addition. Especially during a time when everyone is spending A LOT
How To Hang An Outdoor Daybed (On Video!)
Last week we shared how we built the DIY outdoor hanging daybed that we installed on our front porch. And as promised, I’m back to share how we hung it since, if you’re like me, hanging things that are meant to support the full weight of a human body (or two!) can make you a little nervous. It was actually extremely easy to do. So easy that we did it more than once (ha!) so that it resulted in the smoothest and most non-tipsy sway possible (our first hanging attempt made it tip forward and backwards a bit, which wasn’t ideal). Thankfully the second attempt worked like a charm. Plus it meant we could document
How To Build An Outdoor Hanging Daybed
Back in October we mentioned our plans to add a hanging daybed to the covered portion of our front porch and our entire family couldn’t be more excited that it’s finally done. Hanging daybeds like this are super popular in our area, and we’ve always had a soft spot for them. Is there anything better than reading/napping outside on a lazy Saturday afternoon? One of the Airbnbs that we stayed at in Costa Rica last January had one that pretty much cemented our feeling that they’re just about the perfect outdoor lounge spot. Sherry and our daughter spent hours there, each leaning up against a side arm with their legs extended towards each other, reading
A Loveseat For The Sitting Room
A bunch of you got a sneak peek at this change thanks to Instagram Stories right after the holidays, but here’s a quick update about the new loveseat we got and what the sitting room is looking like these days. We got the loveseat on Overstock, and of course now it’s out of stock – but I did find it here and here in the darker color (ours is the “light gray” one). So far we’re loving it, and it really went a long way in making the whole area feel like a legitimate hangout space. It’s also super comfy, which is really what matters (and you know this post is going to have some
Updating A Covered Porch With Floor Paint & A Hanging Tent
If there’s one thing we’ve learned about living here, it’s that we do a ton of living outside. Between each at-home learning break the kids are out there running around, we make s’mores at our fire pit every week or so, we sit on our front porch and watch the neighborhood dogs go by, and we often eat or hang out on the second-floor deck (we even work on our laptops up there on especially nice days – which is where I’m writing this post right now). We can really feel the house working extra hard for us thanks to the location/climate (good weather definitely encourages us to be outside a lot), but also due
How We Built An Easy Modern Fireplace Mantel
We mentioned in this year’s holiday decorating post that we wanted to get some sort of fireplace mantel built this month and, well, Santa delivered! ::pats self on back:: Yes, setting a goal to have a place for hanging our kids’ stockings is a little random, but we were happy to have the motivation to check this project off our list sooner rather than later. If you recall, our fireplace looked like this when we moved in: Here’s a wider shot of that area right after we got here, just for kicks. Ah, those packing blankets as curtains are #MEMORIES. So yeah… it feels good to be here: Sherry did some work to freshen it
Our Kitchen & Sitting Area, Six Months In
*We updated this post to add additional pics & a video, so if you see something here that you don’t remember when you first read it, that’s why. You’re not going crazy ;) We shared this space three weeks after we moved in and now we’re back with a six month update. Much like we said in that first post, we have some long term plans for this room, so this is just what it looks like as of this moment in time (I highly recommend photographing rooms to see how they evolve because it’s so much fun to look back on). Since that three-weeks-in post, we did a series of inexpensive updates that have
How We Decorated Our New House For The Holidays*
*Aka, the moment I’ve been waiting for since, oh, the day we moved in. There’s something extra special to me about decorating a house for your first holiday season spent there. It’s right up there with seeing whatever pops up outside during your first spring at a new house (I basically scream out the window like I’m the announcer at a football game: “over on the left it’s A PATCH OF DAFFODILS! NOBODY SAW THAT COMING!!” But back to our holiday house tour. It’s looking very sweet & festive around here. Since this move also involved some serious downsizing & simplifying (last week John shared an update on that), it promised to be an interesting
Realities Of Downsizing: The Good, The Bad, & The Unexpected
Believe it or not, we’ve lived in our new house for over six months now. Half a year! So we thought this would be a good time to check in on some of the goals we had for moving and downsizing to see what has met and exceeded our expectations – along with detailing some of the biggest challenges we’ve encountered along the way. This is going to be long & detailed, because it feels like there’s a lot of ground to cover, and while this rundown will be pretty specific to our situation, I think it’ll still give you a good window into the realities of downsizing that you might also encounter if you
- « Previous Page
- 1
- …
- 3
- 4
- 5
- 6
- 7
- …
- 236
- Next Page »