Q: Is there any way you can do a basic room-painting tutorial? Y’all seem to get such good results in just a few hours, but most internet tutorials would have me believe I need to put in a whole weekend for good results. I’ve noticed y’all don’t cover the floors and don’t prime–I’d love to know what other steps you skip and which ones you think are crucial, and why. Do you remove things like outlet covers and curtain brackets, or paint around them? When painting a ceiling, do you remove the light fixture? I need the youngsters to walk me through it! -Charlotte
A: We’ve definitely gotten the question “how do you paint a room?” a bunch of times so here’s our method. This isn’t necessarily what will work best for everyone, but it’s how we tackle those quite regular room painting projects so we thought we’d share our tips and tricks in case they come in handy for anyone else out there.
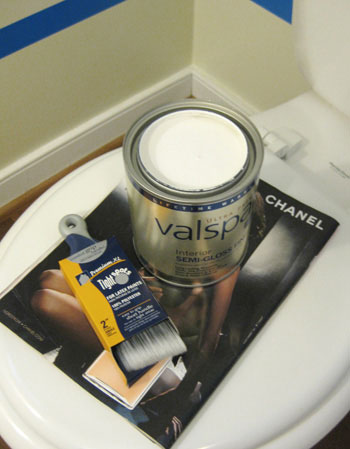
Tip #1: We like high quality rollers for smooth surfaces (for flat walls of course, if you have textured walls you should get the appropriate roller) and we only use brushes like the one mentioned here to cut in around windows, trim, ceilings, baseboard, and to paint corners that a roller can’t access (we don’t usually use painter’s tape when we tackle a room together since I love the control and the clean line of this paint brush while John is on roller duty). We also use short handled brushes like this to paint tight spots like behind a toilet.
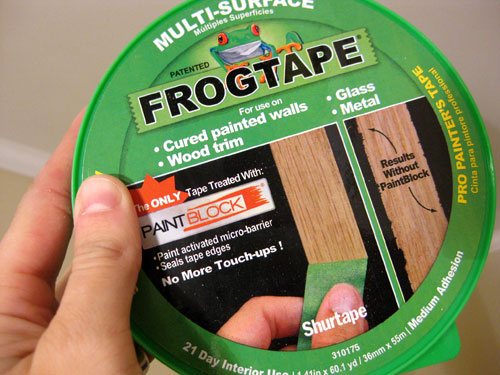
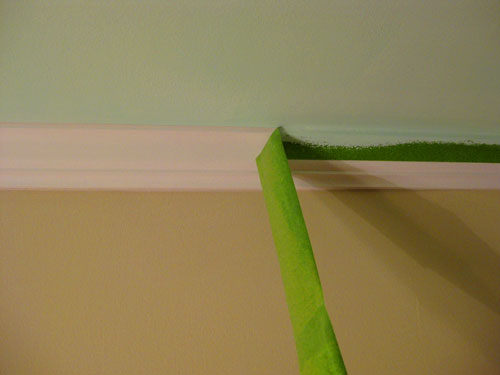
Tip #2: We never remove trim or baseboards to paint them or paint around them, but we do remove outlet covers and light switch covers most of the time (when we’re not being lazy) for the most professional result when it’s all said and done. We don’t remove curtain brackets (for fear of having a looser fit when we rehang them in the same hole) but we do remove the curtain panels and carefully paint around the area where the bracket meets the wall with our beloved short handled brush (anyone who is nervous about maintaining a steady hand can always tape off the brackets with blue tape or even Frog Tape (which we occasionally whip out, read more about it here). The same is true with light fixtures (we remove the pendant or shade if we can and then very carefully paint around the canopy or base for a seamless look).
Tip #3: We don’t use primer unless the wall is super saturated or dark (ex: chocolate or ruby red) or if we’re dealing with something that could bleed through like wood paneling (which may have been oiled, stained, etc- in which case you need to seal it with an oil-based primer before painting). Here’s a tutorial all about painting wood paneling– and while we’re at it, here’s one for painting brick. But if we’re painting a not-too-bright-or-saturated wall, we always just apply two thin and even coats (sometimes three in very rare cases) of latex paint. As for what brands we like, Behr and Benjamin Moore have been our favorites, but we often have colors by Valspar or Glidden color matched to those bases since we like a number of different paint chips from nearly every brand out there. We also loved using Mythic’s No-VOC paint for the nursery, Olympic’s No-VOC paint in the bathroom, and Home Depot’s Freshaire paint (in semi-gloss off the shelf white) for all of the trim and doors in our house.
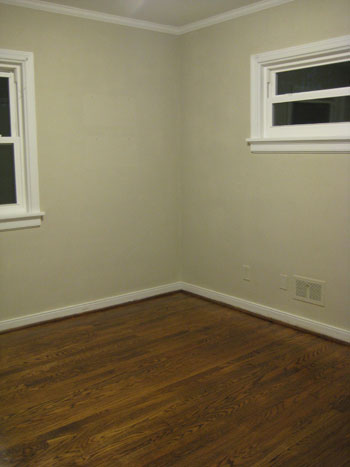
Tip #4: Now for our highly controversial floor coverage info. We have wood floors and have been painting so long that we don’t use drop cloths, but you definitely should consider using something like a plastic tarp from your home improvement store or large pieces of cardboard to protect your floors if you’re not quite as experienced in the we-paint-something-every-weekend realm that we live in (especially if your floors are carpeted). We’ve found that after years of painting and repainting (see what we mean here) we don’t drip very often at all. And when we do, since our floors are wood and they’re sealed, we can just wipe the drip up as long as we don’t wait too long until it dries (in that case a drip can still be “popped” off but it’s a bit more time intensive).
So in summary, our room painting process goes a little something like this:
Step 1: We bring home a bunch of swatches and tape them up to compare them and observe them in a variety of lighting situations over the course of a few days. After picking a winner we head to the home improvement store to get paint (usually a gallon of flat or satin stuff- read more about finishes here).
Step 2: Before hopping in the car we also take time to check if we have at least one roller (we like Purdy ones for flat surfaces), a clean 2″ angled brush (again we like Purdy brand stuff or the Sherwin Williams one we linked to above for trim painting), and a clean paint tray.
Step 3: We return home with our paint (and a roller or tray if we need one) and clear the room (removing furniture, rugs, art on the walls, curtains, etc).
Step 4: We lay out a large black garbage bag on the floor- the giant kind for bagging leaves, not the small kitchen gallon ones. This is the only floor protection that we implement (it’s where we lay the paint tray and our can of paint along with the lid and a few rags for wiping up floor drips). Alternatively, sometimes we use a large piece of cardboard that we have lying around (which is also where we place the paint tray, paint can, etc).
Step 5: We make sure the paint is stirred or shaken (it usually is if we get started right after retuning from the store where they’ve mixed the paint for us) and pour it into the paint tray that we’ve placed in a central location in the room on our black garbage bag or piece of cardboard.
Quick tip: Taking a nail and hammering a few holes around the lip of the lid of the paint can will keep excess paint from pooling in the lip and allow it to drip back down into the can (which results in easier clean-up and allows you to use every last drop of paint if you need to).
Step 6: John starts rolling and I cut in with my short handled 2″ angled brush. I carefully paint around trim, baseboards, ceiling moldings, and corners while John applies thin and even coats of paint with his roller (creating large W shapes on the wall as he goes to keep things looking seamless and smooth).
Step 7: We both finish our respective jobs at around the same time. By then the areas that we started on are usually dry and we can begin on coat number two (our plaster walls almost always call for two coats, no matter what brand of paint we use). If we worry that things are still a bit tackly (if it’s an especially humid day for example) we wait about 30-45 minutes and then go in for the second coat.
Quick tip: The key to banging out a quick paint job is to apply the second coat while you still have some steam so it’s all said and done within a few hours (and you don’t need to wash or replace your roller or your brush since there’s not a lot of lag time between coats).
Step 8: After coat number two (if we’re convinced we have full coverage, which we almost always do) we immediately wash our brushes and rollers and clean up the room. This helps keep our equipment in good shape (no ruined brushes or paint-filled trays to greet you the next morning). Plus it really allows you to relax instead of dreading the clean-up. Just get ‘er done. You’re in the home stretch!
Step 9: As for clean up, when we’re working with latex paint we just need water to clean our brushes and rollers (some people like to wash and reuse them while others toss them every time). We buy the recycled biodegradable paint trays for under a buck, so we just pour the remaining paint back into the paint can and toss those in the trash.
Quick tip: If you’ve taped off anything in your room with blue painters tape or Frog Tape, we recommend removing the tape as soon as you’re done with your paint job. Seriously, rip that stuff off the second you put down your brush (before the paint dries onto the tape which results in a less clean line than you’ll get if you peel it when it’s still wet).
Step 10: Then we just load in the room with the furniture and accessories that we’ve cleared out. It usually takes us around 2-3 hours from start to finish (starting from the point at which we return with the paint and supplies that we need).
And fret not if you don’t have a painting partner in crime, we’ve both done rooms all by ourselves in 4 hours or so. You can do it! So that’s the method that works for us. Anyone else out there care to share tips for people who might be virgin painters? Spill the wall painting beans.
Psst- Have other painting questions? Check out the painting section of our Projects page, which has a ton of extra info and ideas for ya.

Leave a Reply