Home Improvement
A bunch of in depth tutorials and step by step instructions for completing home improvement projects, keeping up with home maintenance, transforming a fixer-upper, and doing things like unclogging a drain or building a deck.
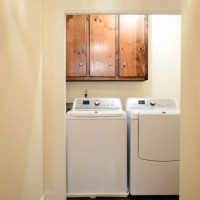
Picking Out A New Top Loading Washer And Dryer

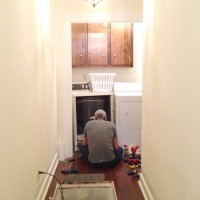
Our Toilet Leaked Through The Ceiling Below
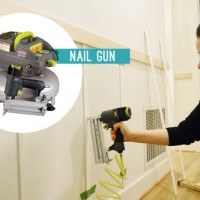
The 5 Best Power Tools For Home DIY Projects
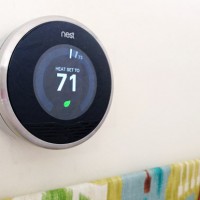
Review Of Our Nest Thermostat
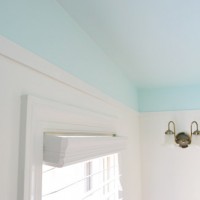
Painting A Bathroom Ceiling And Adding Trim
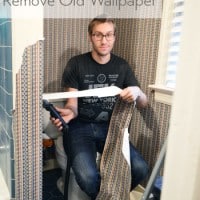
Removing Wallpaper From Our Bathroom

How To Paint Your Upper Cabinets White
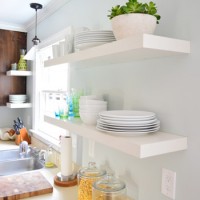
Hanging Ikea Floating Shelves In Our Kitchen

Switching A Hanging Microwave To A Range Hood
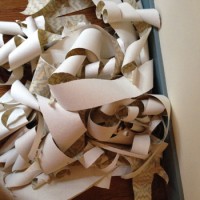
Using Hot Water To Remove Wallpaper
How To Seal Stenciled Plywood Floors
- « Previous Page
- 1
- …
- 11
- 12
- 13
- 14
- 15
- …
- 34
- Next Page »