Home Improvement
A bunch of in depth tutorials and step by step instructions for completing home improvement projects, keeping up with home maintenance, transforming a fixer-upper, and doing things like unclogging a drain or building a deck.

Five Quick & Easy Kitchen Updates
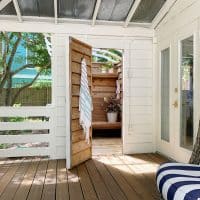
Our Outdoor Shower Makeover

Refinishing Pine Floors For A Beachy Look
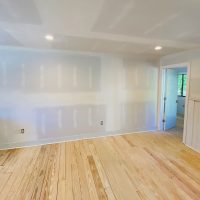
Our Downsizing Renovation Progress
The Best LED Light Bulbs
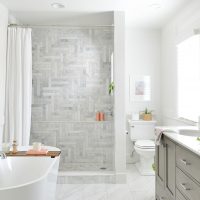
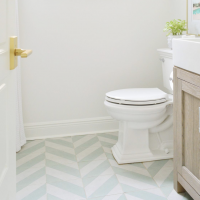
Before & After Photos Of Our Bathroom Makeover & How Much It Cost
Quick Demo-Free Bathroom Makeover
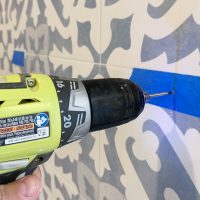
How To Drill Through Tile
How To Add Decorative Wall Molding

Ikea Pax Closet Makeover With Budget & Video Tour

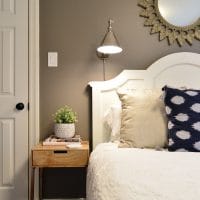
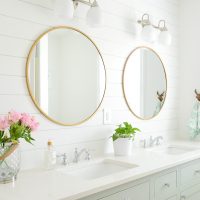
A Big Bathroom & Closet Update
- « Previous Page
- 1
- …
- 3
- 4
- 5
- 6
- 7
- …
- 34
- Next Page »