
Decorating
Here are a bunch of decorating tips and tricks to upgrade any home and makeover rooms on a budget. From curtain hanging tips to what kind of rug to get (and how to mix patterns) there's a lot of info to discover.
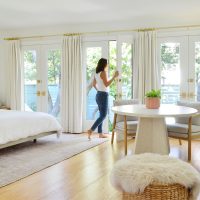
6 Ways We Upgraded Our Bedroom

How To Install A Stair Runner

Adding Ikea Floating Shelves In Our Bedroom
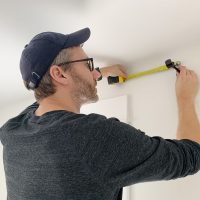
A Quick Way To Hang Curtain Rods

How To Fit A King-Size Bed Into A Small Bedroom
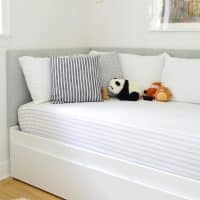
The Easiest DIY Headboard

Rug Sizing Tips & Our Favorite “Magic Rug”
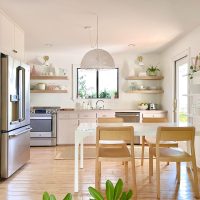
Adding A Door To The Kitchen
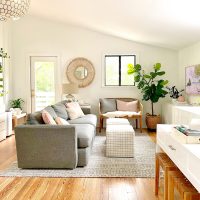
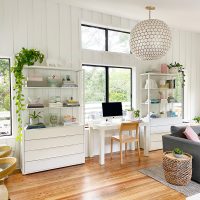
Our Family Room Is An Office, Art Room, and A Movie Room
The Best 7 Storage Furniture Pieces

9 Small Kitchen Ideas
- 1
- 2
- 3
- …
- 34
- Next Page »