Cleaning, Organizing, & Eco
Great tips and tricks for getting organized at home, and cleaning your house in an easier (and faster) way! Also includes recipes for homemade eco cleaning products and our cleaning schedule for getting it all done!

10 House Plants For Better Home Air Quality
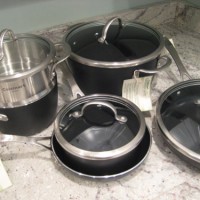
Cooking With Eco-Friendly Cookware
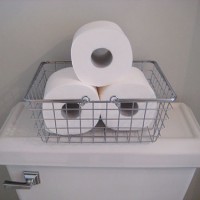
3 Ideas To Store Toilet Paper Out In The Open
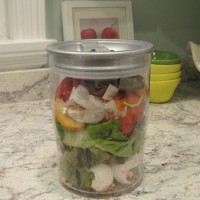
Our Airtight And Odorless Compost Container
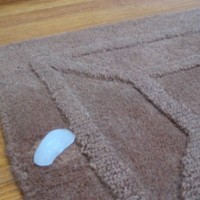
How To Fix Furniture Dents In A Rug
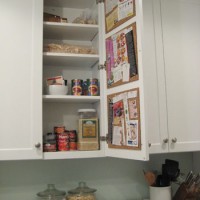
How To Make A Pinboard For Recipes That Hangs In Your Cabinet
How Composting Has Reduced Our Household Waste
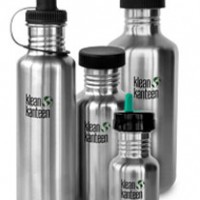
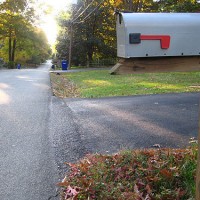
10 Ways To Make Your House More Eco Friendly
2 Tips For Keeping Your Bed Skirt & Duvet In Place
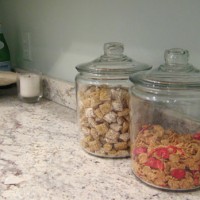
Using Glass Jars For Cereal Storage