Crafting & Art
Gorgeous and fun crafting and art projects you can whip up yourself - usually in just a few minutes. Learn how to hang a frame gallery, make painted baskets, sew a pillow or quilt, make a wreath, or build your own frames.
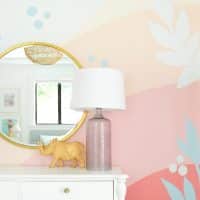
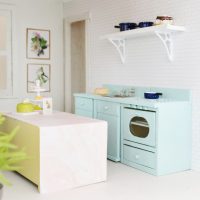
Making An Arts & Crafts Room For Our Kids
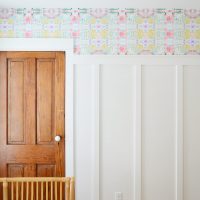
How To Hang Peel & Stick Wallpaper
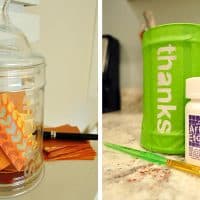
Thanksgiving Craft: A Glass “Thanks Jar”
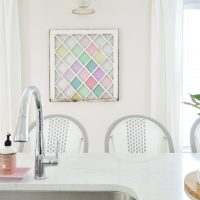
Our DIY “Stained Glass” Window
Our Second Dollhouse Makeover

How To Paint Decorative Oars For Beach House Decor
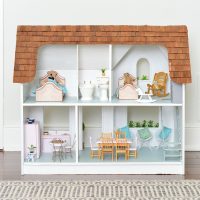
Our Dollhouse Makeover
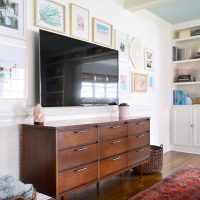
How To Hang Frames Around A TV
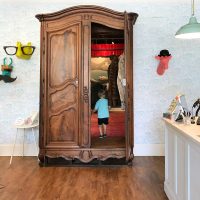
Kids Room Ideas From The Cutest Kids Bookstore Ever

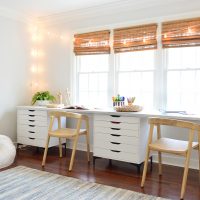
Homework Room Makeover

A Custom Kids Portrait
- 1
- 2
- 3
- …
- 17
- Next Page »