When we shared the duplex backyard makeovers last month, I promised more details about how we made the decorative oars that hang on each shed. So today I’ve got a detailed tutorial for you (including how NOT to screw up your attempts to make them outdoor friendly) along with a few other “hacks” you guys asked about.
The oars actually were not part of our original plans. But after the sheds were built we nixed our plans to run electricity to them (for cost reasons – and because they really don’t need it). But the empty space where we’d planned to hang a light above the door needed… something.
That something became oars after a trip to HomeGoods where we stumbled upon a decorative surfboard. Cape Charles isn’t really a surfing town, but there is plenty of kayaking and paddle boarding, so oars felt a bit more applicable for our little beach town. I went on the hunt for some on Etsy and found some really good options (like this, this, and the ones pictured below) but they all were a bit pricier than we had in mind. Just couldn’t justify spending $350+ on this project to end up with four cool looking oars to hang on the sheds.

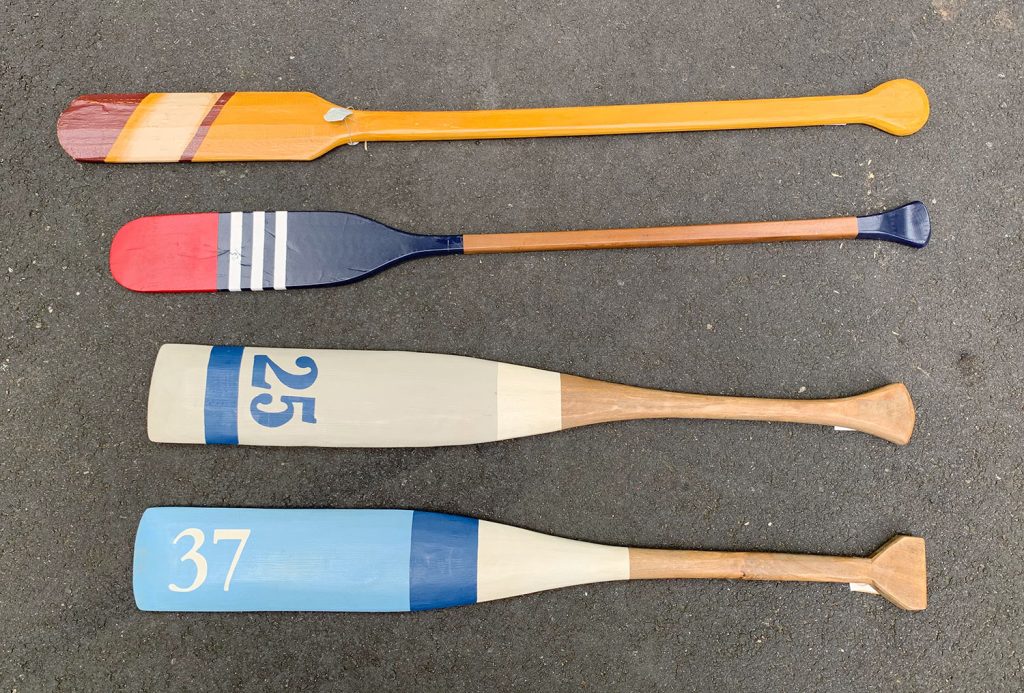
We actually ditched the idea entirely for a couple of weeks, but then we stumbled upon two decorative oars at HomeGoods for $25 each. They weren’t the colors or design we wanted, but that can always be fixed with paint! So we bought them and took them to Cape Charles and held them up to make sure we were barking up the right tree. We wanted to make sure we liked the size & shape before altering them with paint (thereby making it impossible to return them).

With renewed excitement for this idea, we tracked down two MORE decorative oars (thanks to having two HomeGoods in Richmond). All four of them cost a little over $100, which was great… but they didn’t look the way we wanted. They actually looked pretty awful together at this point:
But I was emboldened by our luck at sanding down and refinishing the duplex dining tables, so I took to sanding each down to their raw wood. Here’s the orbital sander I used, which does the job really well.
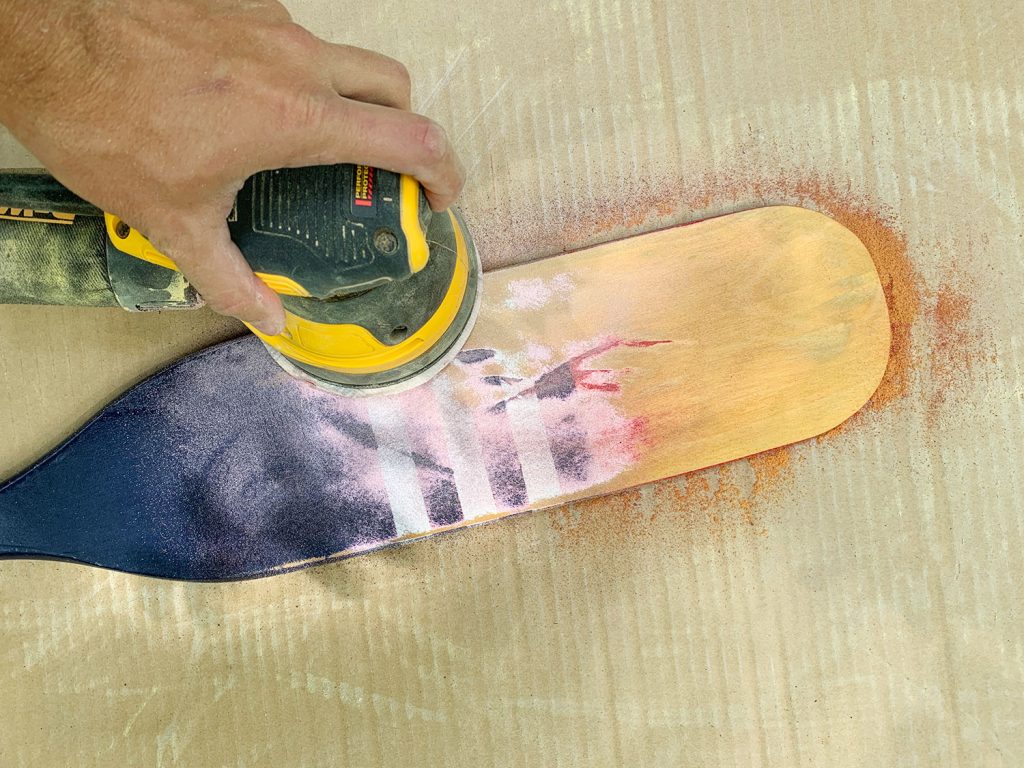
It took some elbow grease, but the results were extremely encouraging. Here’s a side-by-side of the two most similar oars – one sanded, one not.

Once I had them all sanded down, I stained them all to get their varying wood tones looking more similar. It was basically trial and error of various leftover stain cans in our garage, but I am 95% sure it involved Rustoleum Summer Oak and Minwax Weathered Oak being layered over each other.
Before I stained them I also took a picture of them grouped on the ground and started Photoshopping various stripes and shapes on them. YES, THIS IS THE MOST ANYONE HAS EVER DONE IN THE PURSUIT OF PERFECTLY COORDINATING DECORATIVE OARS. I feel like I deserve a Bachelors of Science in Oarology at this point.
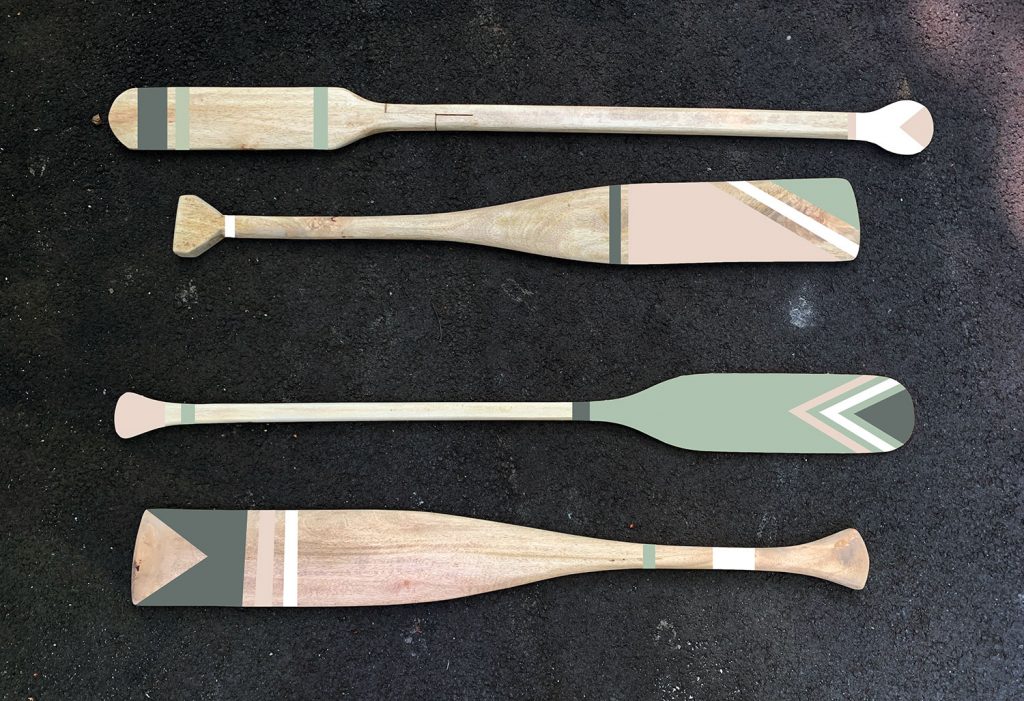
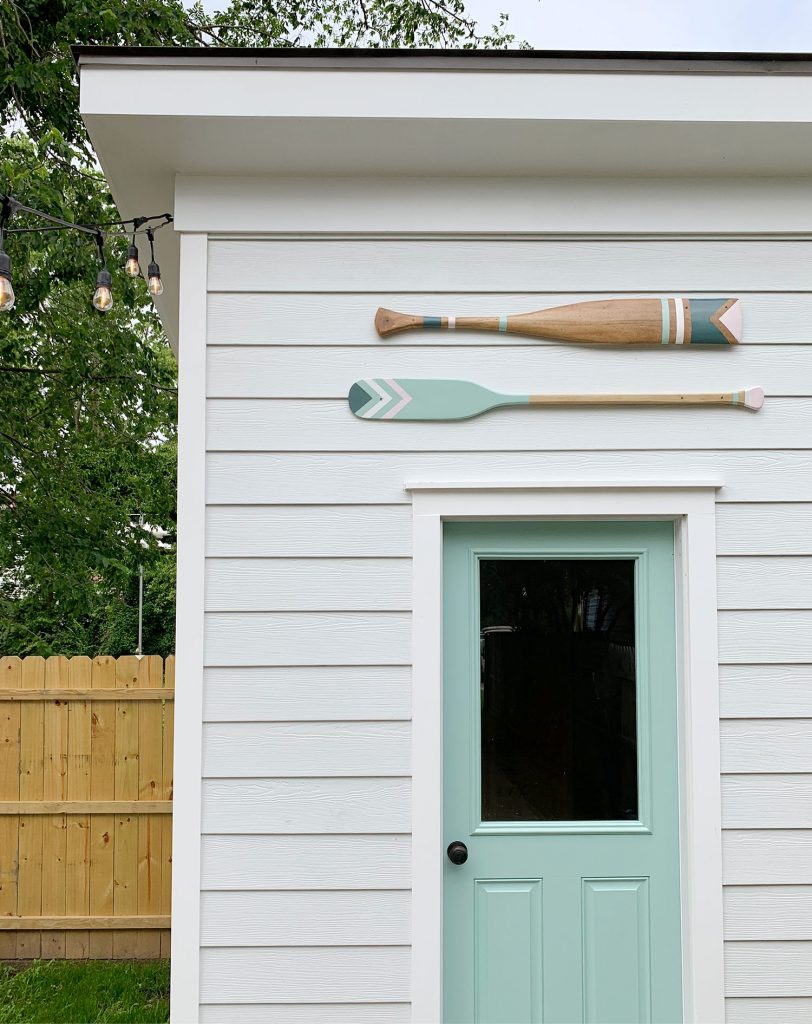
Anyway, we knew we wanted to use colors inspired by those found elsewhere in the duplex, like the mint green shutters, the white siding, and the muted pink and green found on the interior doors. So doing all of this in Photoshop helped us fine tune our direction before cracking open any paint cans. Also it earned me that highly esteemed Oarology degree. (*steps up to podium and clears throat*) “I’d like to thank my mom and dad, who instilled a love of oars at an early age…”
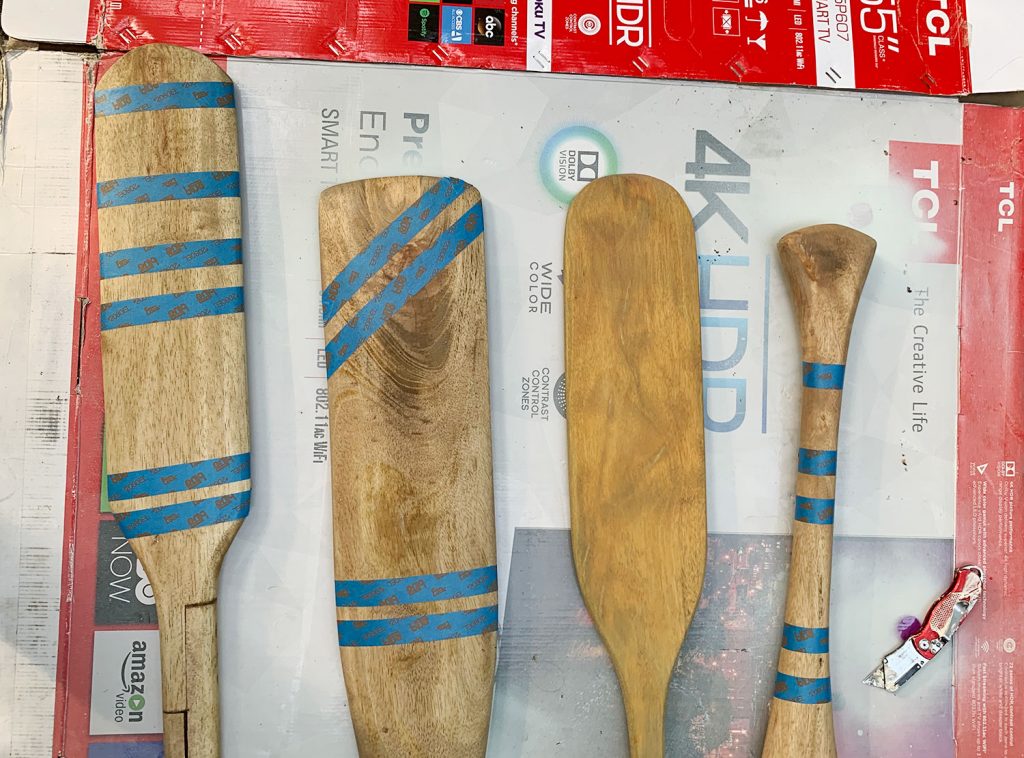
Right, back to the tutorial. Next we used the digital mock-up to tape off each oar using painters tape. We intentionally left a lot of wood “stripes” in our design (you know, the areas UNDER the tape) because whenever two colors touch, you have to paint one and let it dry before you can paint the other. So for efficiency we minimized these instances, but we didn’t completely eliminate them. The reason you don’t see any tape on the top section of that third oar is because I had to do a base of the mint color before I could tape and paint my next colors.
Once everything was taped, I primed each area first (this is our favorite primer) and then once that had dried, I painted each section – being careful to reference my rendering along the way (although we did deviate a little as we went). Except for the mint color (SW Pale Patina) we didn’t use the exact paint colors we used elsewhere in the duplex. The white was just an exterior white we had on hand (SW Snowbound) and the pink and navy were more saturated versions of the interior doors colors (SW Downing Pink and SW Riverway, respectively). You definitely should use exterior paint if you’re going to hang your oars outside, FYI. Also colors tend to wash out in exterior lighting (there’s more sun outside than inside) so you sometimes need to go darker or more intense with a color than you would inside your house.
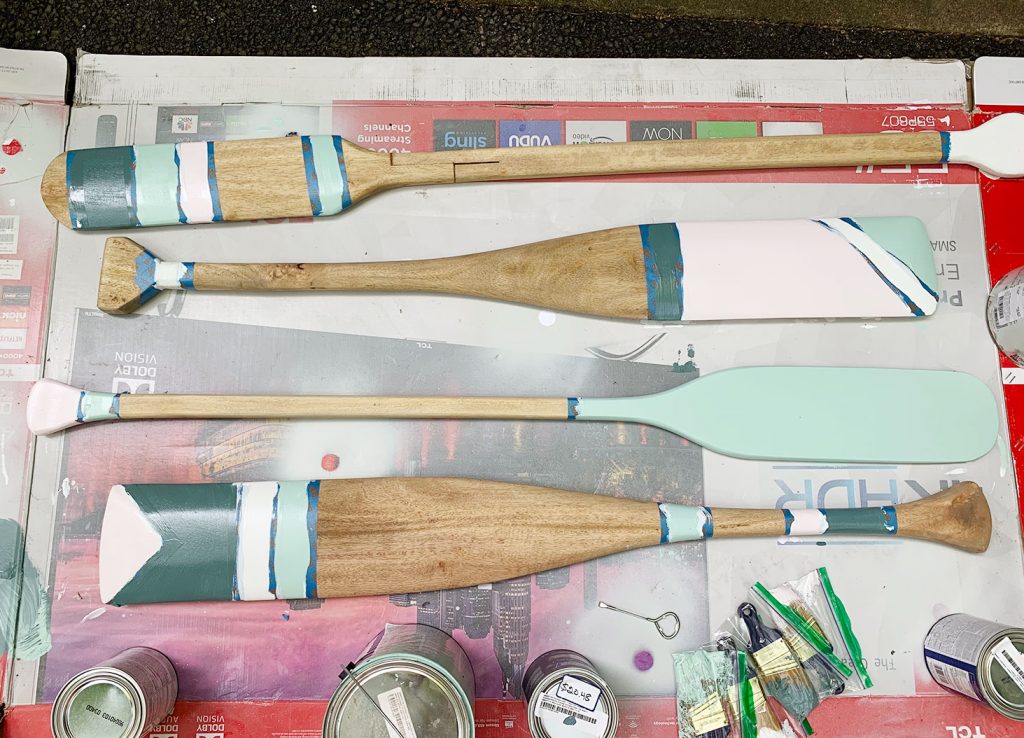
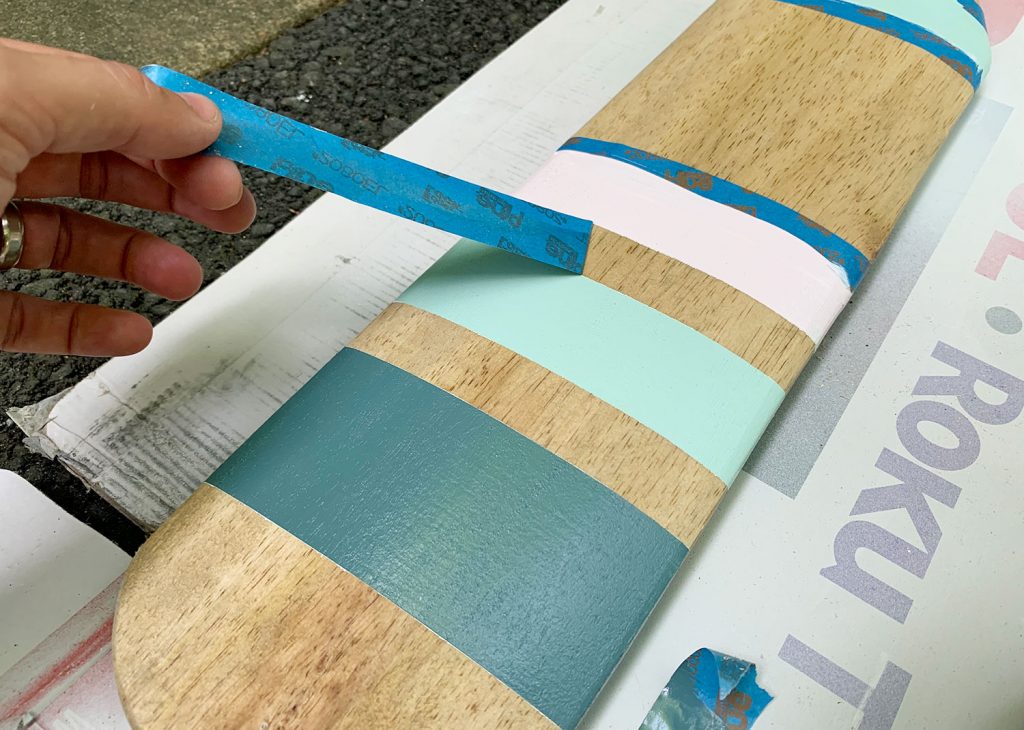
The project was going great at this point. Things were drying quickly in the heat outside. We got that unmatched satisfaction of peeling off a crisp line of painters tape…
AND THEN THINGS TOOK A TURN. And this is where I want you to learn from my mistake.
After I had finished painting all of the stripes, my last step was to seal the whole thing so it’d be even more durable outdoors (these things will be exposed to the elements 24/7/365 (and that’s not just rain, it’s lots of heat and even snow). So we wanted to layer on an exterior grade polyurethane sealer, which are typically oil based – but VERY durable. Now, I should’ve tested the sealer I had on hand in an inconspicuous place first – but I was running up against a weekend that we were going to Cape Charles and I wanted to finish these and bring them with me. So I just WENT FOR IT.
Sherry described what happened next as “not a big deal” and “nothing to freak out over – John, you’re being crazy.” But I had gotten so pumped about how these were turning out so far that I was extremely frustrated at myself for messing them up on the last step. Here’s what happened:
Oil-based stains have a tendency to yellow. That’s why we use water-based ones in most of our projects. But again, exterior-grade = oil-based. And we didn’t want these oars to get ruined over time because we used the wrong sealant. But, I was bothered by HOW YELLOW it made the colors and because the oars are slightly rounded, the stain pooled as it dried in various spots – leaving brownish-yellow streaks and dots along the oars.

Sherry’s right that it’s a relatively minor issue – one that probably wouldn’t be super detectible from the distance at which they’d be seen anyways. But I was annoyed at how much more “rustic” the oars had become due to the yellowing and the streaking.
So I did the only sensible/crazy thing that a Certified Oarologist™ could do in this situation. I sanded off all the streaky spots, taped everything off again, and repainted all four oars. It wouldn’t de-yellow the wood tone, but at least I could get back the crisp vibrancy of the original paint colors we had chosen.

Because here’s the thing we didn’t really think about when we started this project: we were using exterior paints on everything, so they didn’t actually need to be sealed. Only the wood needed sealing. Soooooo… if I were doing this again (or if you’re at home doing it right now – first of all welcome to the field, it’s good to have a fellow Oarologist in my midst) I would’ve sealed the wood (both sides, btw) BEFORE I painted any of the stripes or detailing onto the oars. Would’ve dodged the entire bullet and the entire oar would be durable and outdoor-safe.
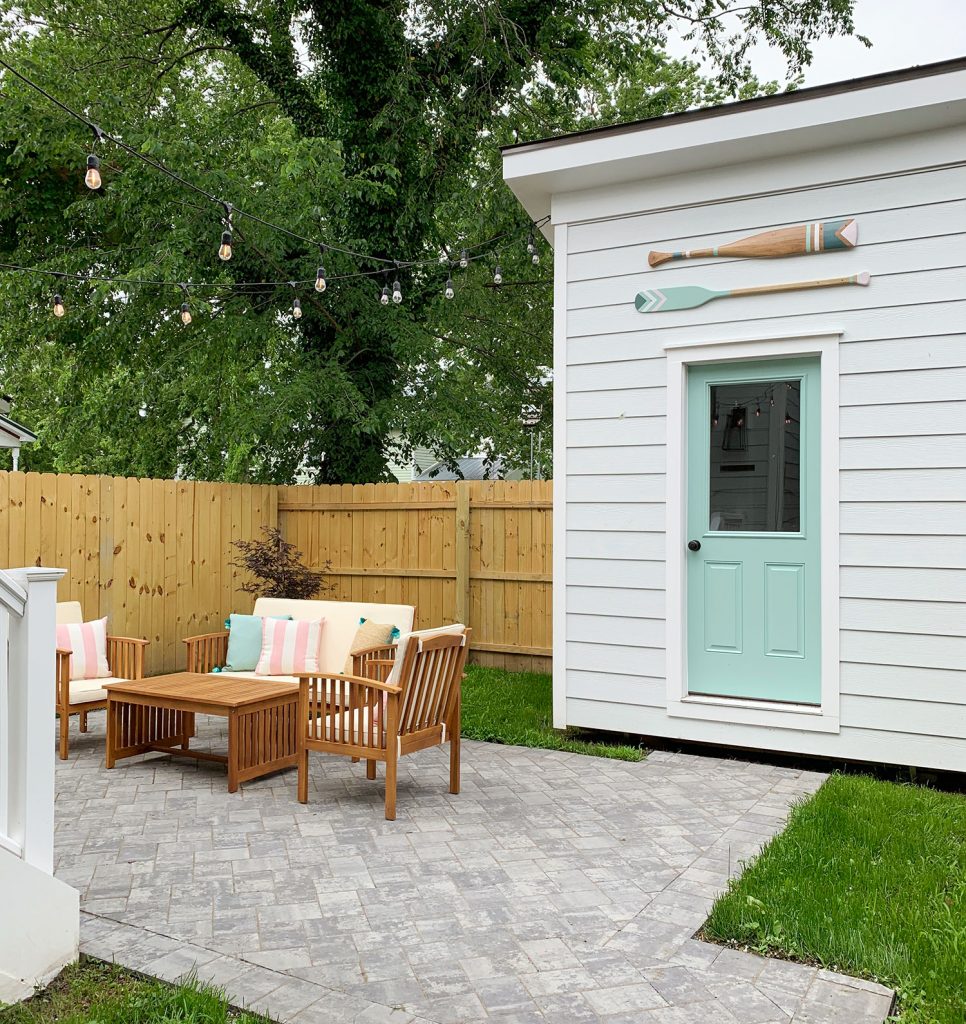
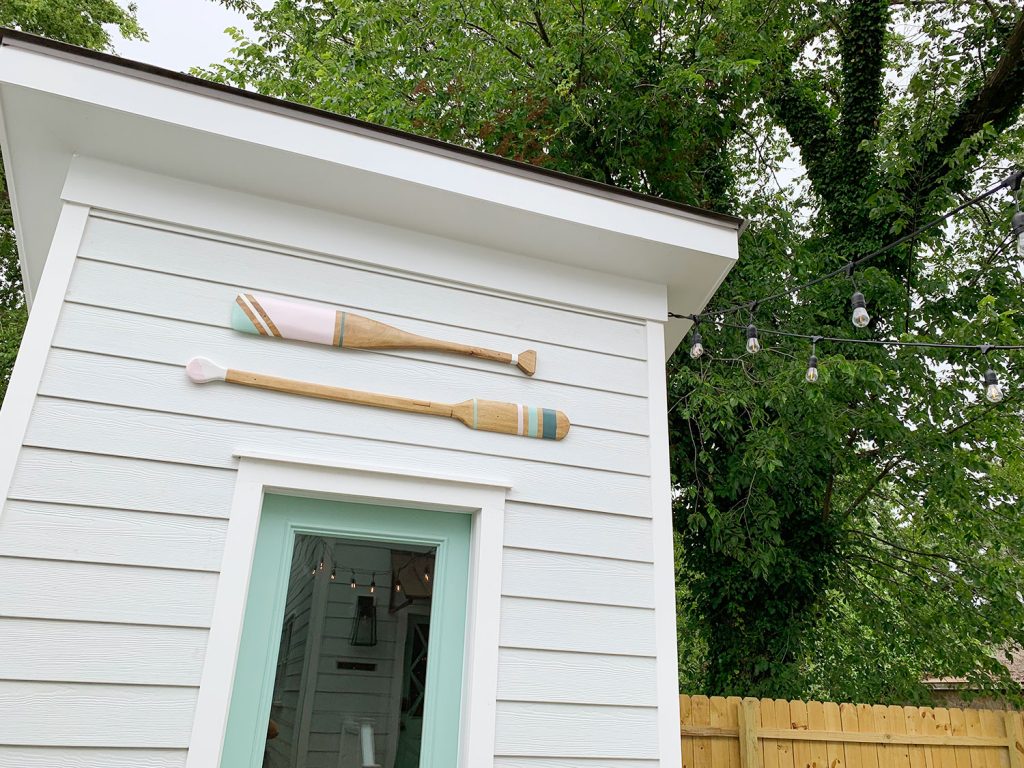
In the end everything was fine (although the extra paint job meant we cut it a bit closer to rental season than we’d hoped when it came to actually hanging these up) and we really love how they turned out. Hanging them was simple too – we just drove a 3″ exterior screw through the oar and siding, right into a stud behind it (I predrilled a small hole in the oar to make it sink right through easily).
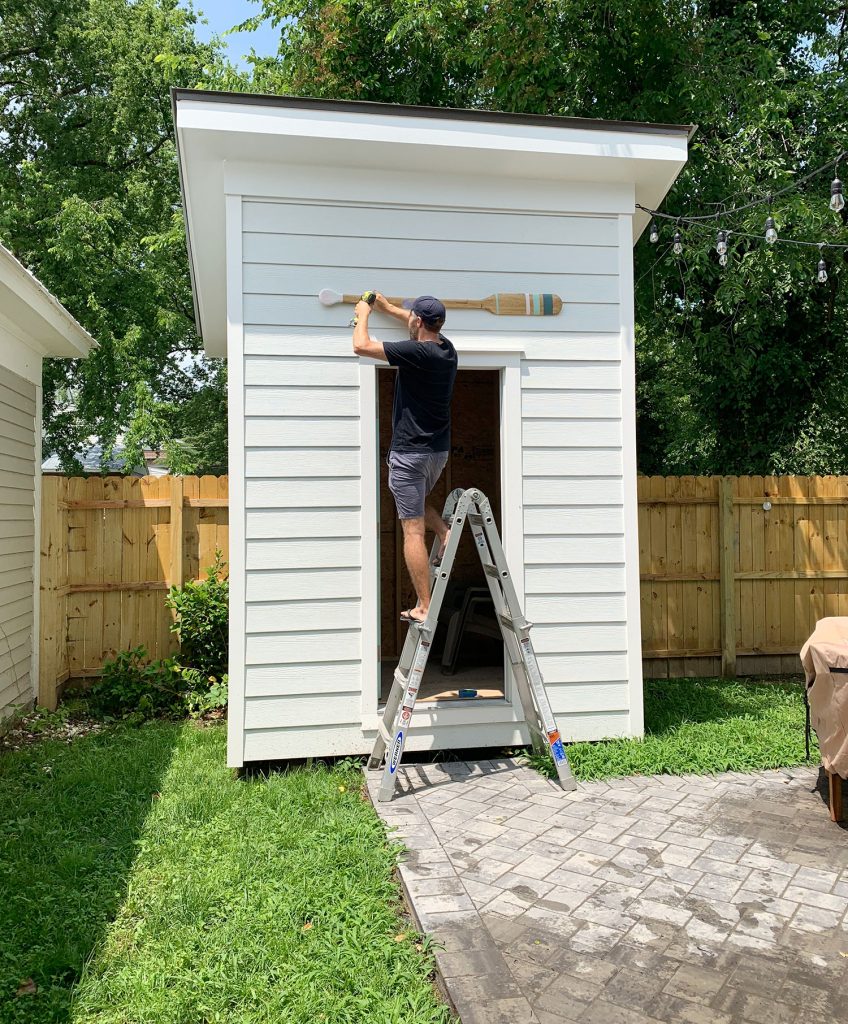
You can see the screw heads in the photo below (see the little dots). I tried to avoid putting them through painted sections when I could, since they seem to blend more into the wood tone than the lighter painted sections, but ultimately your eyes don’t really focus on them unless you’re actively looking for them.
This tutorial actually should hold up for anything that’s wood that you’re thinking of sanding, staining, painting, and hanging outside. So if you’re thinking about a surf board instead – or a sign with your family name or something – this process would work. Also, remember to always add string lights (these are the ones we use everywhere) because they make literally everything better.
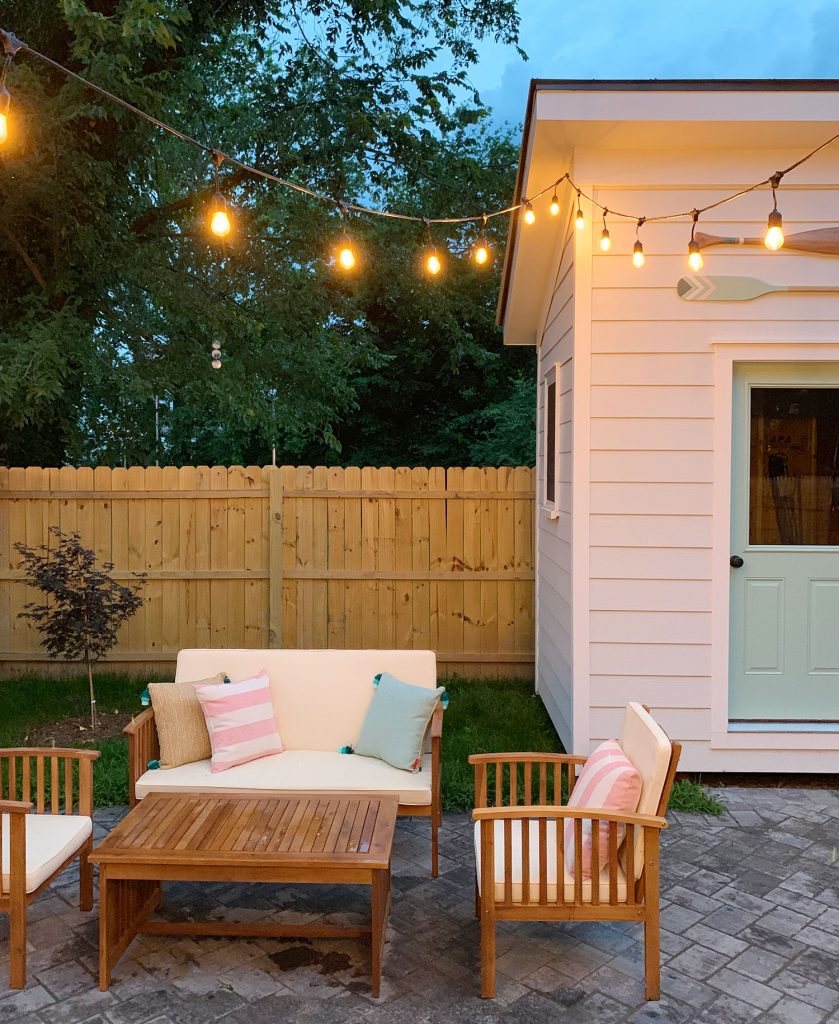
To see the full reveal of our duplex backyard (with sources and info on the sheds, patio, furniture etc) click here – and if you haven’t seen the pink house backyard makeover, which we finished right after the duplex yard, you have to check that out right here.
*This post contains affiliate links
