Ok, so we recently had some work done. Nope, not calf implants, but you’re close…
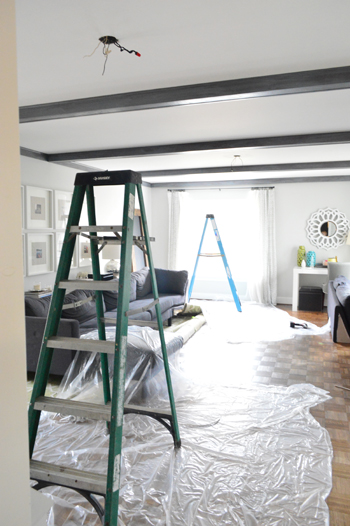
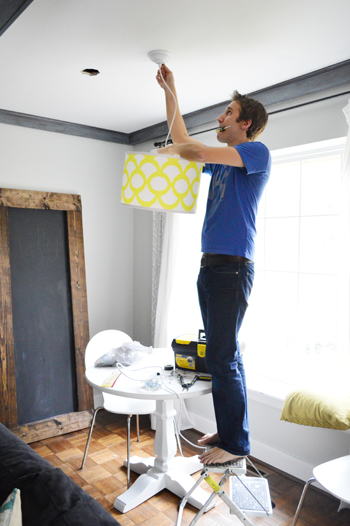
How about can implants? Also known as recessed lighting. And we went for a pendant injection while we were at it (when in Rome…). Actually the wide shot shows more of the chaos that ensued just to get the room ready for its close up (we removed half of Karl The Sectional and pushed him across the room along with rolling back the rug and covering the floor with drop clothes under each work area).
Can you believe we’re well into year three of living here and we’ve never had overhead lights in the living room (except for one small light that used to hang off-center in the corner). And while we love lamps for ambiance, overhead lights can be helpful to flip on when more illumination is necessary (like for finding that rogue doll shoe that Clara needs rightthissecond!). Basically there’s a reason that Candice Olson champions the whole light-layering thing (some recessed lights + a pendant + a few table lamps or floor lamps seems to be her sweet spot, sometimes with a sconce or two tossed in there for good measure).
And since we used to have two large fans overhead – without lights mind you, just big hulking brown fans that we never used (this part of the house is cooler and has lots of sliders to open for a breeze) – we had two fixture boxes in the ceiling to tap into for the recessed lights.

And magically, with the scroll of a mouse they’re done. And they’re glorious.
We thought about branching off from them and adding a ton more (four? six? eight?) but decided that since there were just those two fixture boxes that existed, we’d live with two for now before swiss-cheesing the ceiling and buying more materials. But knowing that we can always add more now that these babies are wired up is nice.
When it came to making sure those recessed light conversions were done safely, we hired our favorite local electrician (his name is Sean, and he runs S.J. Ryan Electric, who we mentioned during our kitchen reno here).

The cords up in the attic above the living room were a little too scary (not up to code at all) for us to deal with on our own, and the peace of mind of relying on an expert for things that can burn your house down is always nice. But like most DIYers, we were excited to tackle whatever was within our skill set (because we’re cheap like that). Which meant that we were happy to instal the pendant light over the table by the window, just as soon as Sean’s guys got the fixture box centered (it used to be about a foot too far to the left so the old pendant made the window look really wonky).
Sometimes we can move fixture boxes ourselves, like we did in our bathroom here…
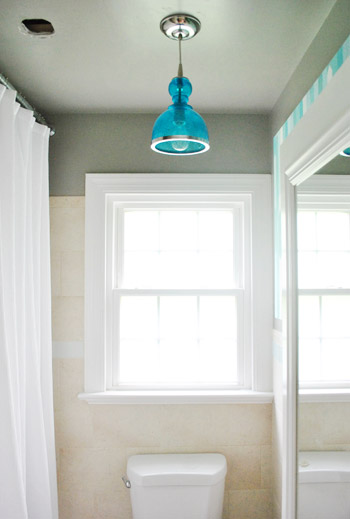
… but in this case there wasn’t any slack in the wire for us to move it ourselves, and there were lots of other wires going to the box that confused us, so we had them get things up to code and move them over while they were at it.
It’s a lot like how we hired a contractor to help us open up the wall between the kitchen and the dining room and then did all the drywall/trim/finishing ourselves to save some loot. In this case we grabbed the ol’ baton and did the pendant installation and patched the ceiling hole. Since most electricians charge hourly, the more you do yourself, the more you can save.
Oh and you can also save money by prepping the room before anyone shows up. For this little adventure we:
- moved the sofa
- rolled back the rug
- put down drop cloths
- marked the ceiling for where we wanted things to go
That last bullet is a biggie. Measuring to be sure the pendant would be centered and then marking an x on the ceiling saved us time since we didn’t have to debate the pendant placement while the electrician was here (any long chats while the electrician’s around = cash-money out the door, since they’re on his time).
And after they left, we:
- hung the pendant light
- patched that hole in the ceiling near the back window
- caught our breath
- put the room back together
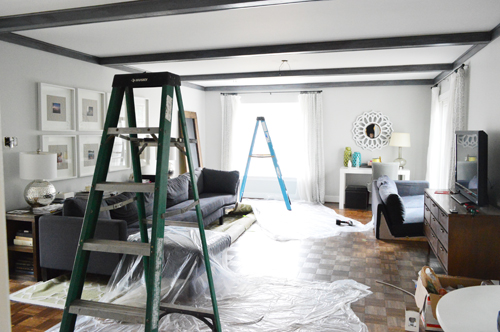
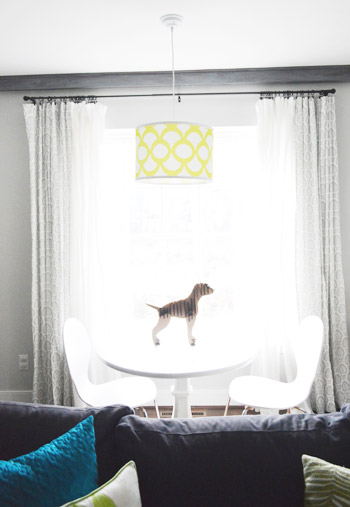
And then it looked like this…
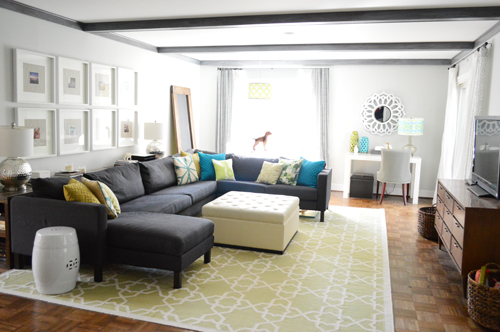
Of course the giant window makes our pretty pendant a lot more invisible than he is in person (he’s crisp and easy to see in real life), but going from zero overhead lights to two recessed lights and a pendant over the table is such an awesome change. There’s a reason all those people say “good lighting is a room changer.”
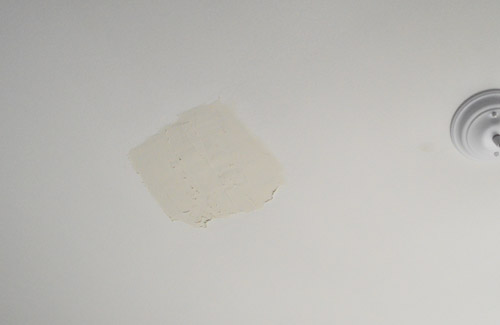
When it comes to the whole hole patching shebang, we have a few tips for you…
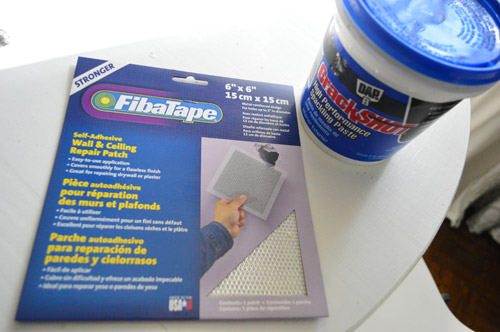
Hole patching tip numero uno: We use these little hole-patching mesh things from Home Depot along with Crackshot Spackle by Dap (applied with a spackle knife) for a nice quick cover-up.
Hole patching tip numero dos: Don’t stop at one spackle session, I always try to do 2-3 thin applications so I catch all the little imperfections that I might miss the first time (you can sand between each spackling sesh or just keep building it up and then sand when you’re sure you have all the low points filled). Note: you can see most of this process on video here if that helps.
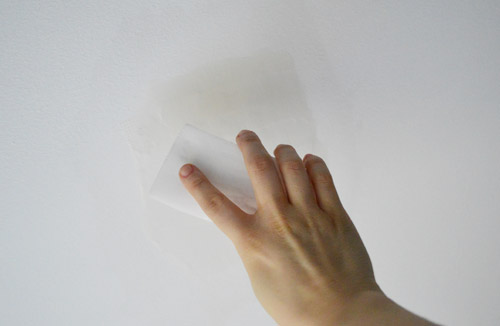
Hole patching tip numero tres: I heard that Magic Erasers were pretty handy if you didn’t want to stir up as much dust as sanding would, so after my spackle dried I gave it a try. And I gotta say, it rocked. Some gentle buffing back and forth against the dry spackle with my only-slightly-wet Magic Eraser filed down the high points and made a lot less of a mess, but I think the key to my success may have been that I don’t mound my spackle (I just try to keep it flush while covering the low points, so minimal sanding is necessary).
Hole patching tip numero quatro: When it’s time to paint over your smoothed out spackle, be sure it’s completely smooth (drywall or spackle imperfections aren’t covered by paint, they’re emphasized by it). You also want to feather the paint out about 12″ beyond the spackled area, just so it’s not an obvious blob of paint on the ceiling (two thin and even coats with long feathery brush strokes works for me).
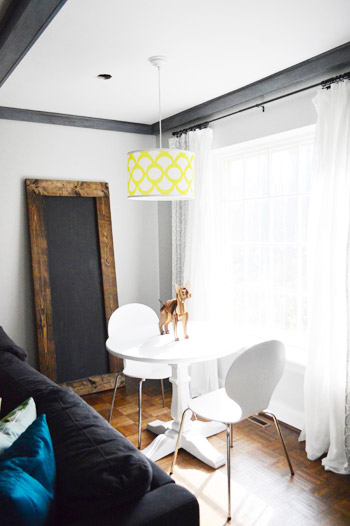
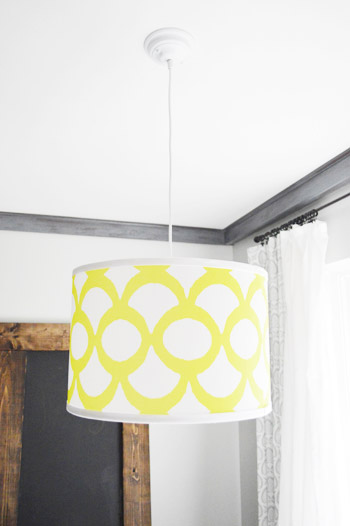
As for the pendant that we chose, you might remember it from our little lighting collection (we mentioned that we purchased three things in that old post- two of which we still had to hang). It was awesome to finally get it this baby up – especially since it’s now perfectly centered over the table and in front of the window.
I love that the wire and canopy are a crisp white color. I almost looks like it’s floating like a big ol’ sun in the sky.
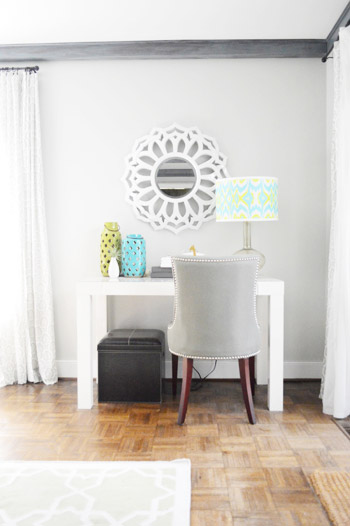
And as for the third thing that we bought from our collection, that colorful shade found a home on our little stationery desk. Which is also known as Burger’s treat desk since those are its two functions.
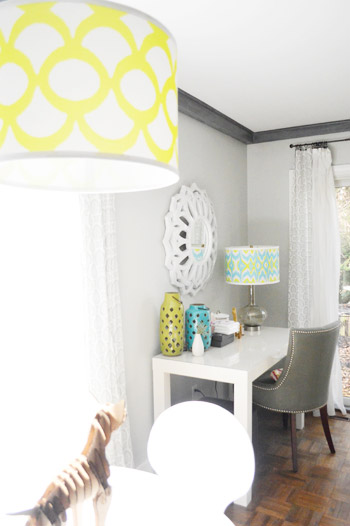
It adds more of the colors that you see in the green and blue lanterns on the desk, and the shapes in the shade seem to tie into the shapes in the mirror and the cutouts on the lanterns. It’s a nice counterpart to the neutral choices around it, like the walls, the desk, the chair, the ottoman, and the curtains.
We hosted a little lamp shade fashion show with him. We tried it out on a few other lights, including the floor lamp in the sunroom (which was also cute) but decided to enjoy him in the living room for now. Who knows where he’ll end up though…
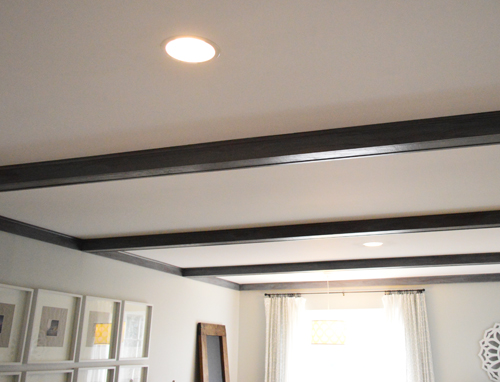
Close up in 3… 2… 1. Boom.

As for the cost, this lighting upgrade was $72 in materials (for the two can lights, the trim for those, some wiring and junction boxes to fix a few bad connections in the attic, etc) and around $200 for all of the labor. We usually tell people it’s about $100 to get an overhead light added, so we thought that converting two of them to recessed lights and moving a fixture box so it’s centered (while straightening out some tangled fire-hazard wiring up in the attic) for $200 was a great price. Heck, when we look back at this before picture from 2010…
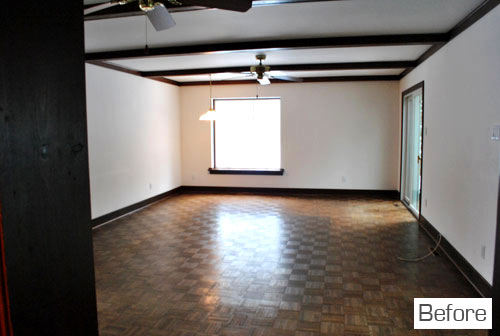
… it’s amazing how far this room has come.
The only sad thing is that we sat on the sofa this weekend and said “why did we wait so many years to do this?!” Isn’t that always how it goes? Oh well, at least now we can enjoy it. And say pun-tastic things like “I see the light!” every time we walk into the room. Heck yeah that happens.
What are you guys up to with lighting/ceilings/holes/pendants? Do you take the hire-out-some-but-do-what-I-can approach? I think we saved around 100 bucks patching that hole and hanging the pendant ourselves. Sing it with me: “everyday I’m shuffling spackling…”

Leave a Reply