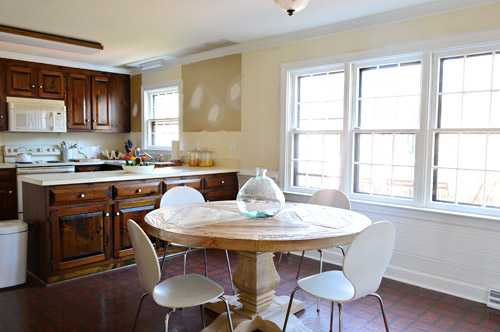
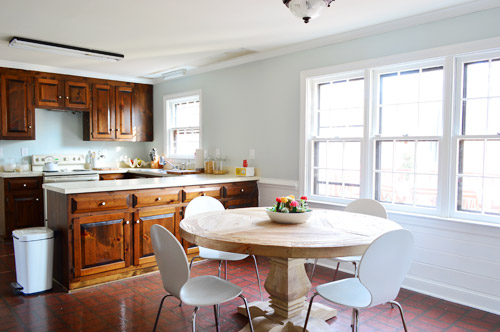
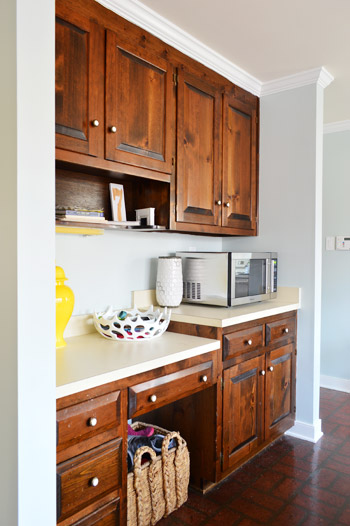
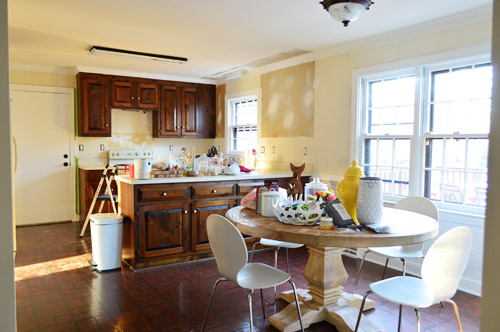
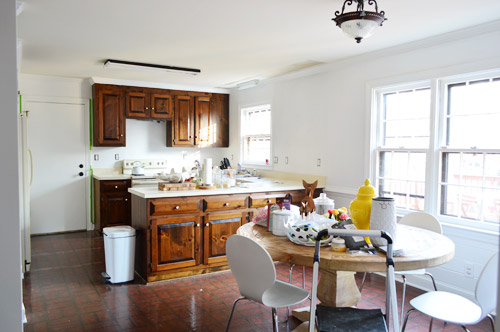
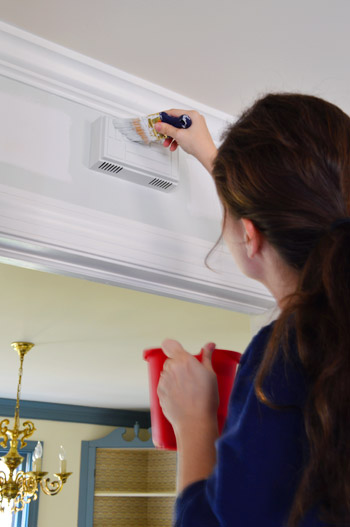
Another Monday, another leap forward for our kitchen. Here’s where we were last week, after priming and painting the trim, doors, crown molding, and paneling white.
dried food splatters inside wiring and stuff.
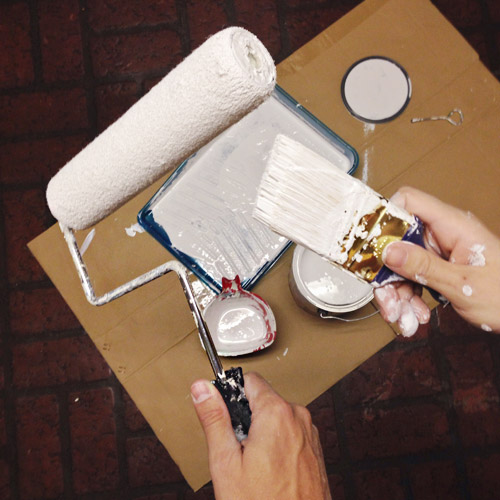
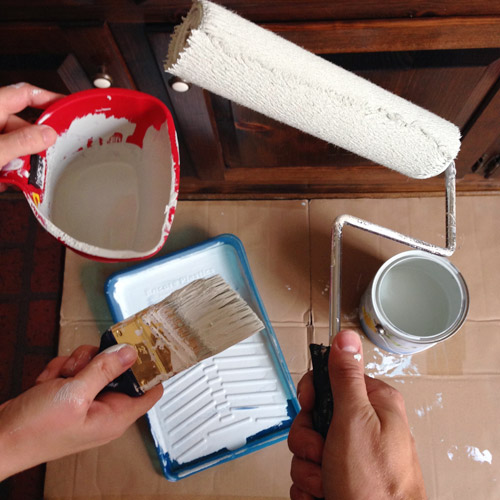
Sherwin-Williams Extra White
And here we are today, with the walls freshly coated with a little Nelson Blue (the light blue color that we’ve planned on from the start).
Shall we all let out a communal sigh of relief that the walls aren’t covered in wallpaper anymore and there are no more spackle holes and raw drywall from under those cabinets that we removed? Together now. Ahhhhh.
Update: There have been a few questions about the intercom and why we didn’t remove it yet, but we’re not sure if we’re going to retofit that with another system (maybe that plays an ipod in each room or something) so for now we’re planning to cover that whole wall with a nice framed out pinboard or something – so it’ll be hidden but the wiring will still be there for a future conversion. Getting to this was a bit more involved than just getting our paint on, though. For instance, you may have noticed that our big over-the-range microwave is now missing from the scene.
It’s the only appliance we’ve planned to replace as part of our Phase 1 kitchen makeover, since it was so front & center in the room, it crowded our stove, and we always seem to prefer range hoods over microwaves with vents when it comes to performance. So we’ve replaced it with a stainless countertop version that we’ll eventually get “installed” into our pantry (which just calls for an outlet to be added in there so we can plug it in). It was just $78 at Home Depot (marked down from $139!) and that pantry solution isn’t just for phase 1, so we’re planning on using it for the long haul, even after Phase 2, which is nice.
Removing the old one wasn’t 100% straightforward, but we managed. We had to unscrew it from above through the upper cabinet, but the screw was recessed a few inches below the cabinet, so our drill barely reached. Since it was so dark down there, we ended up breaking out the oh-so-thin battery-powered fairy lights from Clara’s Halloween costume to provide some much-needed illumination. #MacGyvering
I supported the cabinet from below the whole time so when it eventually came lose from the screws that Sherry was removing from above, I could guide it down safely. That puppy was not light. Probably all the
Once we unscrewed the mounting bracket from behind the microwave, we also had this old vinyl backsplash to scrape off the wall. We knew we’d prefer a seamless painted wall back there for this phase of the kitchen’s transformation since we actually had a painted wall behind our first house’s fully renovated kitchen, and it held up well thanks to the paint being nice and wipeable – even with spaghetti splatters a plenty.
The pliable sheet of vinyl came off really easily (Sherry just used a spackle knife to pry it off) but it left the wall pretty pock-marked behind it. Thankfully it wasn’t anything a little spackle couldn’t handle.
We already had the spackle out because there were plenty of holes around the room to be filled (and sanded once dry). This is a terrible iPhone pic, but you can kind of see the extent to which some of the walls were nail-holed. We’re talking 20 in a three foot radius.
We finished all of our patching right before heading off on a whirlwind road trip to New Jersey for Thanksgiving, so it wasn’t until we got back on Friday afternoon that we could bust out the primer for our first coat (which is what many of you saw in our Instagram feed that evening).
Even though we were painting a light color over an already light wall, we chose to do a primer coat first for two reasons:
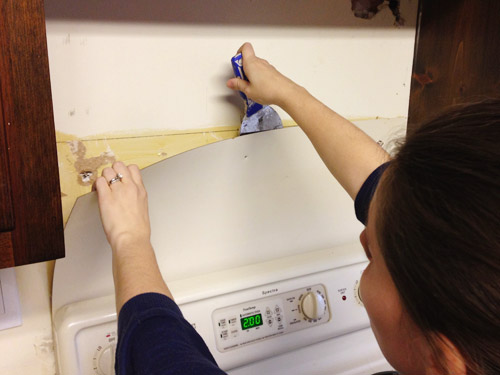
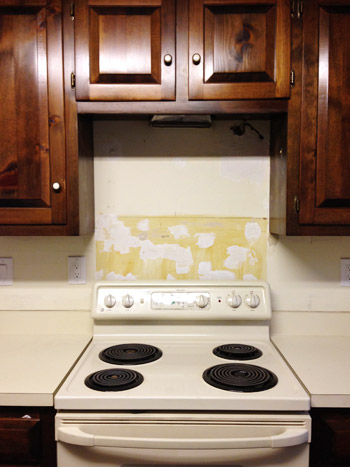
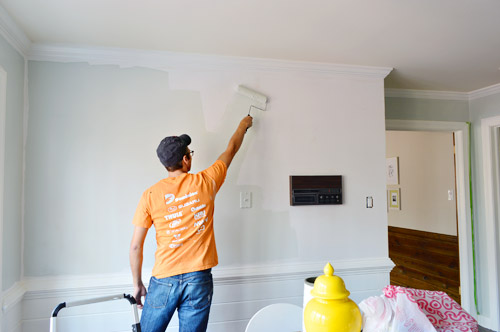
- The areas behind the cabinets that we took down had never been primed or painted, and it’s always good to prime drywall before painting it.
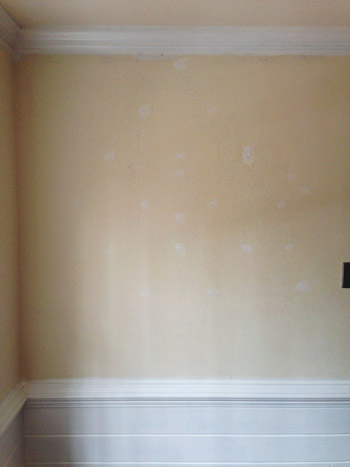
- Walls that haven’t been painted for several years may soak up more paint (as we experienced when painting Clara’s room) and we’d rather it soak up extra primer instead, since it’s cheaper than paint (one coat of primer + two coats of paint is almost always cheaper than three coats of paint because you usually need to buy more than one gallon of paint for more than two coats).
We knocked out our primer coat during Clara’s nap that afternoon using our usual Sherry-cuts-in / John-rolls system, which took the room from this…
…to this. Don’t mind the piles of stuff that we shifted to the center of the room, away from the walls. But much better, right?
That photo was taken Saturday morning, right before we broke out the Nelson Blue paint.
One thing we did to make our job (well, Sherry’s job) a bit easier was that we strategically taped off a few tight spots. Since it’s hard to squeeze into the gap between two doors, for example, we put tape along the edge of the door frame to protect the face of the molding from getting paint on it. It meant that Sherry could focus on making sure she got full coverage on the wall without worrying about messing up the crisp white molding next to it. And in less tight spaces, she’s great at just freehanding things (seven years of being the cutter-inner in the relationship can do that to ya).
We also decided to paint a couple of the eyesores in the room – like the yellowed doorbell box and an old phone jack next to the intercom box, which you can see two pictures down.
We originally worried the Nelson Blue was a bit too faint, but it definitely showed up a bit more distinctly once it began to dry.
We love the color. In fact, it almost feels like a nod back to our first kitchen’s wall color – although this one is a bit lighter and has more green to it, and the horizontal paneling around the bottom half of the room adds a little something extra. I’ll admit it’s a bit hard to fully appreciate the new color while the room is held back by things like the countertops, the cabinets, and the floor (we’re definitely in that “middle” stage, so it should start making more sense as we tackle other things on our list).
And we can definitely celebrate the fact that we’re a nice looooong way from where we started.
When you look at it from certain angles, you can almost trick yourself into thinking the room is a lot closer to done. For instance, the view from the front door is much improved.
And the little breakfast area is shaping up to be a nice combination of white trim + horizontal planking + blue walls + rustic wood. Just ignore the big intercom on the wall and the fake brick floor, mmkay?
So here’s what our kitchen to-do list is looking like now. We’ve officially crossed 9 things off and have 9 more to go… some of which are a lot easier than the nine we’ve already done (switching out lights and hanging shelves are a welcome relief after all this priming and painting – although that 15th bullet is going to be a multi-step multi-day extravaganza).
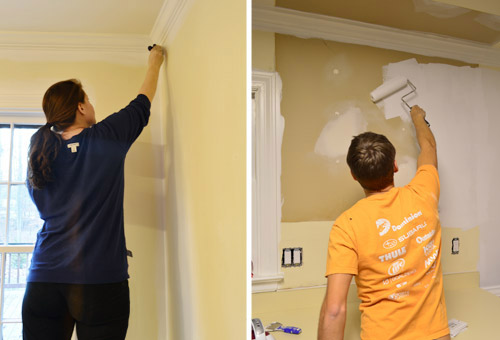
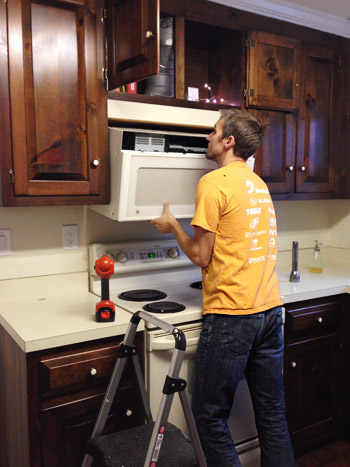
Remove wallpaperMove fridge cabinet forwardRemove upper cabinets on window wall to prep for open shelvesReinstall crown molding(you can read about how we did those first four things here)Prime & paint the pantry and the door to the garagePrime & paint the trim, crown molding, & baseboardsPrime & paint the paneling(you can read about how we did those last three things here)Prime and paint the wallsRemove the existing microwave (craigslist it?) and get a countertop one we can eventually install in the pantry- Install a cheap range hood (we’ve seen some like this for $20 on craigslist) to lighten up that wall
- Patch and paint the ceiling
- Replace the florescent light in the cooking area and the pendant over the sink
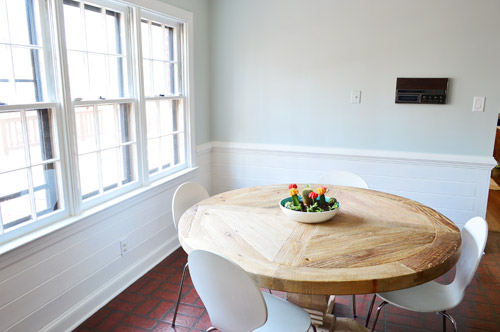
- Replace and center the light over the dining table
- Hang floating shelves on the window wall
- Paint the cabinets (you can see the colors we’re leaning towards here)
- Update the old cabinet hinges and knobs
- Get a rug for eat-in area? Possibly install peel and stick tiles everywhere?
- Curtains for windows?
Leave a Reply