Alright folks, you know I have a love affair with fabric, so when I realized I had never attempted to make a roman shade (even a fixed one that’s just for looks) I knew I had to get on that. So here’s how I got my fake roman shade on.
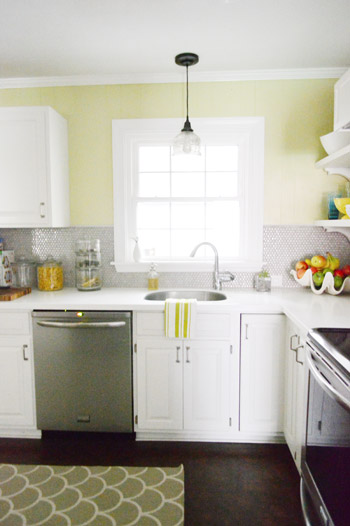
First of all, is this bare kitchen window begging for some fabric action, or what? It actually leads into the sunroom, so it didn’t need anything functional to draw/close, which is why I opted to go the faux shade route (actually all of the bamboo blinds in our first house remained open since I loved the light flooding in, so if you’re not a shade-drawer, a faux shade might work in any room for ya).
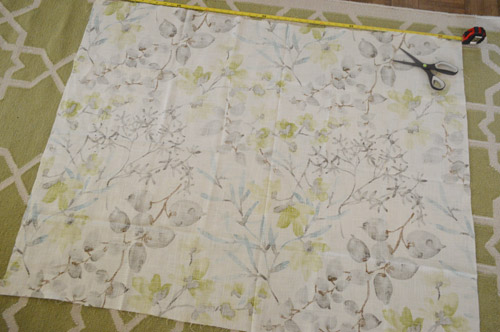
I didn’t follow any tutorial for this, I just sort of made it up as I went along, but here’s how it all went down. First I measured the window and realized that I wanted a finished shade that was about 47″ wide by x 18″ long, so I cut a rectangle of fabric that was 49″ wide (to account for an inch of hemming at the sides) and 30″ long (to account for the looping I was going to do with the fabric to make it look like a roman shade).
We used Gazebo Cloud by Braemore as our fabric (you might recognize it from here). We loved it so much, and it looked awesome in the kitchen, so we grabbed one more yard of it at U-Fab here in Richmond for $16 during a little store-expansion sale. Woot! Here’s an affiliate link to the same fabric on amazon for any non-locals.
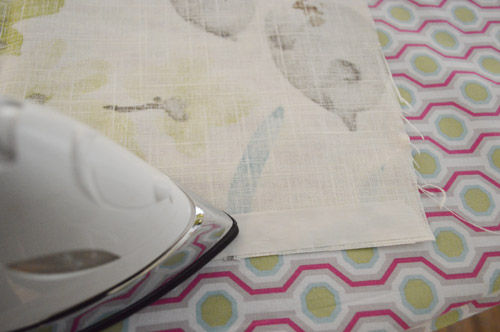
The first thing I did was hem all four sides of my 49″ x 30″ rectangle of fabric with no-sew iron on tape (I like heavy duty Heat N Bond, which I get for a few bucks at Michaels). Oh and there’s a little video tutorial on how to use no-sew tape here for anyone interested.
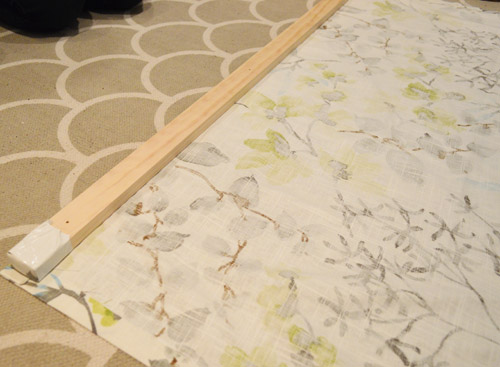
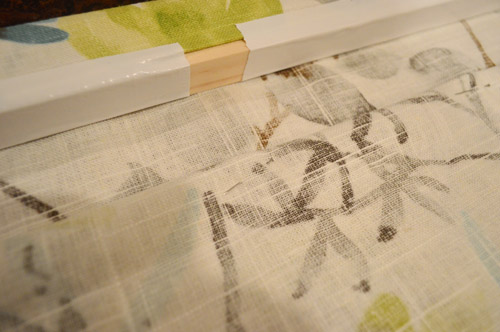
Then I cut a piece of 1 x 2″ scrap wood to the width of the fabric so we could hang the shade up (the finished width was 47″ wide). Although you could get them to cut you a piece of wood to the right size at Home Depot if you don’t want to whip out a saw yourself (I hummed the MacGruber theme song while sawing, BTW).
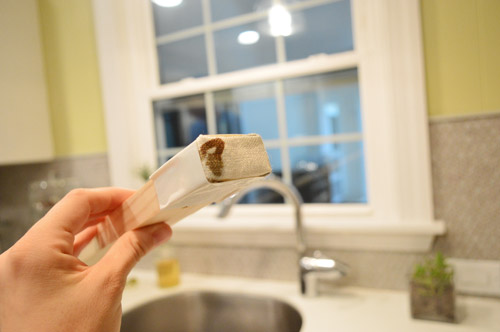
Next I wrapped scrap pieces of fabric around each end and secured them with white duct tape. That way once it was hung, you wouldn’t see raw wood from the sides.
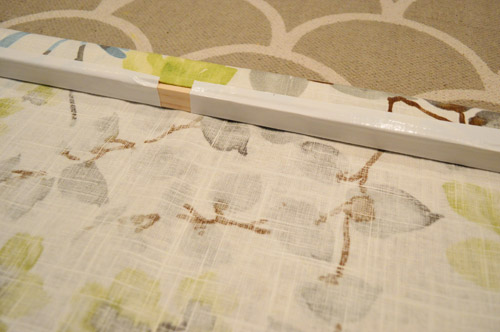
Then I rolled the fabric around the wood piece and secured it with more white tape (being sure the tape was on the back/bottom of the wood so it wouldn’t be seen from the front when the shade was hanging). See the flat 2″ part of the board in this photo (the part that’s facing up)? That will be the part of the board that is screwed into the wall to secure the shade (so the top and front will not have any white tape on them, it’s just on the back and the bottom of the board which won’t be seen).
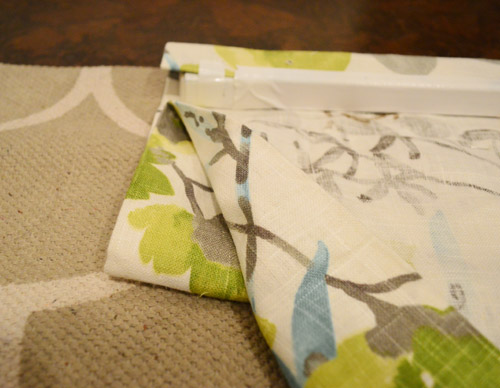
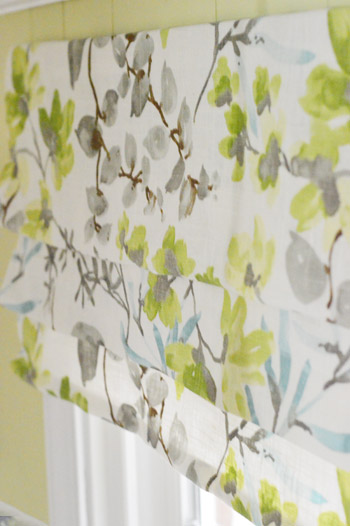
As for how I made the roman-shade-esque fabric loops, I just eyed things and tried to use a ruler where I could to keep things straight. Lining up the top of the shade with the top of our area rug in the kitchen also helped me try to keep things even (laying it down on the floor at an angle might have made it harder to eye things, so at least knowing it was straight on the floor and lined up with the rug gave me a nice frame of reference). As you can see from this picture, I made about a 5″ loop of fabric (which would show in the front of the shade) and then pinned that loop in place from the back of the shade. See how in this photo the fabric is folded back and comes to a point in the corner? That’s where the first pin went in. Then I followed that same line all the way across the back of the shade with pins, holding that loop in place along the entire front of the shade (and tried to keep the loop/pins at the same distance from the wood piece up top so it all looked even).
Here’s a shot where you can see two of my straight pins (see the one in the middle of the picture and the one on the right?). The key was to let them grab a lot of the fabric in the back (where they won’t be seen) but only grab a tiny bit of the fabric in the front since I didn’t want the pins to be super obvious.
I used rows of pins to make two folds about 5″ apart, along with pinning the bottom of the shade so it appeared to roll up/billow out as well. There definitely was some noodling when I turned the shade around and surveyed it from time to time (sometimes a row went up at one end so I repinned things to look straighter, etc). All in all the cutting and hemming process probably took about twenty minutes and the pinning/noodling/repinning process might have taken forty minutes or so. So it wasn’t a super long project, but I didn’t get all of pinning whipped out in ten minutes on the first try or anything. But with a little patience, I was able to get things looking a lot more lined up and then I could stop sweating so much. Haha.
Originally I had planned to pin each fold and later go back and “tack” each area where I pinned the fabric (tacking is basically doing a few manual stitches to hold things in place once you have pinned them and are sure that you like the look), but I worried that tacking might cause more puckering and the pins were holding very securely (and of course it was easier to call it done since everything felt nice and solid) so I did. Done ditty done ditty, done done done.
As for hanging it, we predrilled three holes in the wood piece and then hung it up with screws (nothing is drilled through the fabric to secure it to the wall, the fabric is pulled aside and the wood is just screwed into the wall directly and then the fabric in front can drape over it so it’s hidden).
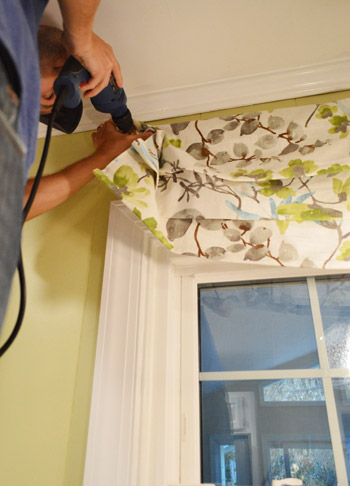
Maybe this shot explains it better. See how John is lifting the fabric up so he can drill right into the wood part to secure it to the wall? Then he let the fabric go and it fell back down in front of the wood piece so there aren’t any screws or wood that can be seen.
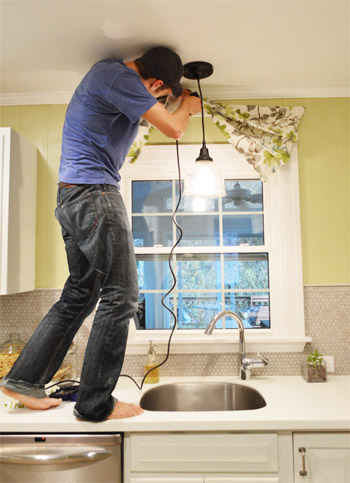
Like so:
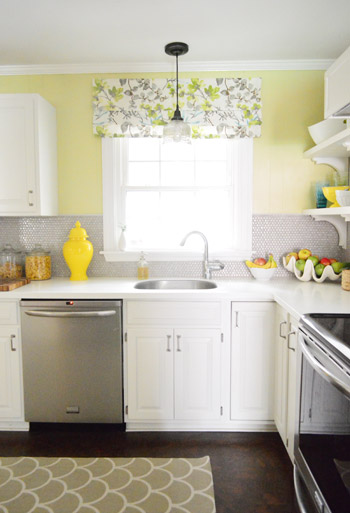
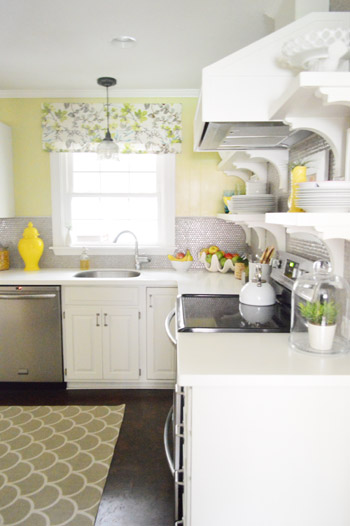
It definitely feels like it finishes that formerly naked window a little more, adds color and pattern, and even balances other things in the room like the range hood. The coolest thing about the fabric is that it ties the wall color into the gray tile, so it’s sort of like a bridge to connect the shiny penny tile and the gray rugs with the soft avocado walls.
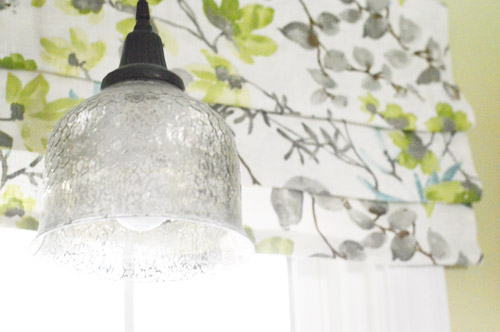
Bam, detail shot. See how you don’t see any pickering or pins? I worried if I tacked things it might look more lumpy and bumpy. But if anyone out there has faux shaded a window and used another method, I’d love to hear what worked for you!
All in all, I definitely like how it makes the window feel taller, doesn’t block any light at all, but looks a lot more finished than the bare window did before. For about an hour of time and $16 worth of fabric, it was totally worth it!
What are you guys faking around the house these days? Any faux plants going on? Faux fruit? Faux shades? Faux cleanliness? That’s what I call it when we shove all of our clutter into baskets and closets so it looks like we’re not drowning in chaos. Haha. It’s all an illusion!
Psst- Wanna know where we got something in our house or what paint color we used? Just click on this button:


Leave a Reply