Hood, there it is. Well actually, for the last couple of weeks it has been more of a “hood… there it isn’t” situation in our kitchen.
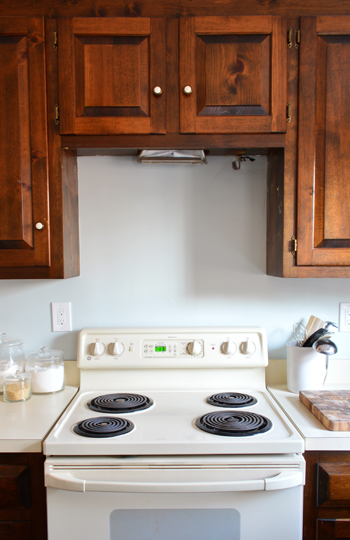
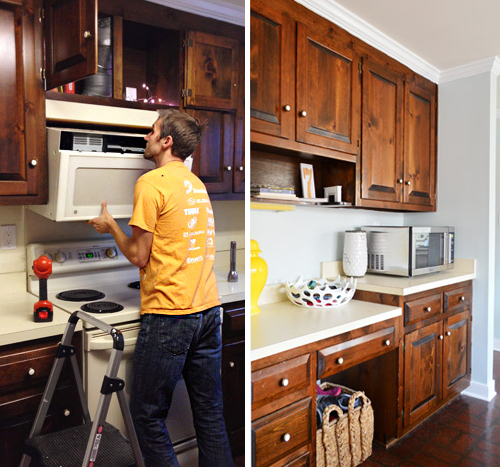
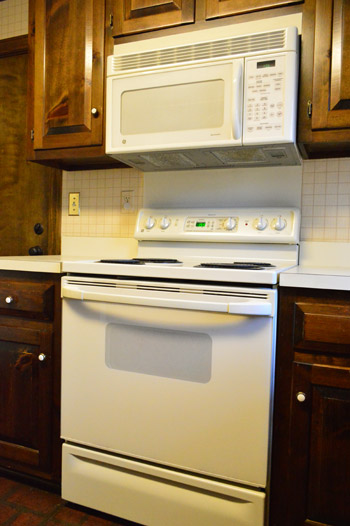
You may remember that we removed our over-the-range microwave before painting the kitchen and were thinking to get a 30 inch gas cooktop. Microwave’s the only appliance we’ve planned to replace as part of our Phase 1 kitchen makeover, since it was so front & center in the room, it crowded our stove, and we always seem to prefer range hoods over microwaves with vents when it comes to performance. So we replaced it with a stainless countertop microwave (more on that here) which we’ll eventually get “installed” into our pantry for the long haul (even into Phase 2) – we just need an outlet to be added in there so we can plug it in. But that still left us lacking in the over-the-stove ventilation department.
We knew whatever hood we bought would be just a temporary solution – since we’ll probably ultimately go with an exposed hood or something in Phase 2 – so we didn’t want to spend lots of money, but we had seen a bunch of options pop up on craigslist over the last few months for under $30, which is exactly the right range for us (we figure we can just resell it for around the same amount when we’re onto Phase 2 if we keep it nice and clean). So when this $25 option popped up, we were ready to make the move.
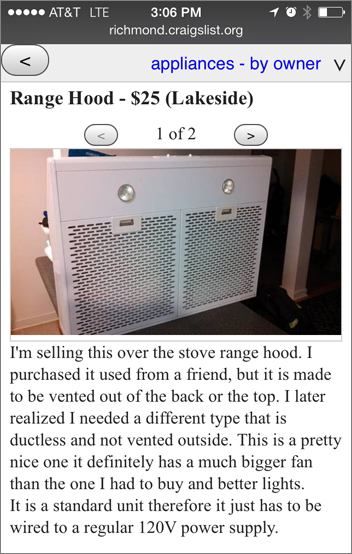
We liked that it was a crisp white color, that it was the right size for our stove, and that it also had the right type of top-ventilation setup that we needed. The only issue was that it was giving me flashbacks of the last hood we bought off Craigslist (apparently it’s our go-to source) and how much work went into hanging that one. Since it didn’t come with any of the mounting hardware that’s usually sold with the hood – and was meant to hang under a cabinet – we had to engineer our own solution.
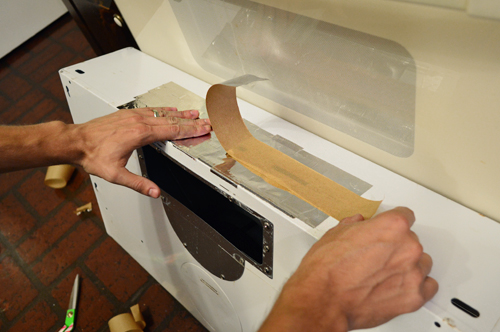
But guess what guys? This time around it was so much easier! I’m way too excited about it, but I’m just so relieved that I want to shout it from the rooftops – especially to anyone who’s nervous about making their own hood swap at home. We were lucky in that most of the stars aligned. And by stars, I mostly mean the duct work and the electrical. The hood we bought could be vented out the top or the back, and the existing rectangular opening on top lined right up with the rectangular vent already in our cabinet. So I just used silver duct tape (note: not the Duck brand tape that’s more common, since that’s not meant for actual ductwork) to seal up the second-option opening in the back.
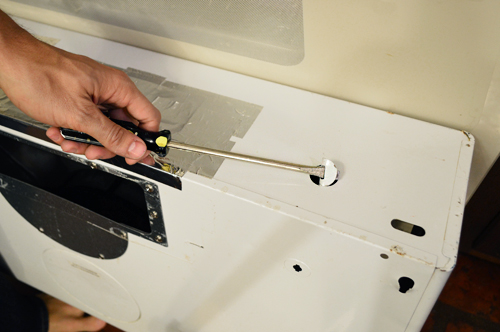
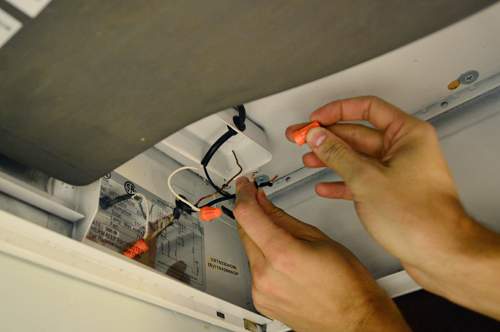
There were already wires in our wall right where they’d need to snake through to connect within the hood itself. So we didn’t need to call an electrician, I just had to pop out this metal tab with a screwdriver to create access for those wires to be pulled into the hood and connected.
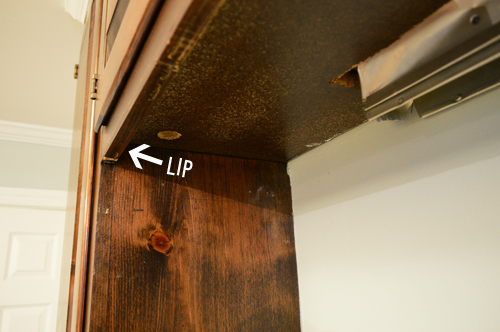
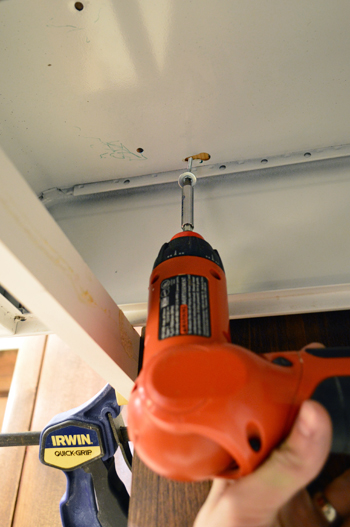
The only slight complication was that there was a lip under the cabinet, which got in the way of me screwing the hood directly into the bottom of the cabinet.
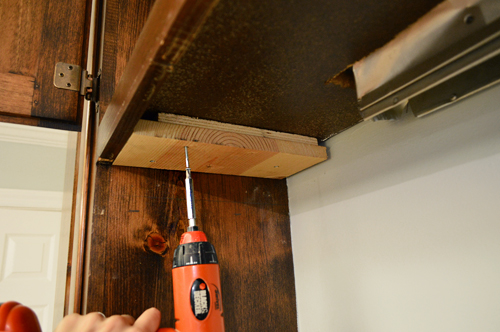
But thanks to a little scrap wood sandwich that I put together, I was able to screw blocks into either side of the cabinet so that the hood could be attached firmly while still being flush looking from the front.
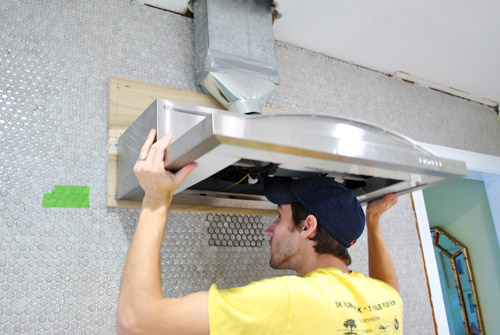
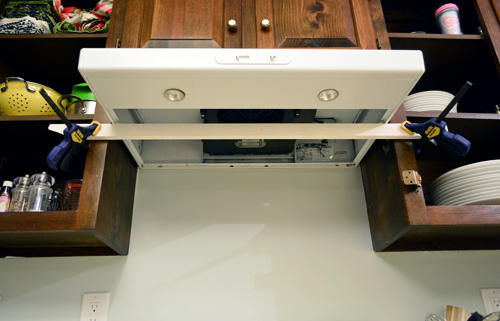
The part I actually feared most was holding the hood in place while trying to perform tasks like screwing it in and wiring it together. I pictured some comical Cirque du Soleil style contortions between me and a certain pregnant lady as one of us hoisted it up and the other tried to screw it in. This dream sequence involved a lot of sweat and more than a couple curse words. And then I discovered this how-to video with an ingenious trick. Maybe everyone else would’ve thought of this on their own, but for me it was DIY gold. I clamped a thin 1 x 2″ scrap board across the opening so that it could help support the weight of the hood while I worked. It involved taking off one cabinet door temporarily, but it was soooo worth it.
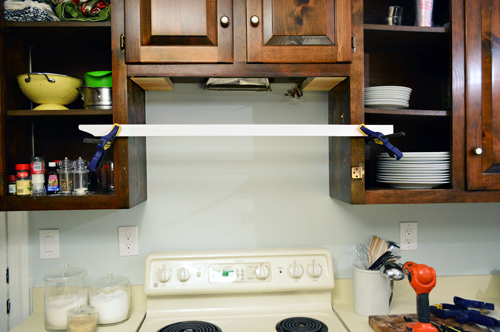
The man in the video also temporarily screws a brace into the back wall to support the hood, but mine seemed to rest in place without it (which saved me from making a few unnecessary screw holes).
So not only were Sherry and I spared my hypothetical sweaty-tangled-curse-fest, I didn’t even have to steal her away from the stuff she was working on in Clara’s room (I believe we’ve dubbed it The Wall O’ Fun, which she hopes to share with you guys tomorrow).
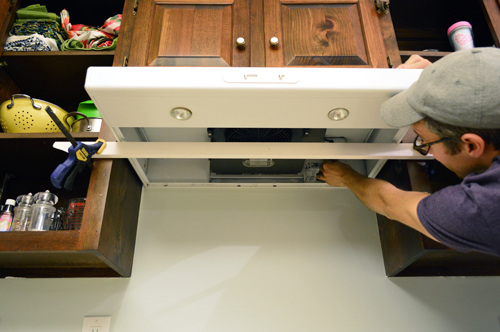
With the hood resting in place, I was able to shimmy the clamps up until the top of the hood sat flush against the wood blocks – and I checked within the upper cabinet to make sure the duct settled nicely into the open exhaust hole on the hood (it did, but later I sealed it up with some more duct tape to be sure). Then I was able to screw them tightly together using a screw + washer through the keyhole opening in the hood. All of this was accessible from within the hood itself just by removing the two filter screens.
With all four screws in place (front & back on each side) I could attach the wiring into the electrical box within the hood itself.
The whole process (minus picture taking time) was probably 45 minutes total, and most of that was finding and cutting scrap wood to make my mounting blocks. It’s not the prettiest solution the Internet has ever seen – but for $25 and less than an hour of work, we’re just happy to have ventilation back above our stove. And a lot less of a cramped feeling now that our hulking microwave has been replaced. Plus we’re planning to craigslist that for at least the cost of this hood, so this little Phase 1 switch won’t be breaking any budgets.
Both Sherry and I have declared the cool little halogen lights our favorite part. Until we have a kitchen with under cabinet lighting, these throw off a nice shiny glow in the meantime.
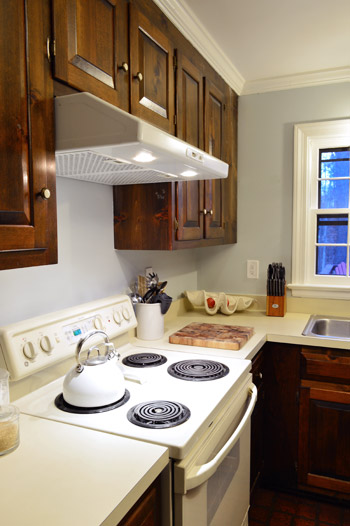
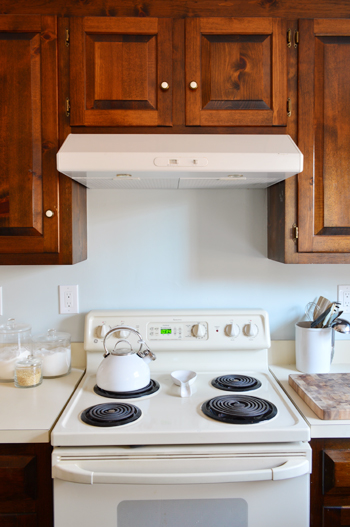
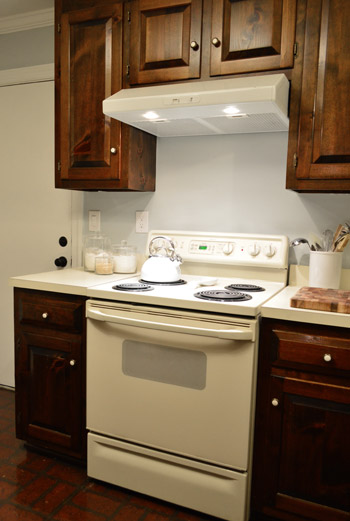
In summary, it’s a welcome change for this sliver of the kitchen to go from this…
… to this.
Next up on our to-do list in here is to hang our floating shelves along the sink wall, and then we’re diving into cabinet painting. We thought that could be a good project to tackle over the holiday break, and maybe we’ll get to ring in the new year with some new looking cabinets!
Has anyone else switched out a vented microwave for a hood? Was it crazy complicated or blissfully uneventful? Don’t you love when you worry about something being full of challenges and then it ends up being fairly straightforward? It sure beats those “this should be easy” projects that somehow implode mid-way through…

Leave a Reply