It’s no secret that the real improvement we need to make to our new laundry area is in the upgrading to energy efficient appliances arena along with adding some nice built-in storage to maximize that tiny room. But as we save up and plan for those upgrades, we took a few hours after Clara’s bedtime a few days ago to tackle some smaller items on our laundry list. Pun intended.
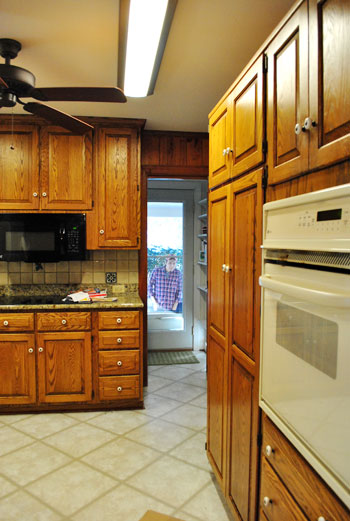
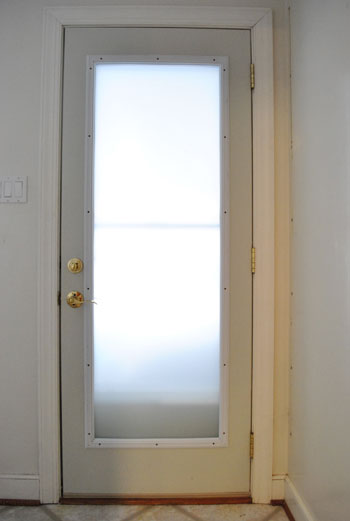
First we went to work on the glass side door. You know, the one that gave everyone a straight shot from our carport, through the laundry area and into our kitchen (here I am being creepy and demonstrating the problem, which you can read more about here).
Since we were eager to get rid of this bi-fold door that was currently acting as a privacy solution in the interim…
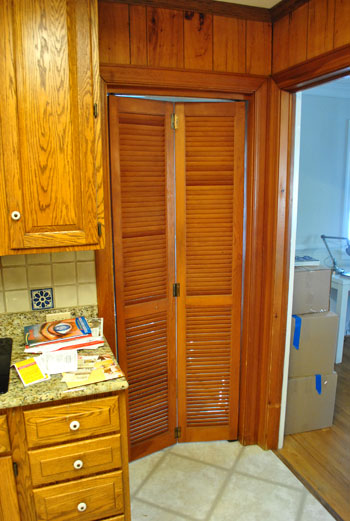
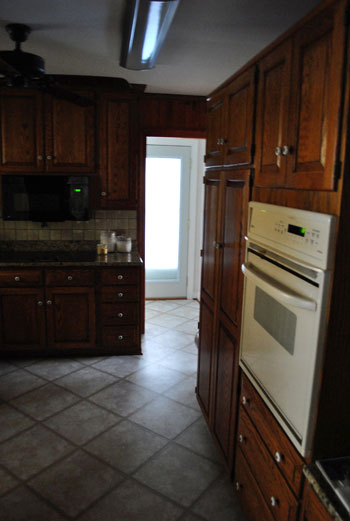
… at first we figured we’d throw up a cheap wooden blind over the glass side door, remove the dark pocket door, and consider our problem solved. Well, after buying a bamboo rolling shade from Home Depot, we realized how much light it blocked and after learning that our kitchen is a black hole in the mornings (it’s the only room with no windows to the outside world- the window above the sink looks out into the sunroom) we didn’t want anything that would block too much light.
That’s when we opted to go the frosting film route. We used the same materials / techniques that we employed in our basement a while ago, so you can read that step-by-step guide here (and see what film we chose). The only issue we ran into this time was bubbles.
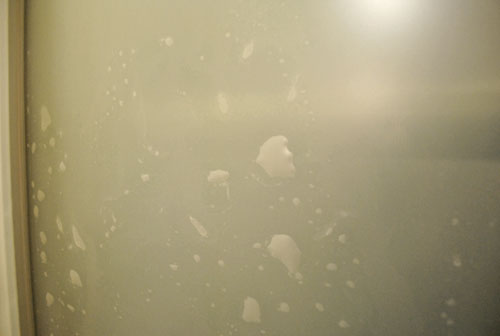
Some serious, annoying, won’t-go-away bubbles. You always have these at some point of this process, but it usually just takes a few squeegees to get them out. But these bubbles weren’t bursting, no matter how hard Sherry squeegeed. And it totally burst our bubble (too corny- had to cross it out).
We hoped it was just an issue with not having applied enough applicator spray to each surface, but we feared it was a problem with the temperature of the side door (instructions said not to apply it in under 40 degree weather, which it definitely was on the other side of that glass). We crossed our fingers, peeled off the permanently bubbled film, scraped some residual glue off of the window, and readied ourselves to try again (fortunately our leftover scrap of film was perfectly sized for a second attempt). And this time we used a boatload more of the applicator solution to keep things nice and slippery so no bubbles could take permanent hold.
And it worked. Phew.
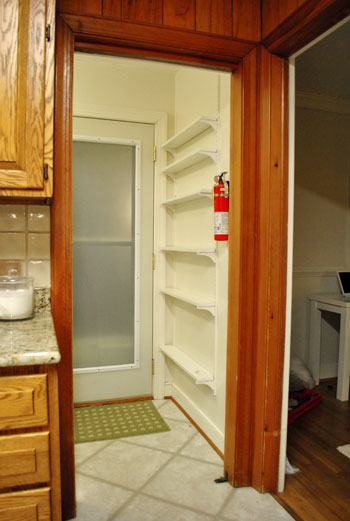
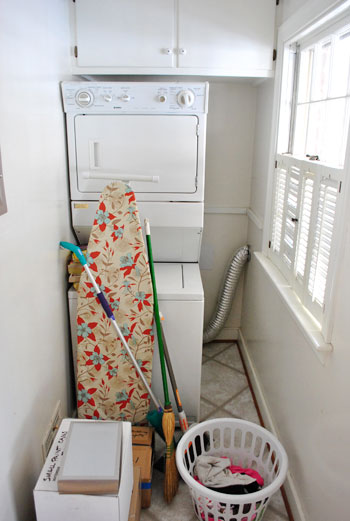
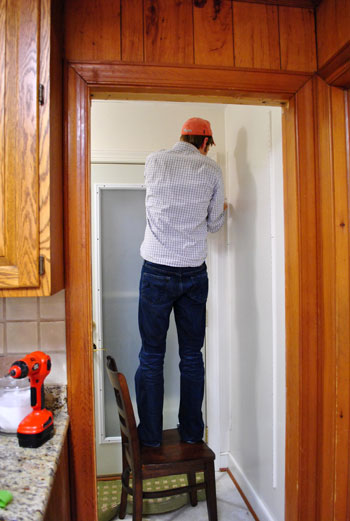
Our next little project was the removal of those shelves next to the door. We love bonus storage just as much as the next blogger, but we couldn’t figure out exactly what we’d want there since it’s not concealed- and we learned that coming through the door with our hands full meant that we routinely bumped into whatever was on those shelves anyway. So we decided to take them down and instead turn it into a place to hang art or a frame collage someday. Every laundry room needs a little space for the eye to rest and art always makes it feel a bit more welcoming and less utilitarian. At least that’s what the wife says. She’s more of the decorating brains. And I’m the take-those-shelves-down brawn. Although Sherry does get down with the power tools when the mood strikes.
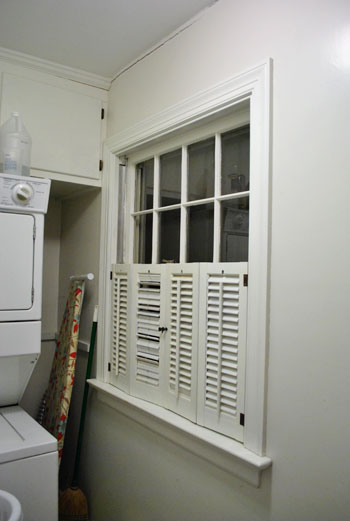
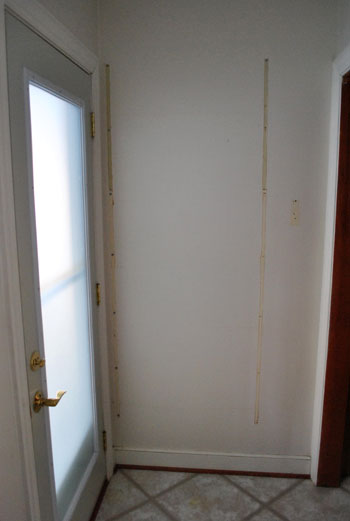
While I was in the midst of unscrewing things (despite it being about 10:30pm) we thought we’d keep the momentum going and get rid of the shutters on the laundry room window too (to make room for an eventual set of blinds/roman shade/curtain).
So by morning, our laundry area was looking more like this:
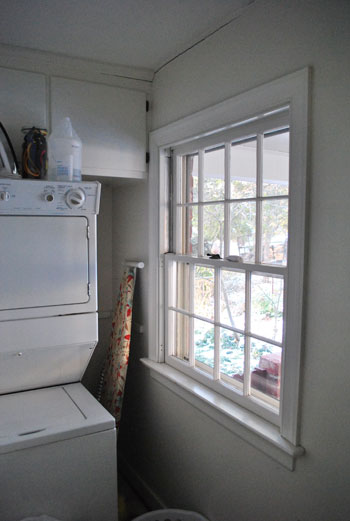
No shutters, no shelves, but a bit of touch up painting to be done.
And we’re still getting a nice stream of morning light coming into the otherwise pitch black kitchen in the early morning. Frosting film was definitely the (nice cheap) way to go.
Have you guys frosted windows with the same film stuff from Home Depot? Have you ever encountered the not-coming-out-no-matter-how-hard-you-squeegee-bubble problem? Was it due to temperature or lack of applicator spray? Or something else entirely?
Psst- We announced this week’s giveaway winners back on the original post. Click here to see if it’s you.

Hally says
I have gorgeous doors leading to a balcony in my rented apartment. I LOVE to open up the curtains and let the beautiful light in my living room, however- my view leaves alot to be desired…meaning I can see right into the other renters apartments. We’re not terribly close, but if I can see in there, I know they can see in here.
Do you think this window frosting is reasonably removable? I don’t want to end up paying for new doors if it leaves goo that cannot be removed in a year or two.
YoungHouseLove says
Oh yes, make sure to get the same window cling we got. It even has removal instructions on the label and stuff. Good luck!
xo,
s
Julia H says
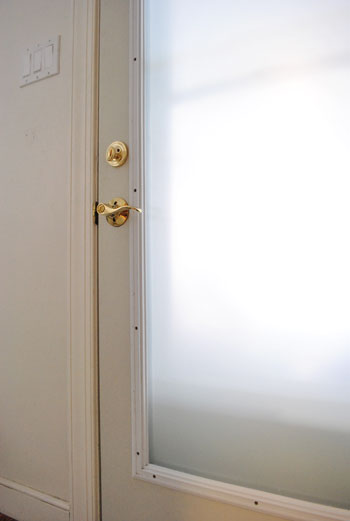
Hi Petersiks- Random question! We have a glass factory finished door similar to yours in your laundry room and we also have the exposed screws around the trim. I hate that the divots ruin the visual of a smooth trim. Did you fill in the holes any advice? Thanks!
YoungHouseLove says
Oh yes, a while back we caulked them and just painted the door and trim. Sometimes it only comes primed so that helps give it more durability and look less scuffed :)
xo
s
Jewels L. says
This looks so much better! The kitchen and frosty door look so nice. I can’t believe how different it looks. Good job!