Want to turn Ikea Besta cabinets into custom built-ins? We made 3 simple “hacks” to make our Betas look like higher-end custom storage with a high-end price tag. So now we’ve got extra storage and bonus architectural detail in our bedroom.
Built-in storage is helpful anywhere, but especially in a smaller home like ours. We’ve added built-in Pax closets in our bedroom, a custom desk & bookcase to our son’s room, and the wall-to-wall media cabinet in our family room. So when we needed a solution to the empty spots next to our fireplace, we knew more built-ins were in order.
Why Choose Ikea Bestas?
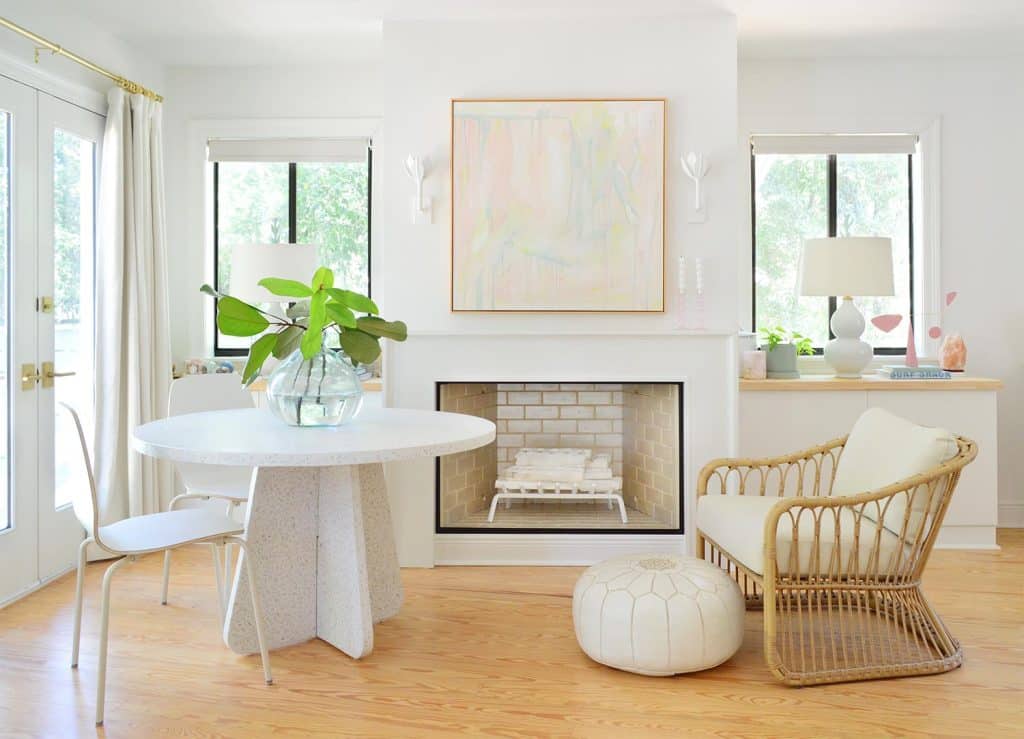
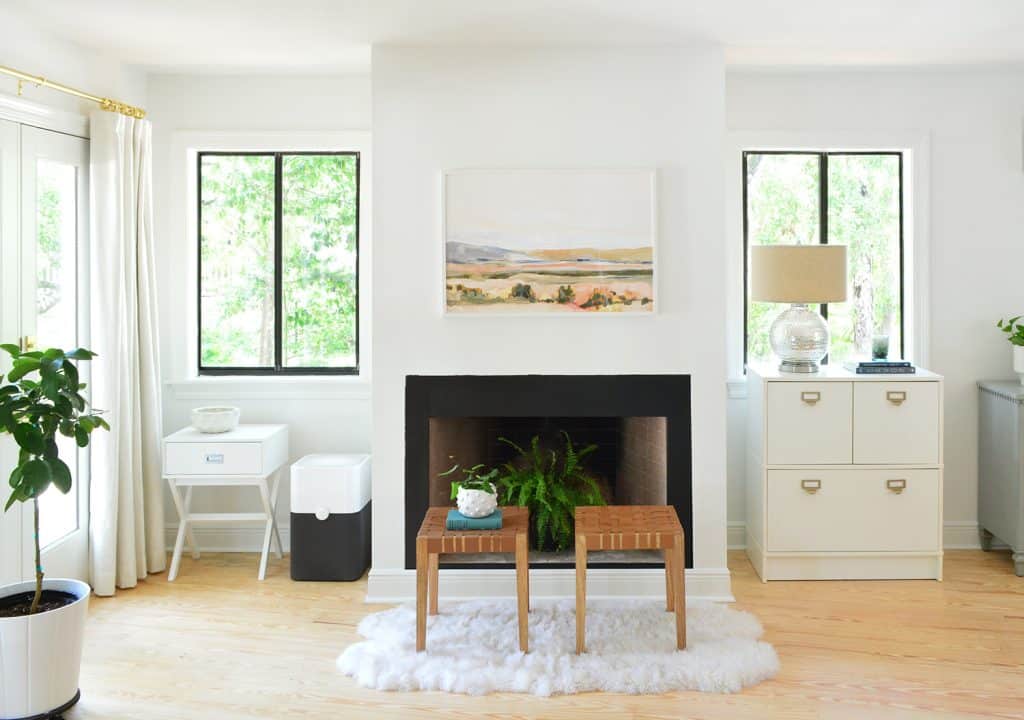
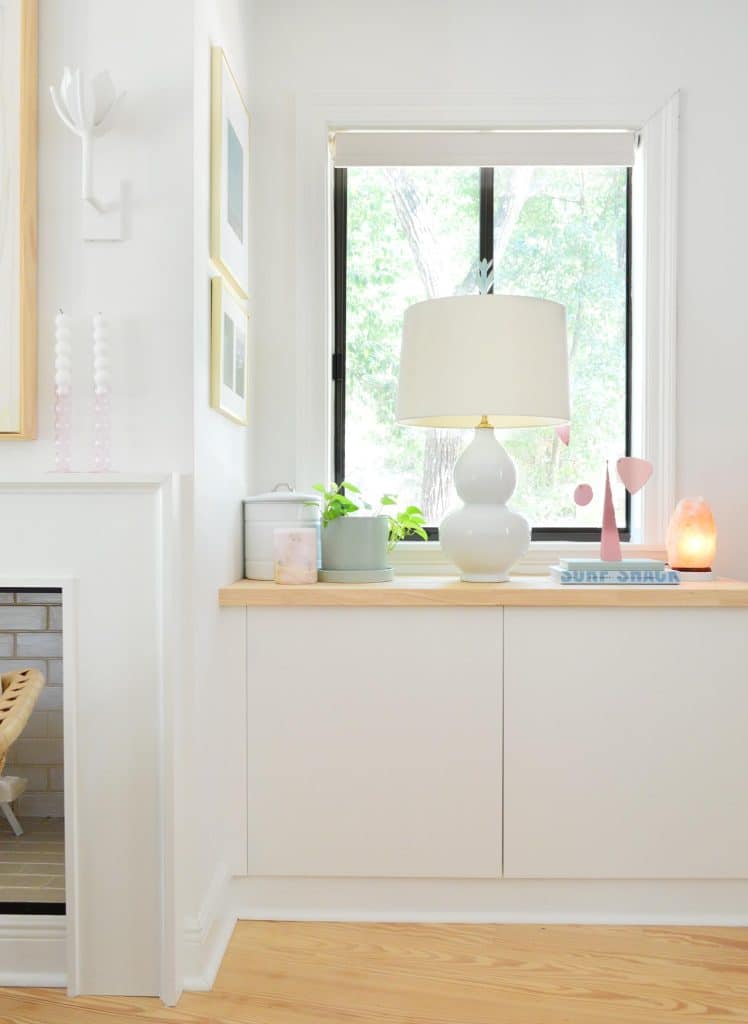
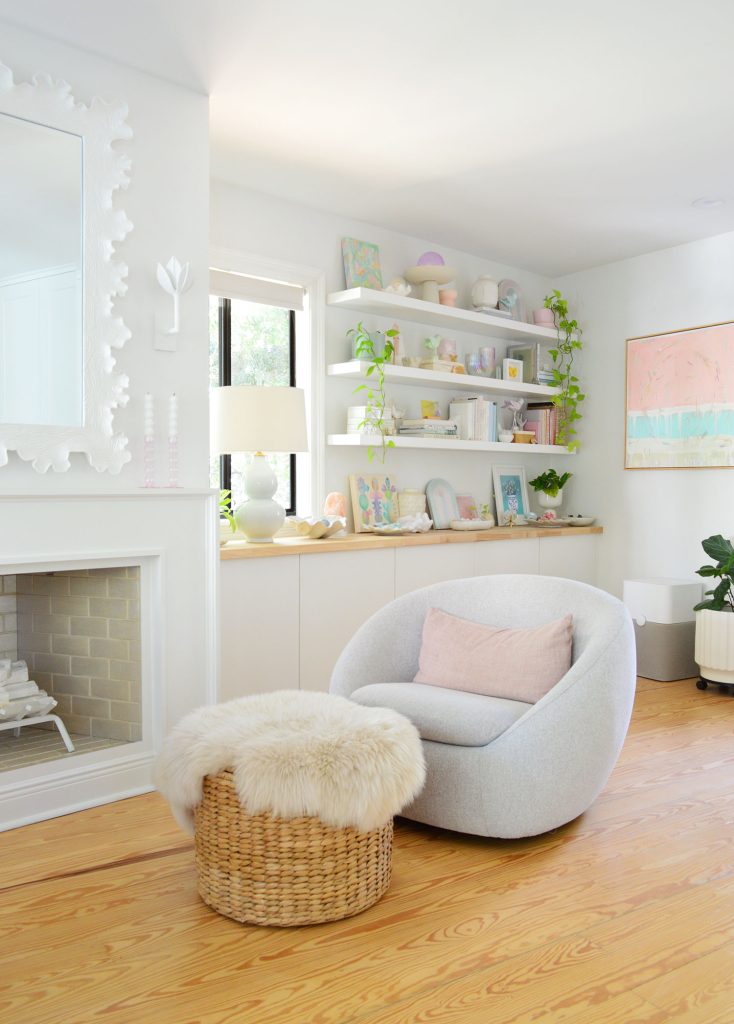
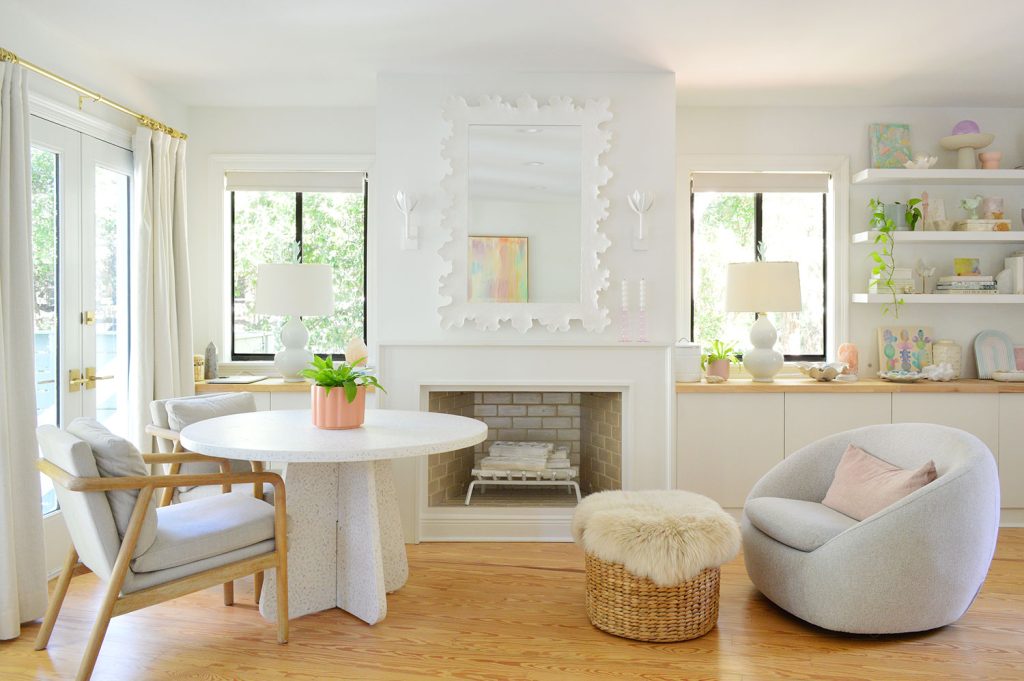
The fireplace you see above is directly across from our bed. It’s come a long way from when we first dropped some random furniture beside it after we moved in (seen below). We knew the space had lots of potential due to its inherent symmetry and the recessed areas that begged for some sort of built-in.
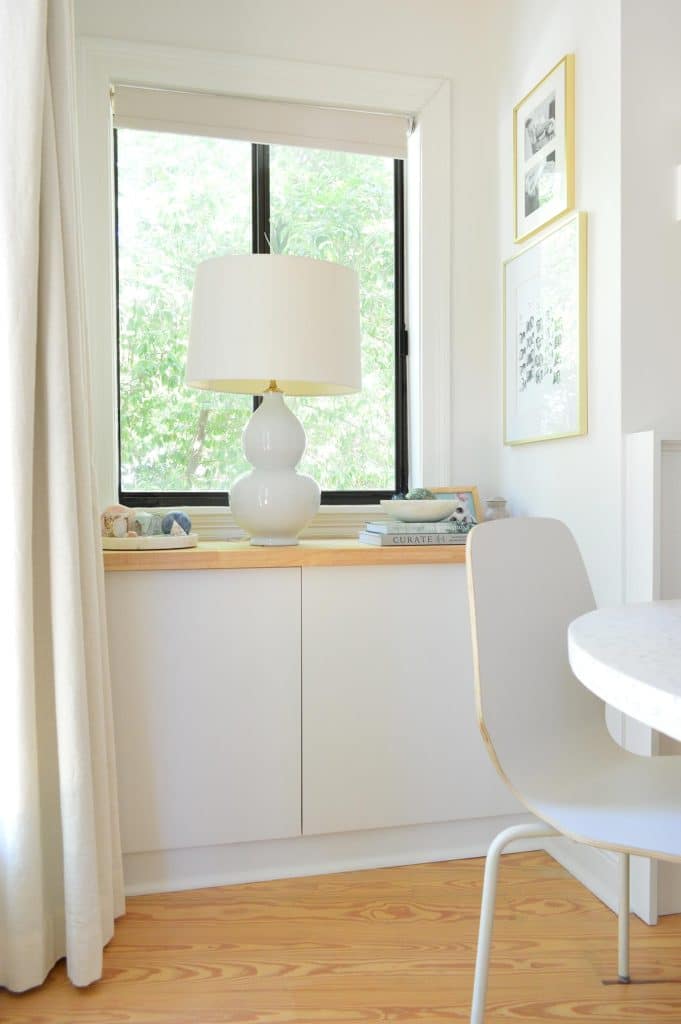
Ikea sells a 47″ wide Besta cabinet that almost perfectly fills the 50″ space on the left side. Paired with some basic legs, the height of a Besta also fit perfectly under each window. So they were a no-brainer starting place for these built-ins.
We actually bought the cabinets way back in late 2020, which is why you might’ve noticed them in the background of our holiday decor post that year. This is a photo from back then, minus the actual holiday decor:
At this point, they weren’t really “built-in.”They were just sitting there. But we were so grateful to have earned more concealed storage that we didn’t rush into the rest of the makeover. We were busying updating the fireplace instead.
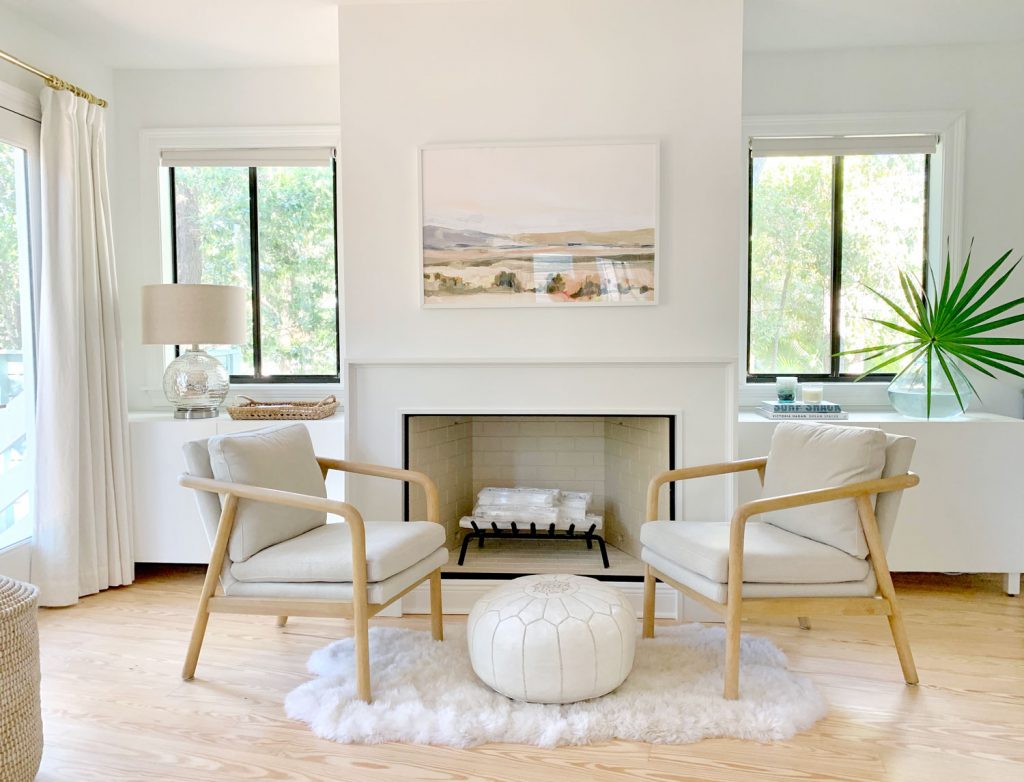
Over the next year, we got them looking a lot more custom. And now we can’t really even picture them looking like the two photos above.
How We Hacked Our Ikea Bestas
There are lots of ways you can customize or “hack” Ikea pieces to make them your own – paint, add trim, install hardware, wallpaper them, etc. But for these, we really just did three simple things to make them look more built-in:
- Added filler trim on the sides
- Added baseboard
- Added a butcher block counter
Besta Hack #1: Add Side Filler Pieces
We’ve covered how to add filler trim to Ikea pieces a few times for other built-in projects. So check out our son’s nursery built-ins or our walk-in Ikea closet for a more specific step-by-step on that process. It’s something anyone can do as long as you have a saw, screwdriver, and nail gun. You’re just attaching small pieces of wood (like a 1×2″) to fill gaps between the Besta and the wall.
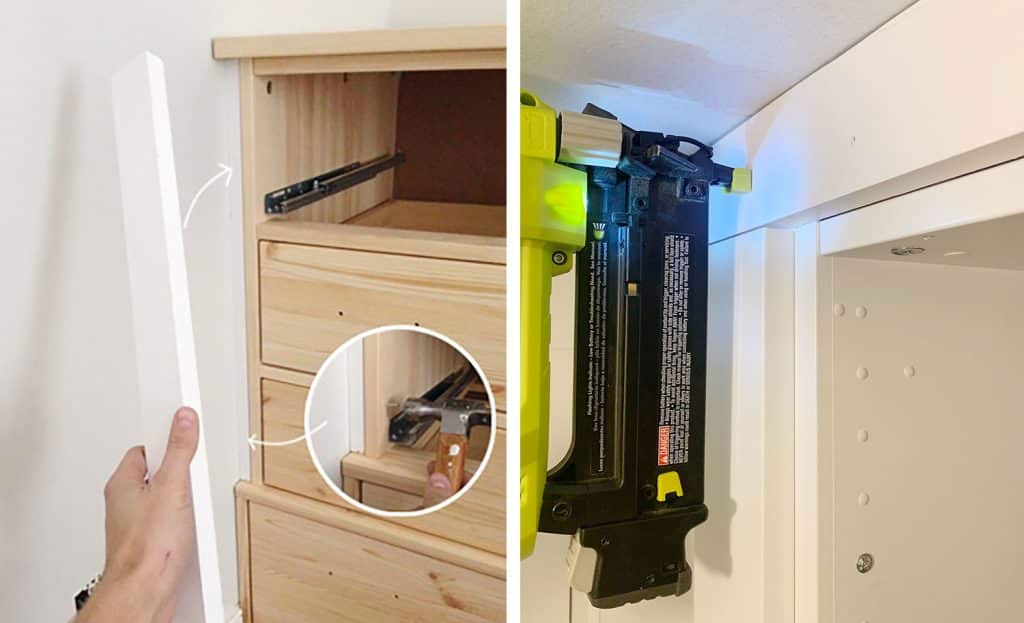
The main thing to remember – which I labeled below when building in our last closet – is that you may need to account for TWO LAYERS of filler trim. A back layer will be secured into the side of the cabinet box AND a front layer will sit on top of it, looking flush with your door.
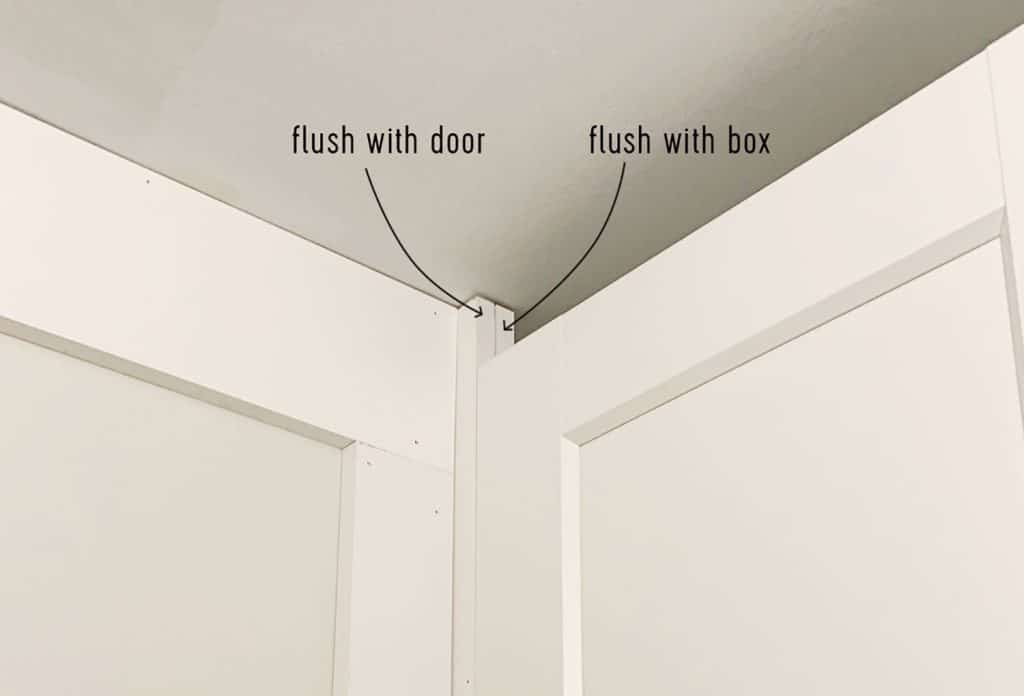
That way when the doors are closed, it should look something like this – with the filler piece flush with the front of our door.
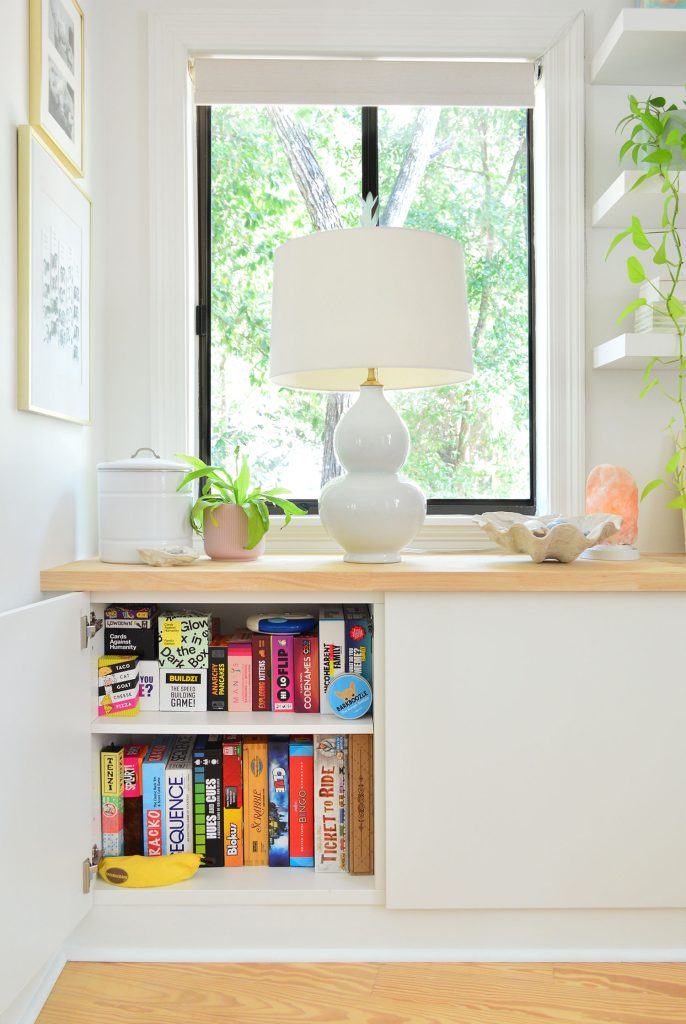
When painted to match – we used Sherwin-Williams Pure White – the filler pieces will help your Besta look like it a custom wall-to-wall cabinet.
Besta Hack #2: Add Baseboard
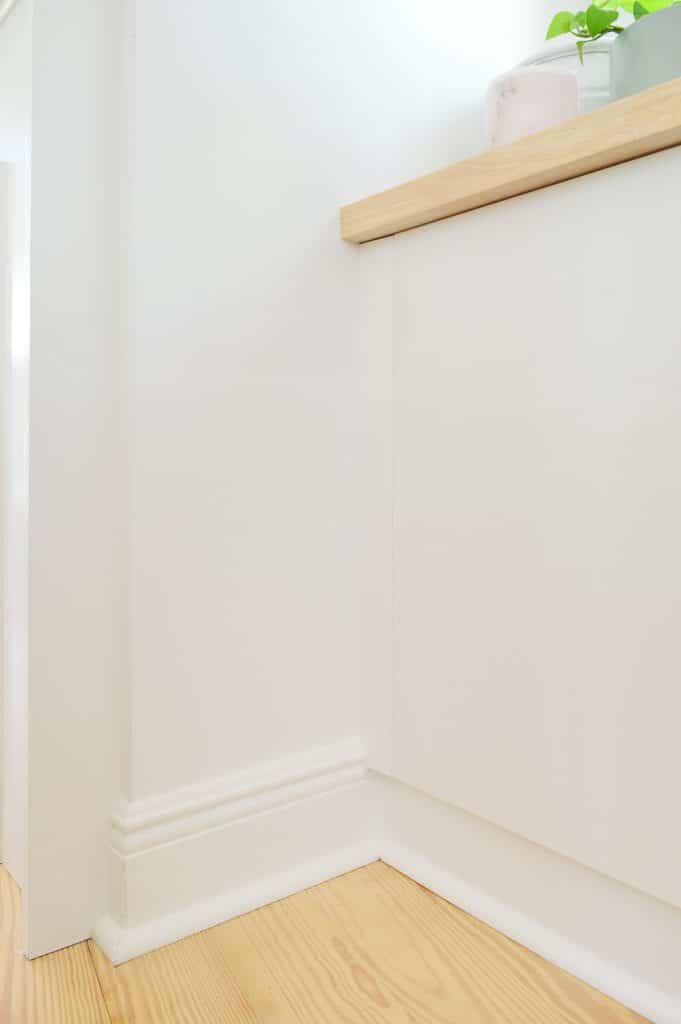
To add the baseboard to a Besta, you’ll want to match the same baseboard and quarter-round trim that already exists in your room. That will help your Ikea piece look more like built-in architecture in the room.
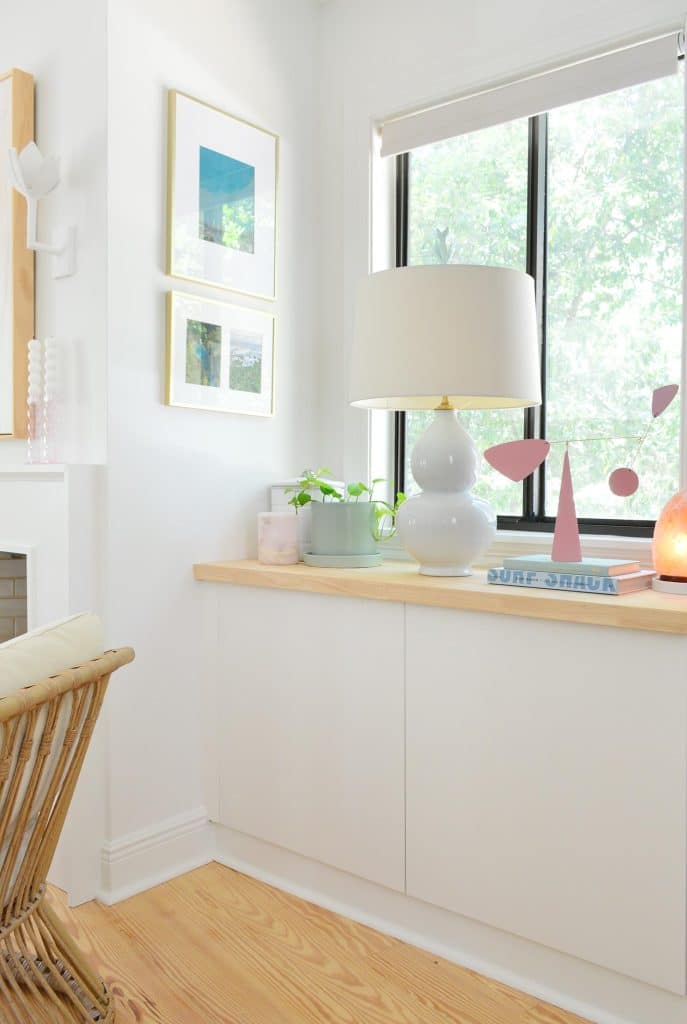
We nailed our baseboard to the stock block legs that come with the Besta. The only problem was this made the baseboard stick out a bit too far past the doors. One option would have been to float the Besta on the wall and then reattach the legs or some other wood blocking further back. We chose to use a thin strip of plywood instead of actual baseboard instead. This gave us the depth we wanted and – once we nailed quarter round in and painted everything white – you’d never know it’s not actual baseboard.
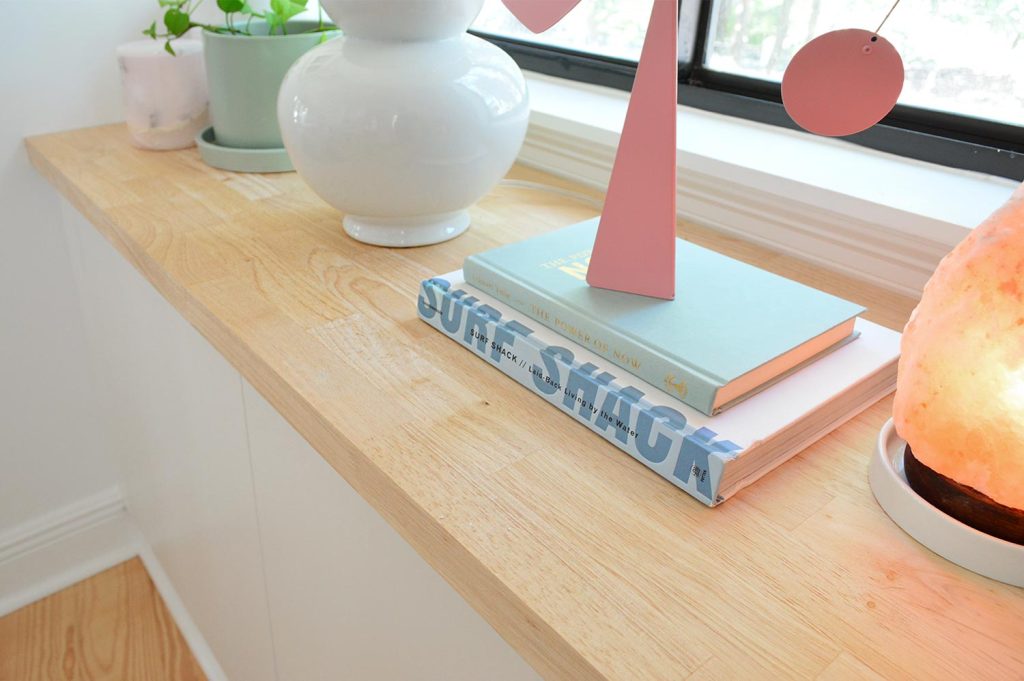
Besta Hack #3: Add Counters
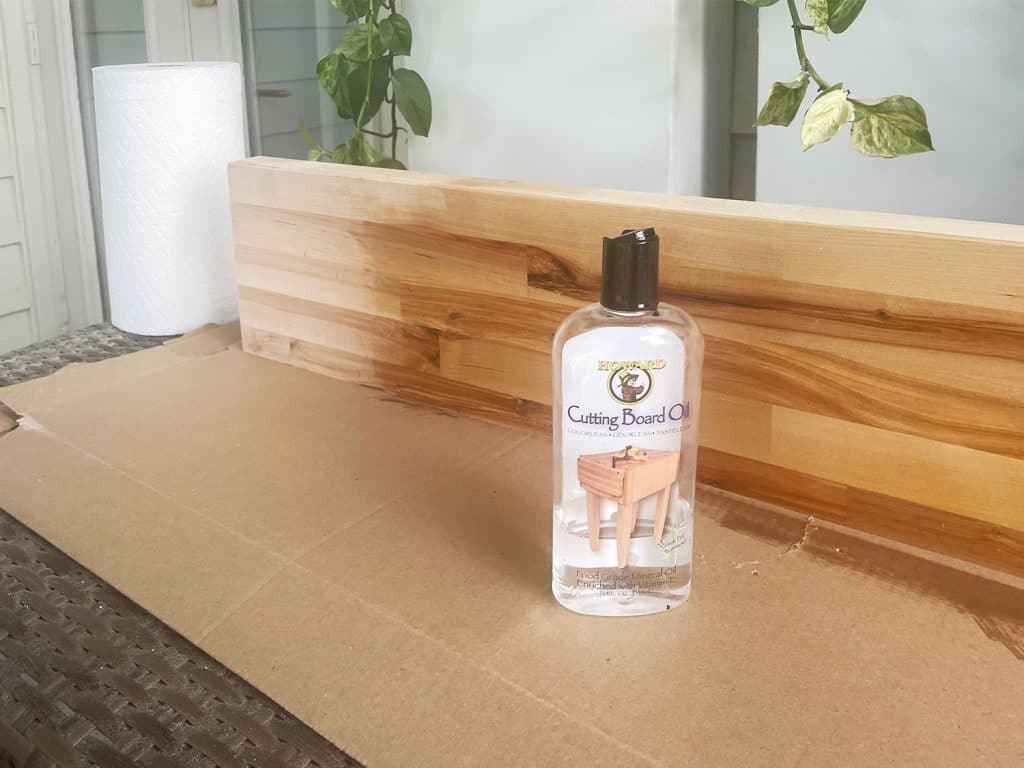
Adding a countertop is a great way to upgrade the basic white top of a Besta cabinet. We particularly love the warm contrast of this butcher block countertop. We’ve used it in two other projects – our utility closet makeover and our DIY wood nightstands – so it was an obvious choice for us. We love how chunky it is and how the color works so nicely with our floors.
We used our circular saw to cut it to size and then sealed it with a coat of cutting board oil, both to protect it and to bring out the color a bit. It dries much lighter than it looks below, so don’t panic.
To attach it we simply screwed up through the top of the Besta right into the wood. It’s pretty heavy so it stayed in place well on its own, but the screws make sure it won’t drift over time. Just make sure your screws don’t come through the top!
We also drilled holes in the counter for our lamp cord to reach the plugs behind each Besta. We bought a special 2″ drill bit to make the hole, and it took some patience to get all of the way through the butcher block AND the top of the Besta. Then capped it off with these brass desk grommets to make it look tidy and professional. They go in with the light tap of a rubber mallet.
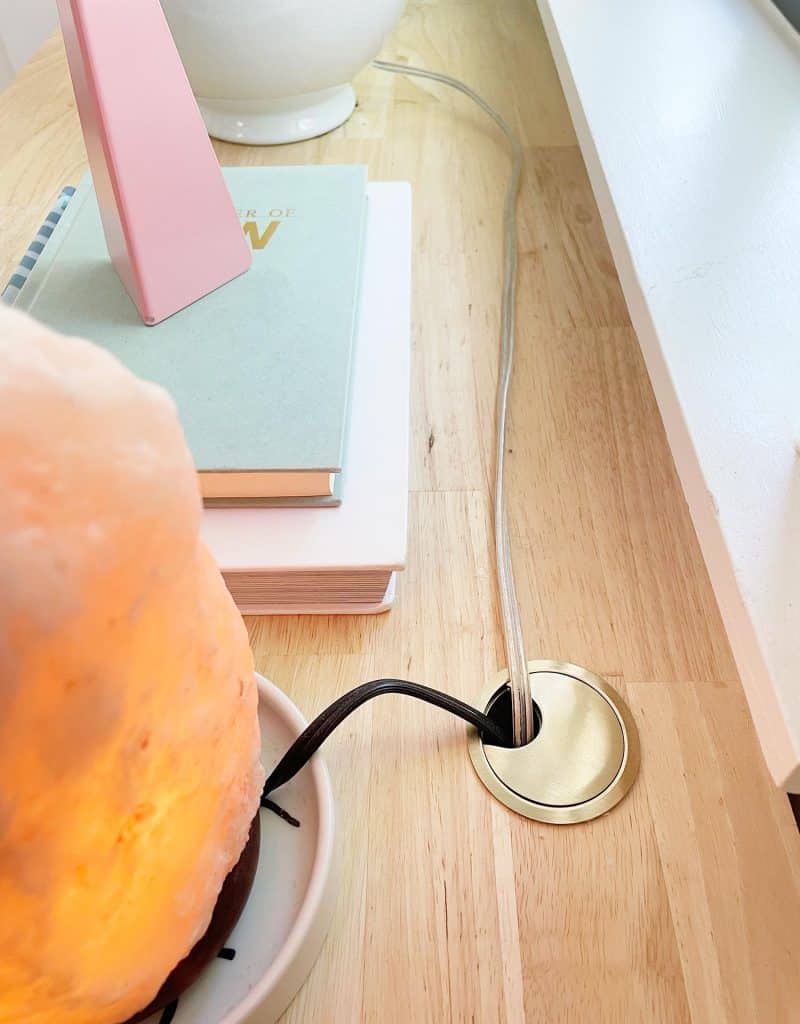
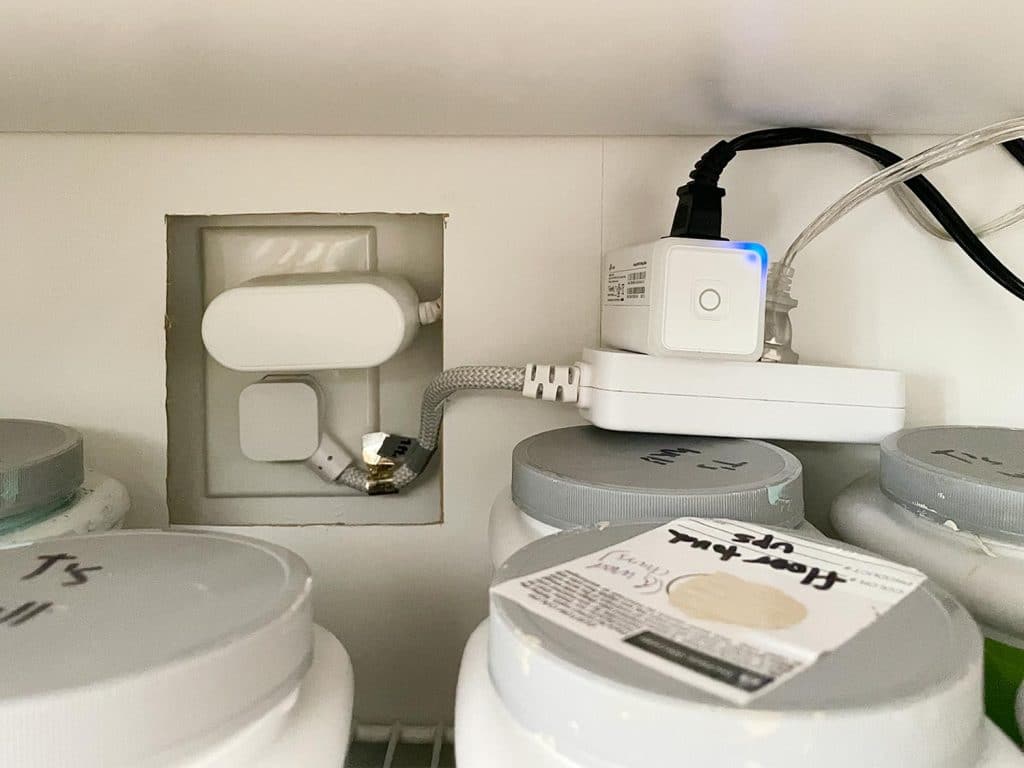
The cords just snake into the Besta and sit unceremoniously on one of the shelves. You can also see how we cut out a hole in the back of the Besta to access the outlet. It’s not very pretty, but who cares? It’s hidden inside the cabinet!
Speaking of the inside of our cabinets…
What We Store In Them
Adding and “hacking” these cabinets was a game changer for our bedroom storage. Sherry even filmed a quick video to give you a closer look at how they look all upgraded in our space & to show you what’s inside (including more about how we wired up the lamps):
Note: You can also watch this video on YouTube.
The Ikea cabinet on the right side stores a bunch of miscellaneous stuff like spare paint (as you can see above in the outlet photo). Since the video was filmed, we have done some rearranging and now one side is our official family game cabinet.
The cabinet on the left still contains a bunch of overflow books, gift bags & tissue paper, plus some overflow candles, vases, and other knick-knacks that Sherry likes to rotate in and out. I know it looks a little tough to get to behind the table but trust us that it’s no problem.
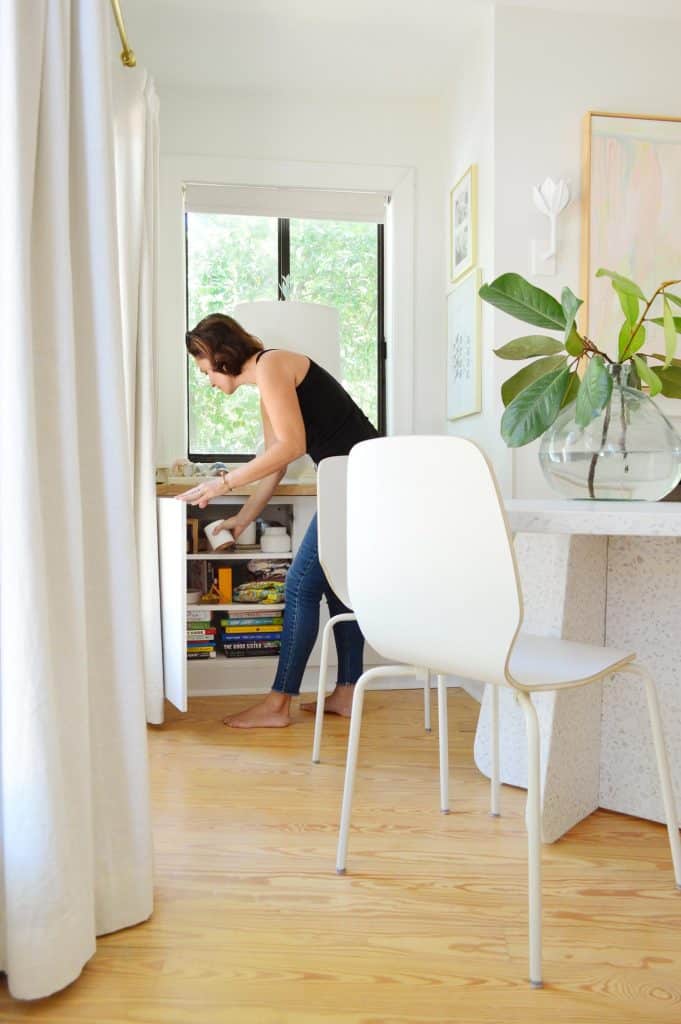
The stuff in that cabinet aren’t things we need every day (or week, or month!) so we don’t need to get back there very often anyway.
Update: More Ikea Besta Cabinets
Another update is that since writing this post we’ve ADDED MORE CABINETS. As explained further in this shelving post, we loved the Besta storage so much that we extended it along the rest of the wall in this room. So we basically got to repeat all of these hacks again: adding filler pieces, adding baseboard, and adding more countertop.
Overall, we’re so happy with how they turned out, especially considering how simple our “hacks” were to make them feel like custom built-ins.
Thanks to these built-in Besta cabinets, the storage in this room is truly maximized. And we managed to make it look pretty good in the process too!
Other Ikea Hack Projects
Wanna see some other Ikea hacks? Here are some of our other favorite Ikea furniture customizations:
- How to build in Ikea Pax wardrobes
- Creating built-in storage cabinets with Sektion
- A wood-wrapped Expedit bookcase
- Painting Ikea kitchen cabinets a custom color
- Adding brass & marble to a Vittsjo shelf
- Building a Malm dresser into a nook
- Creating a sleeping nook with Pax wardrobes
- Turning Fjell dressers into floor-to-ceiling bookcases
*This post contains affiliate links, so we may earn a small commission when you make a purchase through links on our site at no additional cost to you.
