Feeling too nervous to install crown molding yourself? We were too. But we just installed crown molding in our daughter’s bedroom and it was surprisingly cheap to pull off (less than $100!) and easy to execute. *PATS SELF ON BACK*. All it takes is the right tools and some attention to detail.
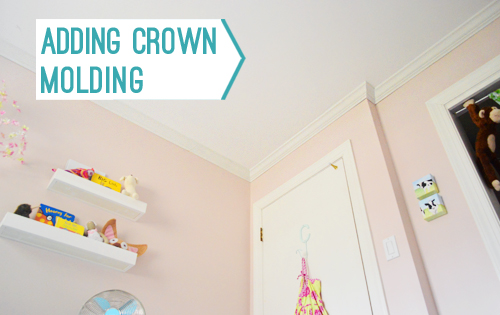
So let me back up, tell you how I did it, and explain why installing crown molding went from one of my most dreaded projects to one I’ll surely be doing again.
Steps To Install Crown Molding
We’ll provide a more detailed photo and video tutorial below, but here are the basic steps to installing crown molding in any room:
- Select your crown molding
- Determine the angle of your cuts
- Set your cutting platform
Adding Crown Molding: Video Tutorial
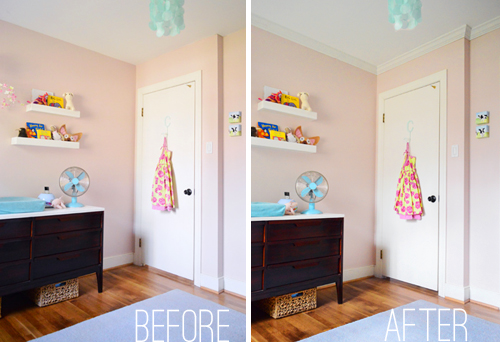
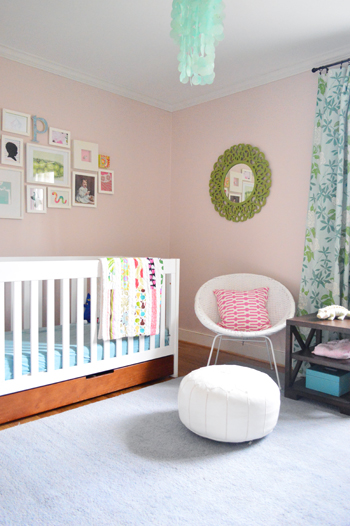
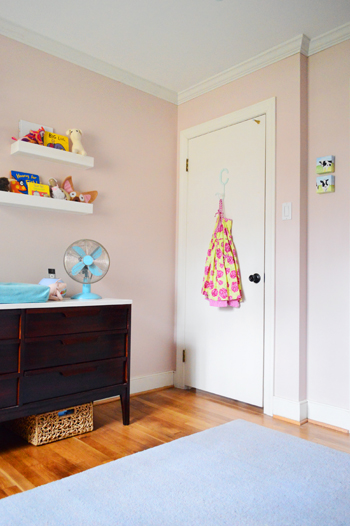
The photos in this post will show you how we installed crown in our daughter’s nursery, but it was so easy that we decided to do all of the other bedrooms too. So in the video below you can see each step in detail as we install crown molding in her big girl room.
Note: You can also watch this video on YouTube.
Selecting Your Crown Molding
I bought standard 3 5/8″ crown molding from Lowe’s because it appears to be what the previous owners installed in our other rooms. It’s almost the most affordable option available. There are other options with different profiles as well. Or, you can use this easy trick to make standard crown molding look thicker.
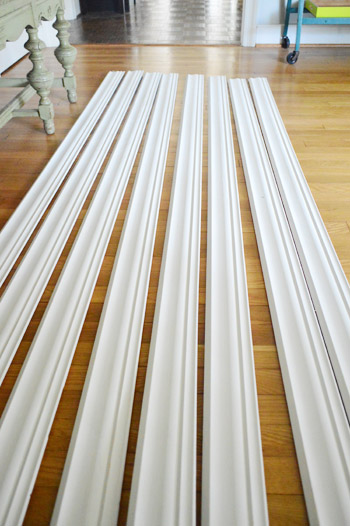
Each 8ft, pre-primed piece was about $9.50 so, including a couple of extras to cover my butt, my total material cost was $72.
Tools & Materials Needed
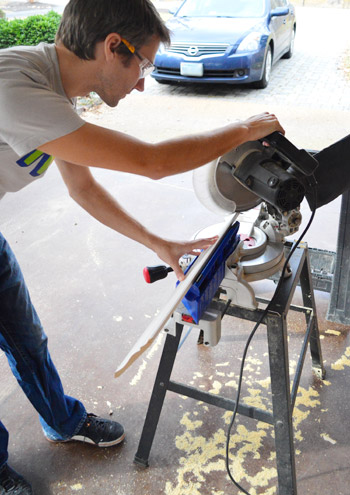
You can cut and install crown molding by hand, but simple power tools make this project MUCH faster. We used a miter saw like this one and a nail gun (the ones photographed in this post are no longer available, so I’ve updated these link to our current favorites).
- Miter saw
- Nail gun
- Kreg Crown-Pro
- Measuring tape
- Stud finder
- Pencil
- Caulk & caulk gun
- Paint
- Short handled paint brush
- Ladder or step stool
We already had a saw and nail gun on hand, but we did purchase the Kreg Crown-Pro. It was the real hero of this project!
How To Use A Kreg Crown Pro
I had read great reviews of the Kreg Crown Pro and considering my love of the Kreg Jig, I figured it was worth the $30 price tag to give it a go. Spoiler alert: I love this thing.
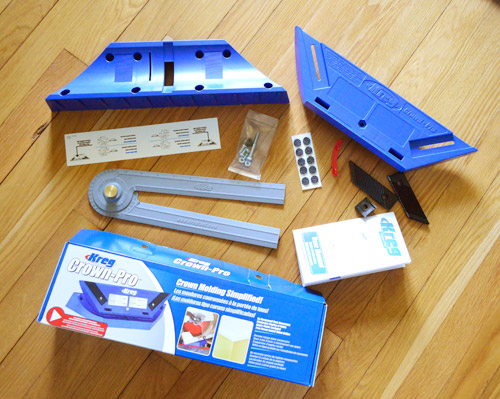
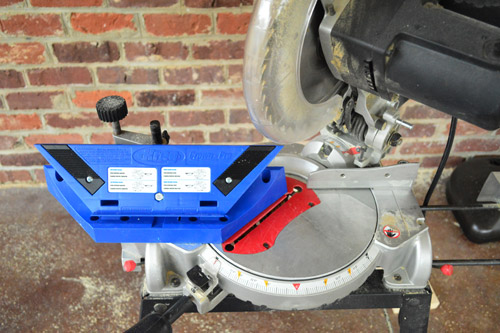
Once assembled (which takes all of five minutes) it looks like this. It creates an angled, adjustable platform so you can cut your crown molding at the same angle that it will sit against the wall. Sounds simple, and it is, but this is a huge help when it comes to cutting crown.
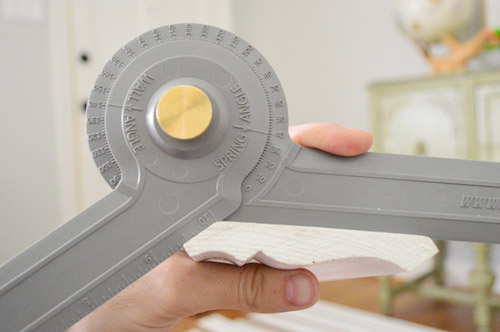
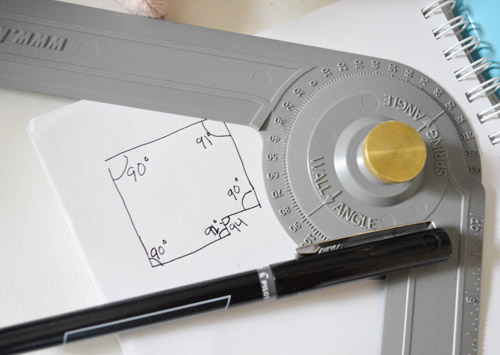
To find the angle the cutting guide should be set at Kreg includes an Angle-Finder tool so you can determine the “spring angle” – or the angle at which the crown leans away from your wall. Apparently, most moldings sit at either 38°, 45° or 52°. Mine was 38°.
Then you just use the red guide on the underside of the Crown Pro to match.
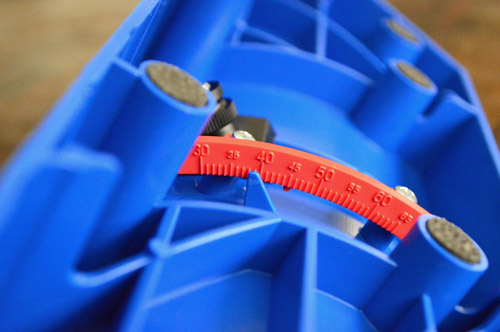
Now the cutting guide is ready to help you cut.
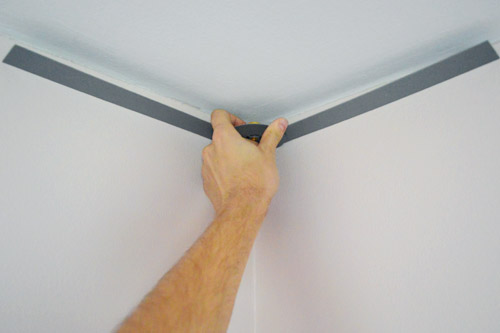
Determine Your Wall Angles
Before cutting anytime, measure and record the angles of each corner of your room. Walls aren’t perfect, so son’t assume every corner is exactly 90°. And these not-quite-right angles can mess you up if you’re not careful. Thankfully, you can use the same angle finding tool for this task.
So after measuring and recording every angle, I could figure out how my miter saw should be turned to give me the right cuts. Luckily most of my corners were very close to 90°, so I could set my saw at 45° (half of 90°) for pretty much everything.
For the non-so-perfect corners there was a bit of extra math involved that I won’t get into here because it depends on how your particular saw is labeled, but the instruction booklet that came with the Kreg has a great illustration for this.
Measure Your Wall Lengths
Next, Sherry and I took precise length measurements from corner-to-corner of each wall using a tape measure. This goes MUCH faster with an extra set of hands or you could purchase an inexpensive laser tape measure tool.

We made a sketch of our room with every measurement to help us stay organized while we started cutting.
Set The Angle of Your Miter Saw
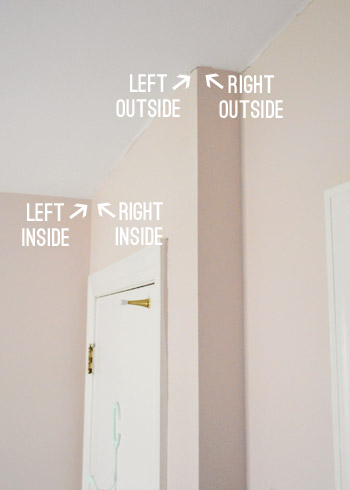
Since you’ll be cutting your molding on an angle, you’ll need to swing your miter saw blade to the left or right. Which way depends on what kind of corner you are adding molding to (inside vs outside) and which side of the corner your piece is going into (right vs left).
Luckily, the Kreg Crown Pro has a handy guide on the bottom. It shows exactly how your blade should be angled and where you should place your wood to get each of the four most popular cuts.
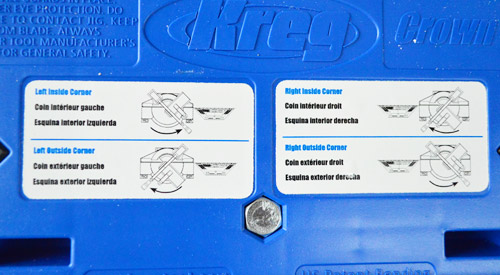
While you’re getting the hang of this, be sure to double check this guide before starting a cut to make sure you’ve got your saw set correcting.
Cutting Your Crown Molding
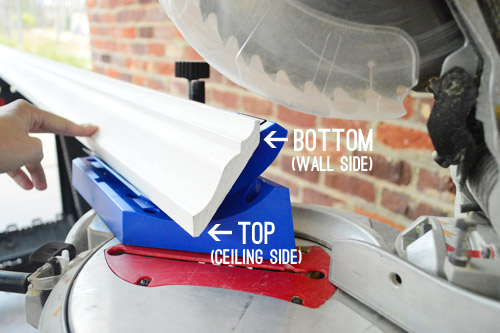
The other important thing to remember when cutting is to put your corwn molding pieces UPSIDE DOWN on the Crown Pro. This means the edge that sits against the ceiling is down on the bottom of your saw.
So with my measurements all taken, my Crown Pro all set up, and my saw blade angled I was finally ready to get cracking, er, crowning.
And remember the old adage: measure twice, cut once. Or, leave a little extra on your first cut. You can always shave off a little extra wood. You can’t add it back!
Nail Your Crown Molding In Place
Securing your cut crown pieces to the ceiling is easy, especially if you have a nail gun on hand. The one pictured was bought for our DIY board and batten project, but we’ve since upgraded to one that doesn’t require an air compressor.
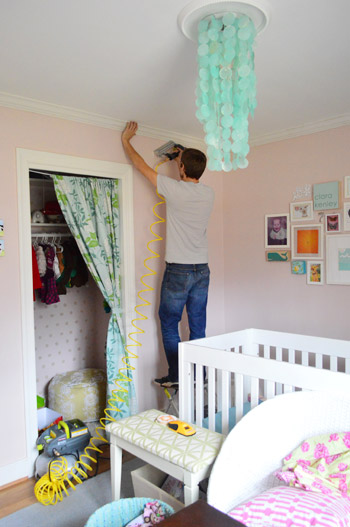
We used 2″ 18-guage brad nails and placed a nail about every 12-16″ inches, hitting both the top and bottom edges of the crown. This keeps it tight to the ceiling and the wall.
I think it took me just about 2 hours to get all of the molding cut and nailed in place this time.
How To Make A Scarf Joint
One shortcoming of the Kreg tool is that it doesn’t address scarf joints. That’s when two pieces of crown meet along a straightaway, not at a corner. This happens when your wall is longer than your piece of molding. I could only fit 8ft pieces of crown in my car, so I had three of these joints in the room.
You’ll get a more seamless transition if you overlap the two pieces (like below) rather than simply butting them together.
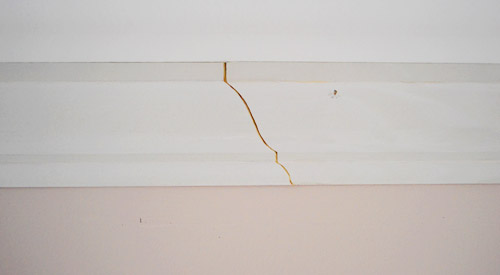
To achieve this, you’ll want to cut one side like an inside left corner and the other like an outside right corner. Or you can do switch left and right listed above, as long as they’re opposites.
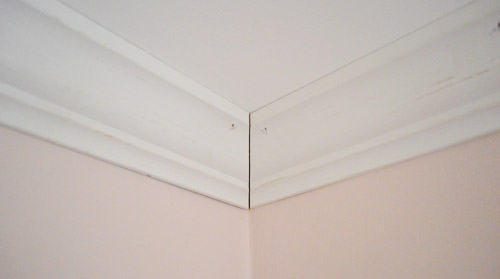
Finish With Caulk & Paint
Once everything is hung, you’ll want to caulk the seams, gaps, and holes before you point. We used white paintable Dap caulk. Use a caulk gun in the following places:
- Where the crown meets the ceiling
- Where the crown meets the wall
- Where two pieces of crown meet
- Any nail holes (you could also use wood putty or spackle for this)
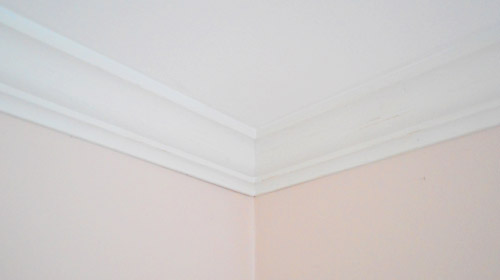
This will help hide any places your walls or ceilings are flat, while also giving you a seamless surface to apply paint.

See, much better. And the stuff isn’t even painted yet!
After the caulk dried, we used a small angled paintbrush to apply a coat of semigloss paint that matched the rest of the trim in the room.
Total Crown Molding Project Cost
Our material cost ended up being $67. Add the cost of the Kreg Crown Pro ($30)and my total project cost at just $97. Not bad! We’ve seen enough house listings that say “crown molding throughout” to know that it’s a nice selling point – and now we’re one room closer to a fully crowned house.
More Crown Molding Projects & How-Tos
Since first publishing this post, we’ve tackled a few other crown molding installations – include how to make beefier, more fancy looking molding. Check them out below:
- How To Install Chunky Crown Molding For An Upgraded Look
- Adding Crown Molding To Kitchen Cabinets
- Installing Crown Molding Around Built-In Bookcases
Does anyone have any tricks to their crown molding installations that they’d like to pass on? Or have you had a similarly discouraging first experience with crown, only to crack the crown molding code on your second attempt?

Leave a Reply