Let’s talk about crack sand. You know we love to save a buck wherever we can. Sometimes to a fault. And as any scrimper knows, sometimes it can bite you in the a-dollar-sign-dollar-sign (a$$). Though I’m not sure we ever expected that we’d wish we had splurged on “the fancy sand”…but that was the case after living with our finished patio for a few weeks.
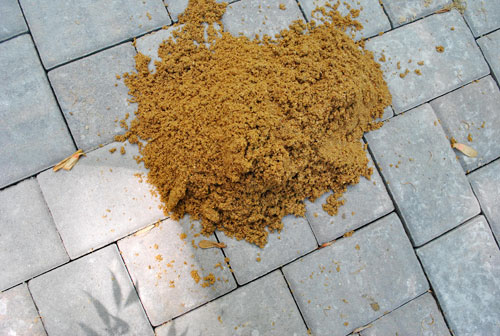
If you recall, we used some leftover paver sand to fill the cracks between the stones instead of spending the $95 that the stoneyard would’ve charged for a delivery of the polymeric stuff (which has some cement-like qualities to help keep it in place and block weeds a little better).
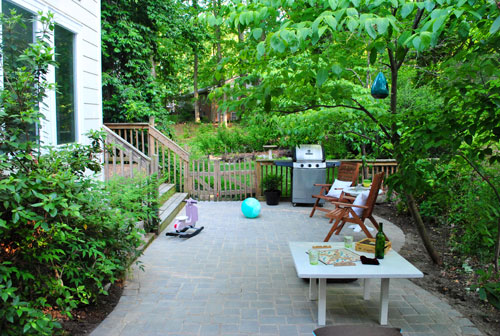
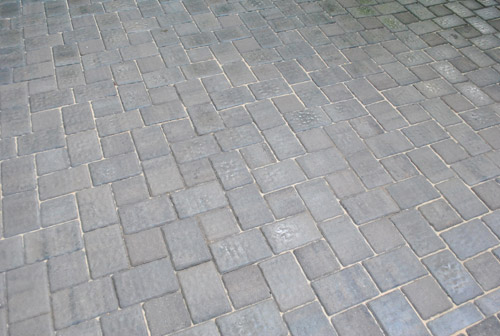
At first the paver sand looked great in those cracks…
… but after a few weeks and (more importantly) a few rains, I grew increasingly unsatisfied with my crack sanding job (yes, I just very maturely resisted the urge to write “the sand in my crack”). It had washed out in a bunch of places, leaving lots of empty gaps and an inconsistent look that I wasn’t happy with.
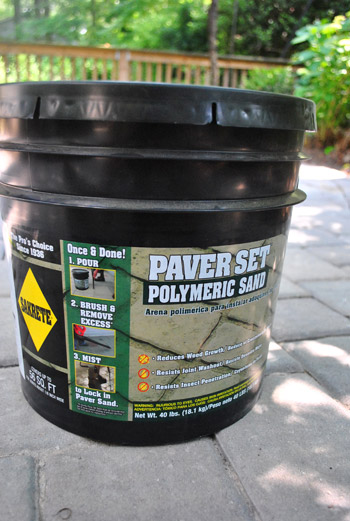
So, we bit the bullet, swallowed our pride, and bought a bucket of polymeric sand at Lowe’s for about $30. It technically should have only been enough to cover about 1/3rd of the patio, but since the cracks still had some regular sand packed into the bottom of ’em, I knew it’d go further (not only did one bucket do the trick, we still have lots leftover in case we ever need to redo it). So at least we didn’t end up spending the full $95 that we were originally quoted.
Applying the sand was tedious to say the least. Just as the directions suggested, I used a ziploc bag with the tip snipped off to pour the sand directly into the cracks… of which there were lots. Did I mention it was tedious? And yes I channeled Duff from Ace of Cakes the whole time (minus the weird facial hair).
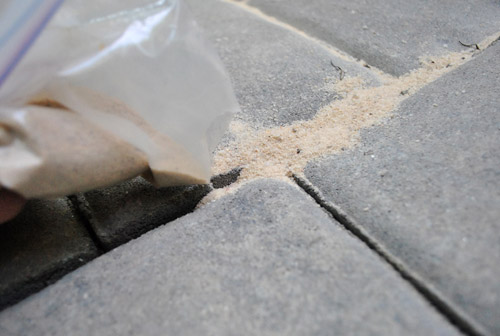
My initial application was way too heavy – which isn’t ideal because once this stuff gets wet it truly is cement-like. So you want to be sure you put the sand only where you want it to stay for the long haul (as in, not on the face of the pavers).
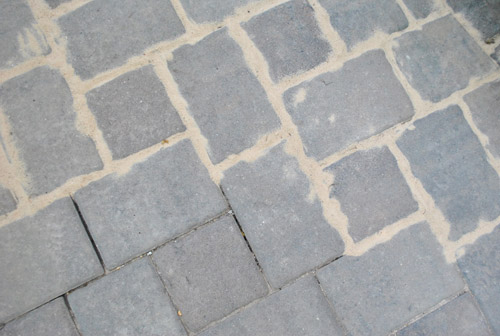
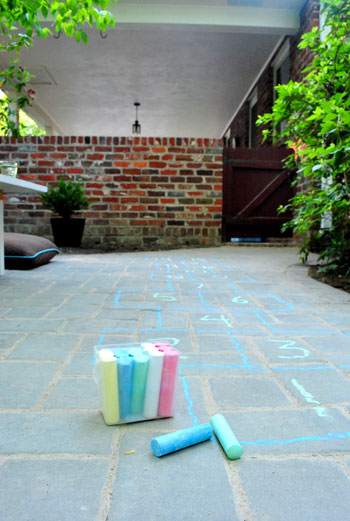
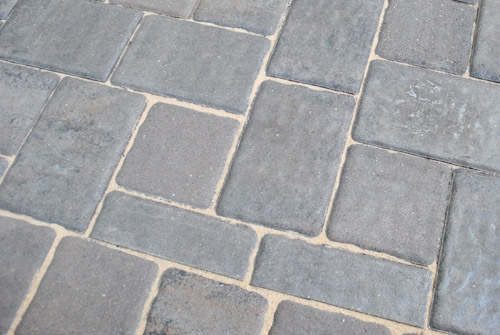
So section-by-section I swept my heavy-handed sand “icing” until it thinned out into something more subtle (the top half of this pic is done, and I hadn’t started on those bottom cracks).
Then in an extra credit bout of nerdiness, after all of the sand was poured and swept, I went over the whole patio with my electric leaf blower on its lowest setting to be sure I got rid of any excess on the surface of the stones. After that I broke out my hose and misted the entire area per the directions (being sure to get everything wet without going overboard and washing things out).
In retrospect I wish I had blown or swept out a smidge more sand before wetting things down so that the “seams” of sand between the pavers were a tiny bit thinner. Guess I’ll add that to my Lessons Learned list. Right under “Use polymeric sand in the first place.” But it’s really not too bad. Kind of charming in that it-looks-like-it’s-been-here-a-while-way (when the seams are free of sand it looks really dorky-new to us, like too-white sneakers on the first day of school).
Even though we did save about $60 in the long run, I do wish we’d “splurged” for it during the initial patio laying process. It would’ve saved me lots of time (it took about three passes to get the paver sand looking good during my first attempt, whereas the polymeric stuff took only one) and in the long run I’m confident that the “fancy stuff” will do a much better job when it comes to blocking weeds, ant hills, and all that other unwanted stuff over the next few years.
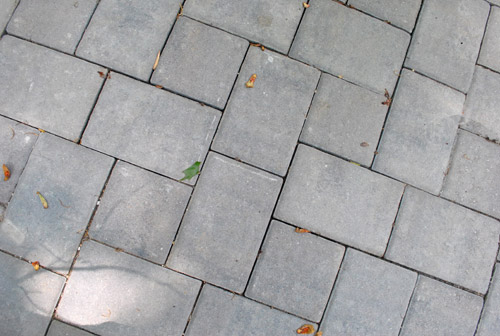
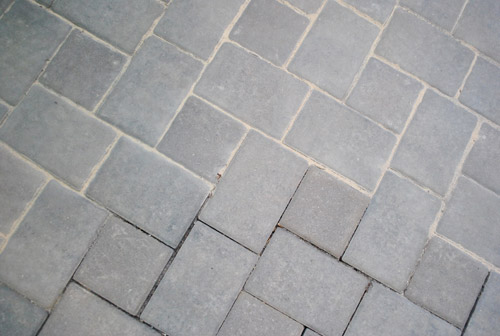
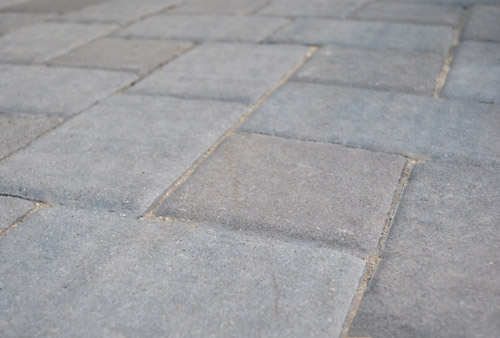
Here’s a shot of the pavers that I snapped yesterday, about a month after putting all the new sand down. We figured we should wait to post about it to see how it stood the test of time (and a few crazy thunderstorms). So far it’s holding up as well as the day I did it. And yes, I’m quite relieved about that. I don’t know that I had another sand application in me if this one didn’t pan out.
Has anyone else learned their lesson the hard way? Or can you think of a time where you wish you had just bucked up and done things right the first time? Basically I’m looking for you guys to make me feel less like I’m the only one who makes these kind of mistakes.
Psst- Want to look back on the entire patio process from beginning to end? Here’s the first post (about planning), the second post (about prepping the area), the third post (about unexpected budget breakage), the fourth post (about further prepping the area), the fifth post (about adding the gravel & sand along with the majority of the pavers), and the big we’re finally done post (complete with a bucketload o’ pics).

Leave a Reply