It’s Tuesday the 30th… so it’s time to share this season’s (completely unofficial) Pinterest Challenge project (not sponsored by Pinterest or anyone else, just dreamed up by Katie to make us stop pinning and start doing). Huzzah!

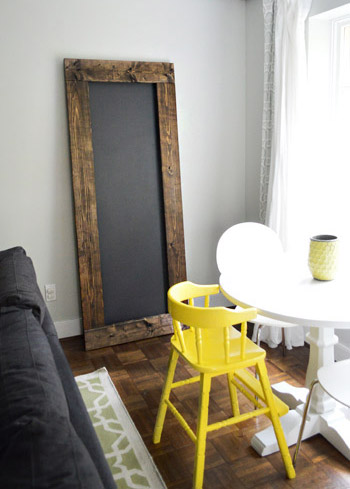
This time John and I tried our hand at making a large chunky-framed leaning mirror – except instead of it actually being a mirror we made it into a giant chalkboard (since chalkboard paint is probably the most Pinterest-tastic material out there, haha).
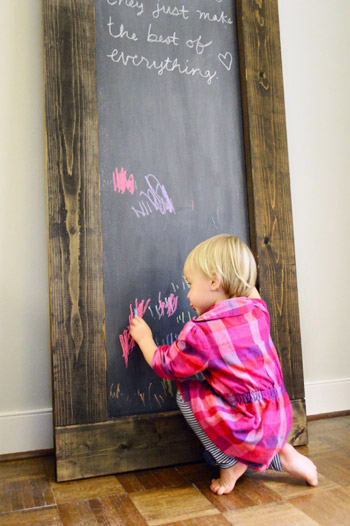
By designing it like a large leaning mirror, it can move from room to room, and it can be a place where we write sweet notes, make lists, and enjoy Clara-scribble (we secured it to the wall with leaning mirror hardware so it’s kid-safe – more on that method here).
As per the challenge rules, I took inspiration (or Pintspiration, har-har) from the projects that I linked up to in last Tuesday’s post and did my own spin. Here’s a recap of them for ya:
- Top left: this big arse chalkboard from here
- Top right: this leaning easel board found here from this awesome blog
- Bottom right: this door-chalkboard from here
And here’s how we tackled our own version. The cool thing is that we were able to use a big board of plywood that we already had leftover from building in the fridge back in November of last year (yes, it was just chilling in our basement since then). But before we got to the chalkboard paint application, we rolled on some magnetic paint (since we already had a quart of that from this project in our first house). Sorry this isn’t a full shot of the plywood board, but it’s 68″ tall and 21″ wide if that helps.
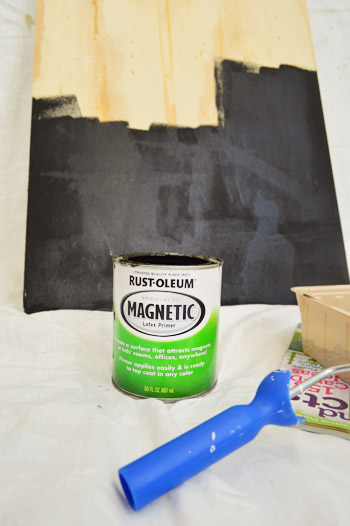
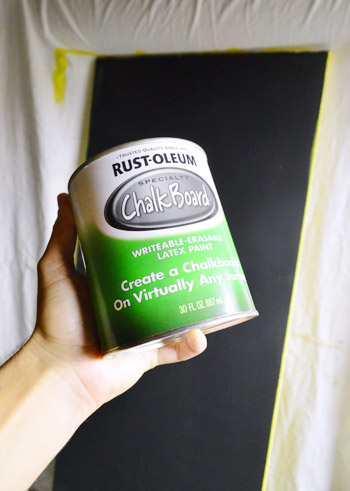
After a four coats of magnetic paint (we wanted it to be pretty strong) it was time to add the chalkboard paint. So we grabbed this can from Home Depot for ten bucks and we rolled on two coats of it. We only applied it to the front side of the board, but you can see from this pic that we actually had some fun with the back side too, but we’ll get to that in a second.
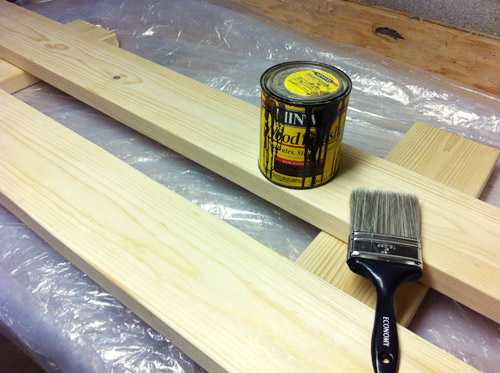
As for building this whole shebang, we set out to make it without the need of any fancy saws or tools. And because Home Depot is happy to cut plywood to size for you to make the board, and you can also get them to cut a few 1″ x 6″ boards to create the frame… this project calls for no cuts at home at all. Woot!
For our 68″ x 21″ piece of plywood we got two 29.5″ 1 x 6″ boards for the top and bottom of the frame, and two 63″ pieces for the sides. This allows for a little bit of overlap when the frame is assembled so the board looks as if it sits inside the frame (but really rests behind it). The total height and width of the entire finished project is 29.5″ wide by 74″ tall.
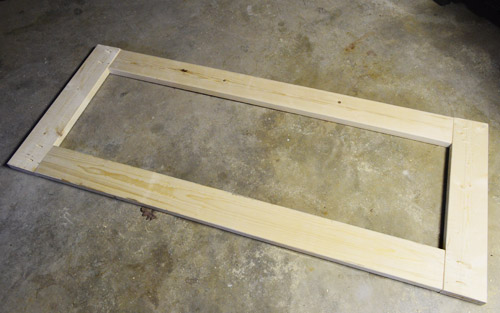
As for the stain, we went with our old favorite (leftover from a bunch of other projects) which is Minwax in Dark Walnut. We stained the wood before we assembled the frame because it seemed easier not to have to worry about getting stain on the chalkboard part of the board.
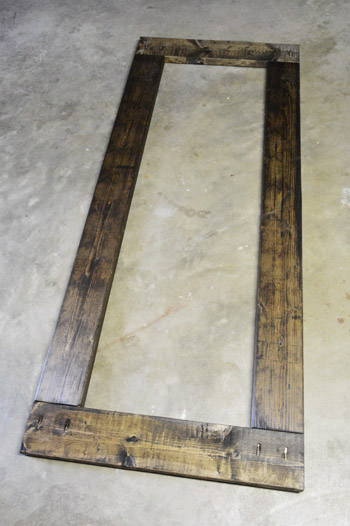
After the frame was all stained and dried, we just used our Kreg Jig to attach them (but if you don’t have one you could easily use metal brackets to hold them together from behind or just try to screw them together from behind without a jig).
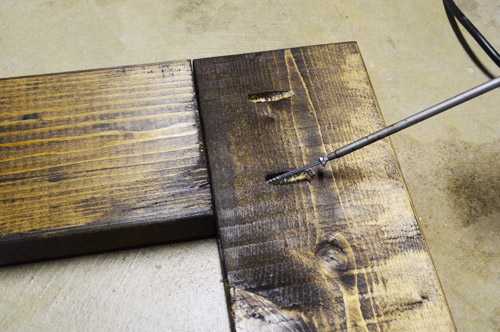
Bam. A dark walnut frame. Without a miter saw, angle calculations, or anything else that could get complicated.
Then we attached the chalkboard part to the frame from behind. And… surprise! John got a wild hair and painted the back in Citron (a leftover pot of BM paint that we had), just because he said the bare beat-up back was bugging him. Sure, we’ll probably only see it once every few years when we carry it around the house (you know we like to move things around) but I love that man for adding that secret plane of color just because he knows it’s there. Haha.
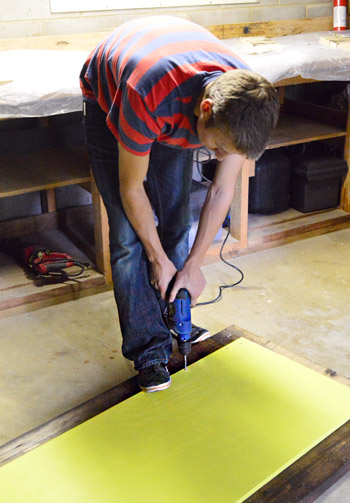
Oh and to be clear about how you attach the chalkboard part to the frame, you just screw around the edge of the chalkboard from behind because it overlaps the frame slightly, so as long as your screws are long enough to go through the plywood and into the stained frame (without poking all the way through the front) you’re golden. I think the length we used for those screws was an inch and a quarter.
Then we just let it air out/cure for a while (chalkboard paint + stain are both stiiinky until they fully cure) and it was finally time to bring it up into the living room along the wall where we wanted to lean it. Then we just secured it to keep it from tipping over (using the same dealio that we used here). Don’t want it bonking the bean!
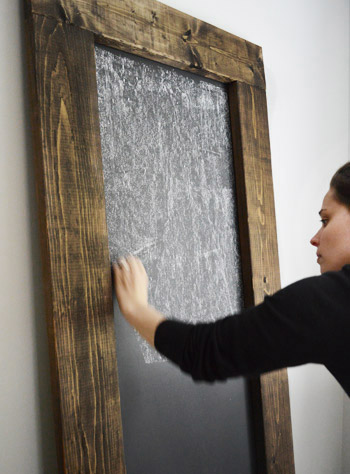
Next it was time to “condition” it by rubbing the side of a piece of chalk all over it and then wiping it all off. Boom. Conditioned.
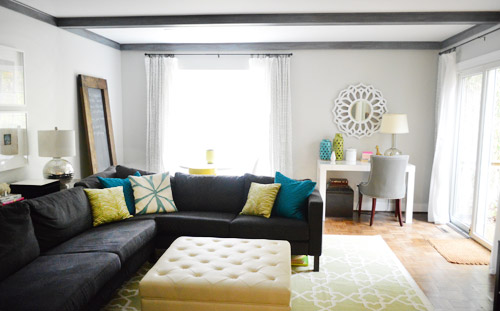
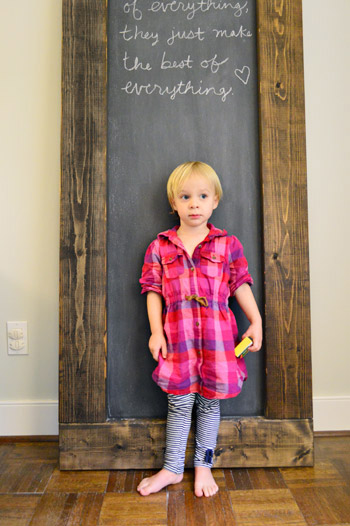
Ta-daaaaa! I know in the pics it seems to be one of the only wood tones in the room, but the console behind the sofa is the same finish and we’d love to build/repurpose a cabinet for the TV in the same rustic finish, so we think it’ll be more balanced and make more sense as the rest of the room comes together. One nice thing we didn’t even think about is that the color of the chalkboard paint ties into the sofa and the beams, so it sort of “marries” the wood console and the gray items in the room. Gotta love a “bridge piece.”
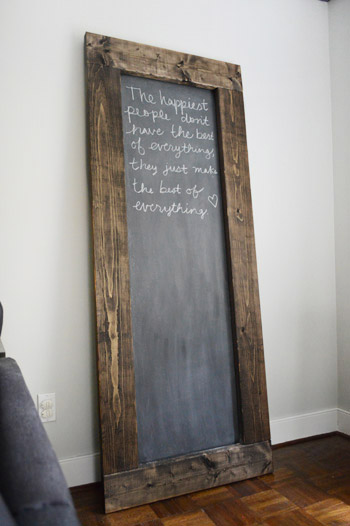
I’m sure the scribbles will constantly be changing (we have a fun Thanksgiving idea to implement when November rolls around) but for now I just wrote a quote that I love up on the top. It says “the happiest people don’t have the best of everything, they just make the best of everything.”
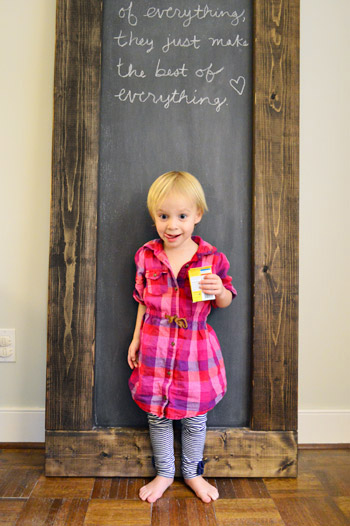
Then Clara woke up from her nap to see it hanging out in the living room and cautiously approached it. For a second she didn’t know what to think, but when we told her she got to draw on it and handed her a box of chalk…
… let’s just say she got pretty darn excited. Haha.
Here’s a video of her in action for ya:
It must be a mom thing, but I totally think my kid’s scribbles are THE BEST. I mean, have you ever seen anything so beautiful?
So that’s how it all went down. As for the money stuff, here’s a little budget breakdown:
- $0 – leftover plywood board, leftover stain, leftover magnetic paint (a guess for buying all of these might be $45?)
- $10 – chalkboard paint from Home Depot
- $16 – four 1 x 6″ boards to make the frame
- Total: $26 (this project could potentially cost around 70 bucks if you don’t have leftover materials)
Don’t forget to check in on Katie, Carmel, and Sarah to see what awesomesauce projects they’ve whipped up (they’ll all be sharing theirs sometime today as well)!

And now here’s the part where we tip our homemade hats to you guys and invite you to share all of the fun Pinterest Challenge projects that you’ve tackled in the last week (right along with us, well at least virtually with us). If you’ve already blogged about it, just:
- click on the blue “Add Your Link” button with the odd cartoon head at the bottom of this post (you might have to do some scrolling, depending how many projects are added)
- add a link to your specific blog post about your project in the url field (not your home page)
- where it says “name” write a descriptive name for your project (ex: “Homemade Leaf Wreath”) as opposed to your actual name
- we’d also love if you could quickly link back over to our project posts within your own (here’s Katie’s, Carmel’s and Sarah’s) – it’s also nice to link to your inspiration project on Pinterest as well as to directly link to the original project/site, just so they get some love too.
And if you’d rather just link over to your project in the comment section, feel free to do that – or even add a link to a free photo sharing site like Flickr with your pics if you don’t have a blog (remember to set the gallery to public so we can all see it). We’re crazypants excited to see what you guys have been up to!

Leave a Reply