
Saving Money
Here are dozens of ways to help with saving money and cutting back spending - from how to make a budget and learn how to coupon to how to save money on utilities or save up for DIY projects - here are some ways to live a debt free life (paying in cash feels great!).

Making Pour Over Coffee At Home

How To Dye Clothes

What’s It Like To Downsize?

Five Quick & Easy Kitchen Updates

Before & After Photos Of Our Bathroom Makeover & How Much It Cost

Quick Demo-Free Bathroom Makeover

Ikea Pax Closet Makeover With Budget & Video Tour
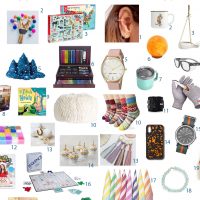
2019 Holiday Gift Guides

Stuff We Own & Love That’s On Sale Right Now

How Much Does It Cost To Run A Vacation Rental (With Real Numbers)

Updating Old Kitchen Cabinets With New Inset Doors
- 1
- 2
- 3
- …
- 8
- Next Page »