Painting
Painting your home (both inside and outside) doesn't have to be complicated! Here's how to pick the right paint color, choose the right paint finish, avoid annoying painting mistakes, learn how to paint your cabinets (or even paint an appliance like your fridge) and much more.

Painting The Back Of Your Front Door A Bold Color

How To Paint Trim Without A Paint Sprayer

Priming & Painting The Bathroom

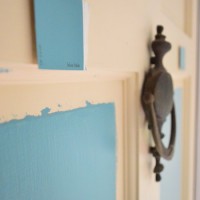
Changing A Door Knocker And A Doorbell
How To Pick A Color And Paint Your Front Door
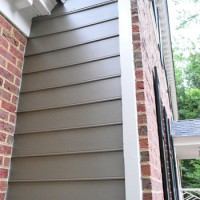
Picking A New Siding Color & Updating Our Exterior Trim

How To Use A Paint Sprayer On Trim & Doors

How To Paint Exterior Siding

Painting Our Kitchen A Soft Blue Color: Colorado Gray

Our 32 Favorite Home Paint Colors
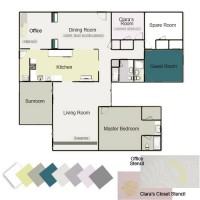
Our Whole House Color Palette
- « Previous Page
- 1
- …
- 4
- 5
- 6
- 7
- 8
- …
- 15
- Next Page »