
Painting
Painting your home (both inside and outside) doesn't have to be complicated! Here's how to pick the right paint color, choose the right paint finish, avoid annoying painting mistakes, learn how to paint your cabinets (or even paint an appliance like your fridge) and much more.

Those Times We Made Bad Painting Decisions
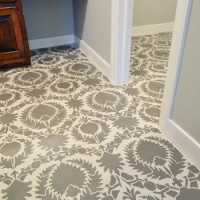
How To Stencil A Floor

Revere Pewter, The Gray Wall Paint Everyone Loves

How To Stencil A Pillowcase

How To Install A Wood Plank Ceiling

Painting The Ceiling Pink In Our Daughter’s Room
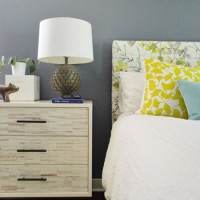
Painting Our Bedroom A Rich Blue Paint Color
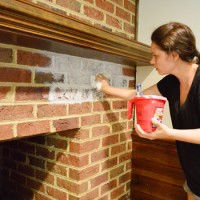
How To Whitewash A Brick Fireplace

Painting The Living Room Edgecomb Gray

Painting Our Foyer Edgecomb Gray

Upcycling A Secondhand Bathroom Light
- « Previous Page
- 1
- …
- 3
- 4
- 5
- 6
- 7
- …
- 15
- Next Page »