
Home Improvement
A bunch of in depth tutorials and step by step instructions for completing home improvement projects, keeping up with home maintenance, transforming a fixer-upper, and doing things like unclogging a drain or building a deck.
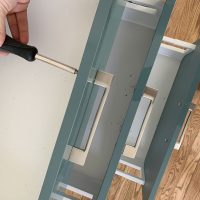
How To Install Cabinet Hardware

Installing Under-Cabinet Lighting
Refinishing Oak and Pine Floors
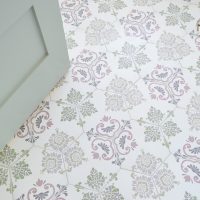
The Tile We’d Install Again – And What We Wouldn’t!

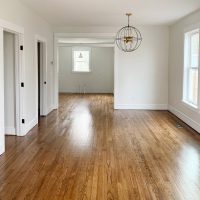
New Video House Tour!

Mudroom Cabinet Storage Upgrades
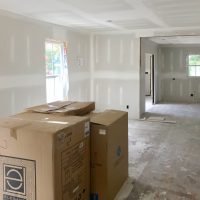
The Duplex Has Drywall! And A Video Tour!

Finding Shutters For Our Historic Beach House
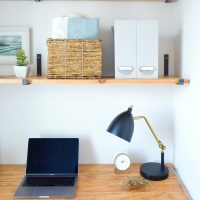
Building Shelves And A Floating Desk For An Office Nook
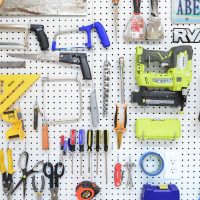
The Best 45 Tools For Home DIY

10 Smart Home Devices We Love
- « Previous Page
- 1
- …
- 5
- 6
- 7
- 8
- 9
- …
- 34
- Next Page »