Home Improvement
A bunch of in depth tutorials and step by step instructions for completing home improvement projects, keeping up with home maintenance, transforming a fixer-upper, and doing things like unclogging a drain or building a deck.
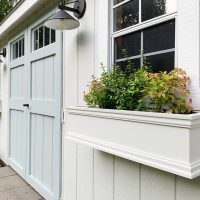
Painting Our Shed & Adding Window Boxes
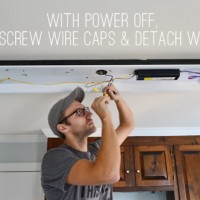
How To Replace Fluorescent Lighting With A Pendant Fixture

Painting Our Brick House White!
Ikea Kitchen Costs – A Full Breakdown
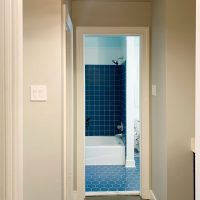
Starting A Bathroom Renovation
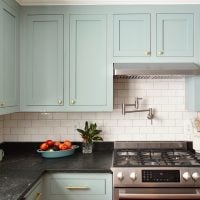
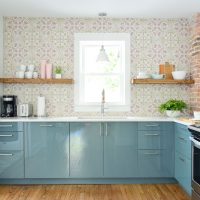
Updating Old Kitchen Cabinets With New Inset Doors
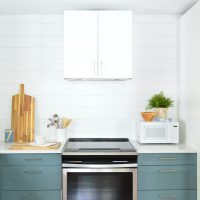
DIY Shiplap Wall Plank Treatment ($31 total!)
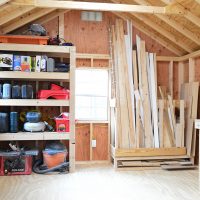
The Duplex Backyards: Patios, Sheds, & Outdoor Showers!
8 Things To Do Before You Start Tiling
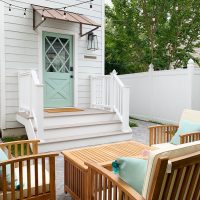
Our Duplex Airbnb’s Backyard Makeover
Tips For Installing Ikea Kitchen Cabinets
- « Previous Page
- 1
- …
- 4
- 5
- 6
- 7
- 8
- …
- 34
- Next Page »