
Home Improvement
A bunch of in depth tutorials and step by step instructions for completing home improvement projects, keeping up with home maintenance, transforming a fixer-upper, and doing things like unclogging a drain or building a deck.

How To Make DIY Floating Shelves

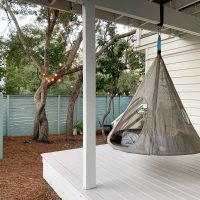
How To Build A Hanging Daybed
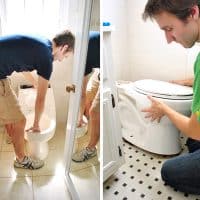
How To Install A Toilet
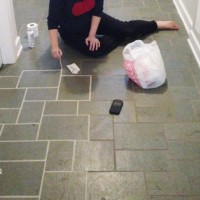
How We Got Our Stained Grout White Again
How To Paint A Porch Floor
How To Paint Your Kitchen Cabinets

How To Build A Modern Fireplace Mantel

Our Kitchen & Sitting Area, Six Months In
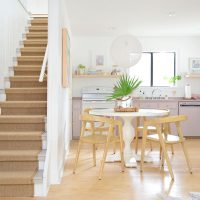
Adding A Sisal Stair Runner
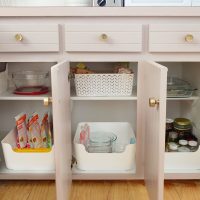
How To Add Hidden Hinges To Old Cabinets
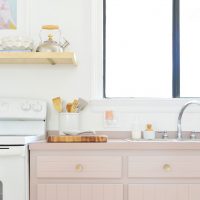
Painting Our Kitchen Cabinets Pink
- « Previous Page
- 1
- 2
- 3
- 4
- 5
- 6
- …
- 34
- Next Page »