Home Improvement
A bunch of in depth tutorials and step by step instructions for completing home improvement projects, keeping up with home maintenance, transforming a fixer-upper, and doing things like unclogging a drain or building a deck.
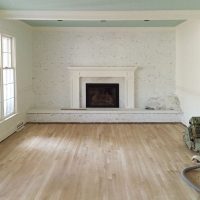
Refinishing Hardwood Floors 101
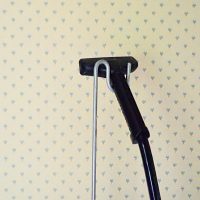
How To Remove Wallpaper: 4 Proven Methods

Using Solid Stain In Our Outdoor Shower
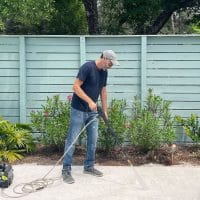
A Beginner’s Guide To Pressure Washing

DIY Built-In Bookshelves

6 Ways We Upgraded Our Bedroom

How To Install A Ring Doorbell In 5 Easy Steps

How To Install A Stair Runner

17 DIY Shelf Ideas
How To Unclog A Bathtub Drain

Easy Board & Batten Tutorial
- 1
- 2
- 3
- …
- 34
- Next Page »