
Videos
Videos are worth a thousand pictures. From tutorials for painting a room or building a console to random hilarity on tape, here's an archive full of our favorite video tutorials and chart-topping rap singles.

A Teachers Lounge Makeover
Hello? Is This Thing On?
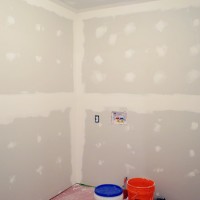
How To Tape, Mud, And Sand Drywall
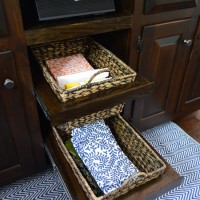
How To Add Pull Out Basket Drawers In The Kitchen

How To Take Your Own Newborn Photos
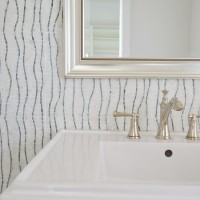
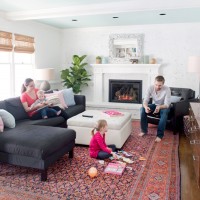
A Full Tour Of Our Showhouse On Video
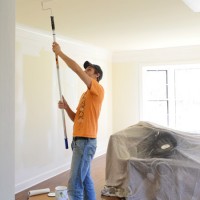
How To Paint A Room
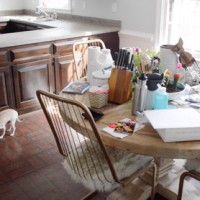
Messy House Tour 2014
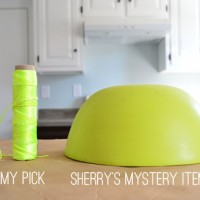
And Now For A Household Crafting Challenge
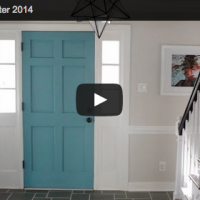
House Tour: Winter 2014

Planning The Showhouse
- « Previous Page
- 1
- 2
- 3
- 4
- …
- 11
- Next Page »