Since lots of folks have asked for close up photos and more of an explanation about our little art switcheroo above the sofa, here it is. It’s such an easy project that anyone can do (probably for under $5 if you have the frames and some small photos or prints that you love (images from greeting cards or postcards could even work). So we figured we’d share the goods while we work on our backsplash (those goods will be up tomorrow am!).
Our frames above the sofa started out with colorful paper in them ($5 worth of craft paper from Michael’s to be exact). That added some fun oomph for a while, but the beauty of that $5 price tag was the freedom to switch things around and just sort of go with the flow. So they sat as plain blocks of color for a while…
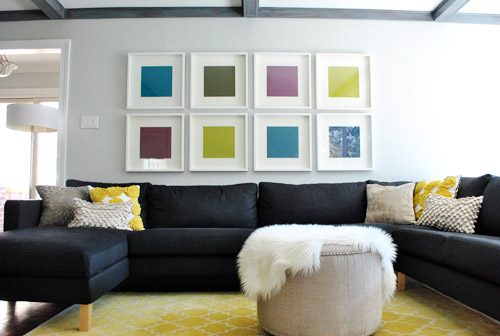
… and then we added some fun local art prints (just taped in the middle of our colored paper)…
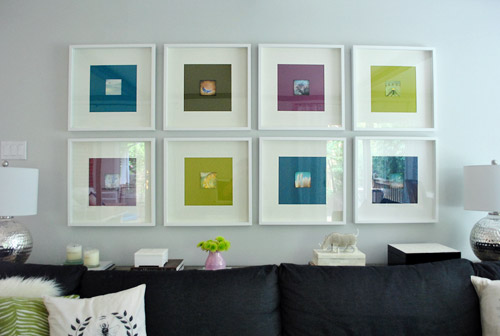
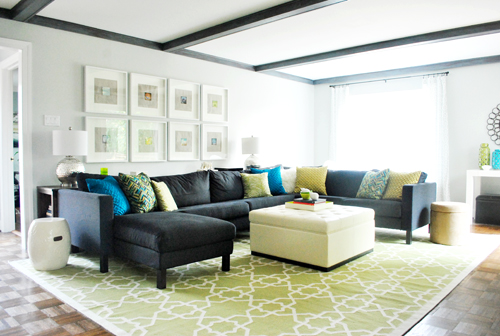
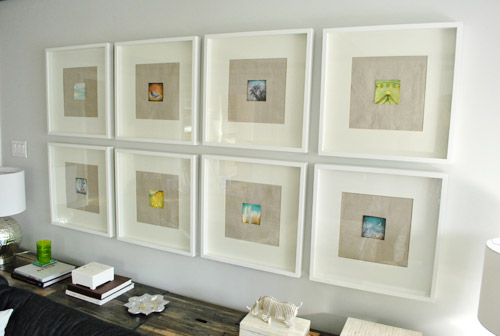
… but after our new rug arrived we were jonesing for something less colorful (since we had amassed a ton of colorful pillows and some bright accessories like the ceramic hurricanes on the desk). We also decided we could use some more texture, so that somehow triggered me to look in my fabric scrap bin and realize that I had enough burlap-ish textured linen-ish stuff to do the trick.
Sorry for that terrible description. It’s just a sand-colored fabric that sort of looks like linen or burlap (you know, it has those crosshatched lines running through it) that I got on super clearance from JoAnn fabrics a while back – so I don’t think it’s actually real linen and it’s a bit too soft to be burlap.
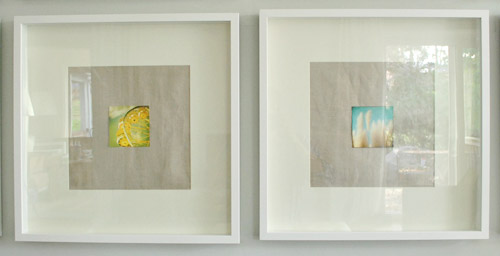
Here’s my completely not scientific framing method. I just:
- unstuck my little art squares that had been taped to the colorful fabric with a loop of tape
- used the same loop of tape to stick them to the center of the eight 12″ x 12″ fabric squares for each frame
- taped the fabric to the back of the frame’s mat on all sides (to keep it from looking saggy and wiggly)
- regular old scotch tape worked for that part, but if you have heavier fabric, something stronger like duct tape might be better
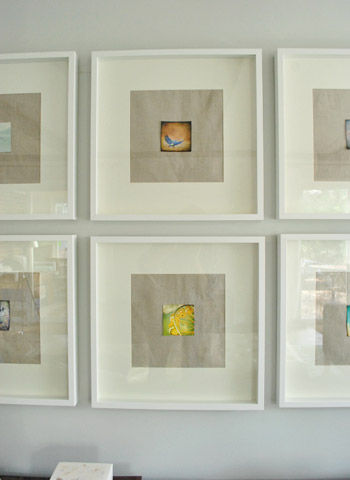
That’s it! Oh and these are Ikea’s ribba frames (with 12 x 12″ openings) if that helps. I love that my tiny polariod-ish prints make you look closer, and when you do, you see the texture in the fabric behind them. It’s really sweet, especially in person. I keep glancing over at them when I sit on the sofa.
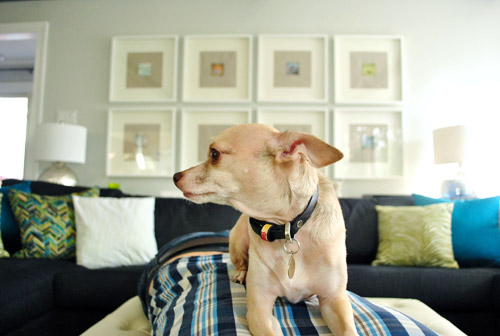
Sometimes Burger takes John-sprawled-out-on-the-ottoman-taking-photos-of-the-art to mean that he’s supposed to sit on him. Naturally. So we took more photos and shared them over on Young House Life. Naturally.
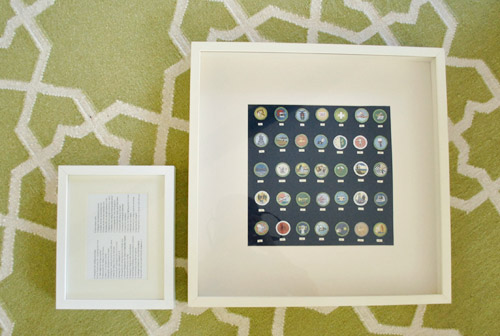
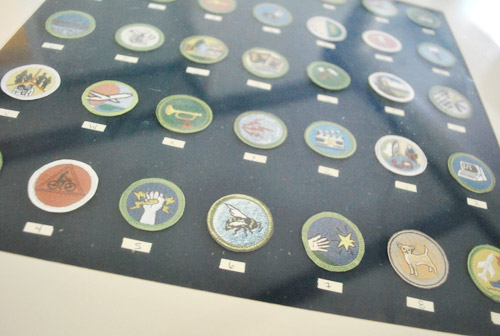
Anyway, so the art thing was a free swap and I’ve been using the colored paper that I took out for other projects around the house – like John’s boyscout badge Christmas present.
Oh and since a few folks also requested an open-ottoman shot to see how it’s all organized in there, here ya go:
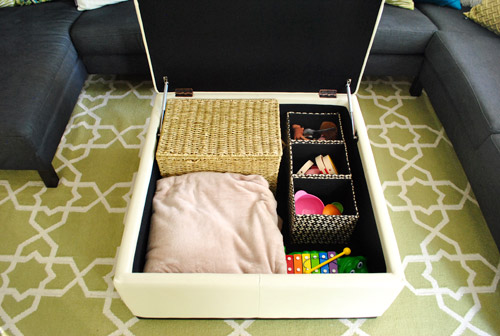
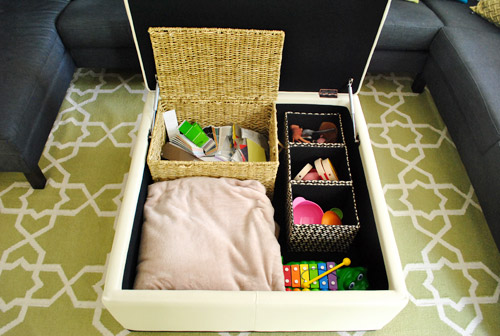
The big woven basket is my paint chip bin (yes I keep various paint decks in there and even save loose paint chips so I can later do weird things like make art or ornaments with them). The other three baskets are for various Clara toys. There’s also a giant blanket in there (it can actually stretch across the entire monster of a sectional that we have and cover me in one corner and John in the other corner, which makes me crazyhappy). It’s just a king sized blanket I found at HomeGoods a while back for 25 bucks.
So there you have it – two living room goings-on. What have you guys been framing lately? Any fabric “mats” or backgrounds? What about fabric as art? That’s always fun too! Any ottoman organization? We learned really fast that tossing things in without smaller bins and baskets = chaos. Like a small tornado hit ottoman-ville every time we cracked it open. So apparently it’s all about sub-containment inside of larger containment devices. Lesson learned.
Psst- A reader (thanks Caroline!) sent along the link to this article about why people seem to be “wired” with the desire to DIY things, and it’s so interesting! The “add one egg” thing is especially amazing to me.

Leave a Reply