I devoured “The Organic Lawn Care Manual” looking for info on how to make our lawn lush but stay chemical free. Here’s what I learned.
[ Read More ]
Home Decorating & DIY Tutorials
I devoured “The Organic Lawn Care Manual” looking for info on how to make our lawn lush but stay chemical free. Here’s what I learned.
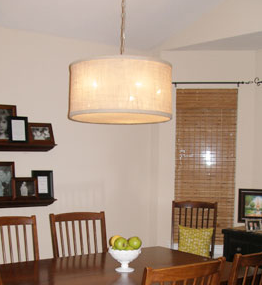
Ashley needed to conceal an old dining room light fixture so she DIYed her very own drum shade for less than $20. Check out the results and the link to a tutorial.
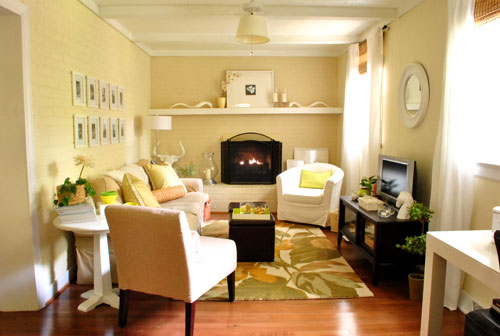
Ok, we know we said our sunroom’s mini makeover was next on the agenda but we just had to share this fun rug switcheroo first because we often get reader questions about how we choose room-making things like the right art or the perfect rug. Our reply is always that there’s no such thing as “the right” or “the perfect” formula or item because there are multiple ways to finish off a room that you’re sure to love. Think of it as a buffet with more than one delicious meal to choose from. So the good news is that there’s not just one “solution” when it comes to polishing off a room and calling it
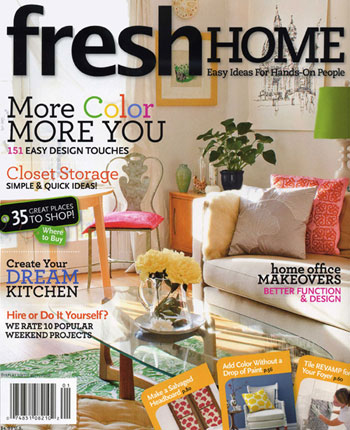
Fresh Home magazine has teamed up with Cost Plus World Market this week to dish out a $100 gift card to Cost Plus World Market. Enter through Aug 18th.
We always love crashing a well designed house to get some inspiration and steal some ideas. But we also know that homes aren’t the only place to look for decor inspiration. Which is why we decided to take you shopping with us for some pretty amazing and totally implementable at-home ideas. Allow us to introduce you to Clover. It’s an amazingly cool consignment shop for kids that just opened in Richmond’s Carytown district last month – and they gave us a sneak peek at the space before they unlocked the doors to the public. We scored the special treatment because the shop is a spin-off concept from our friend Lesley who opened the grown-up consignment
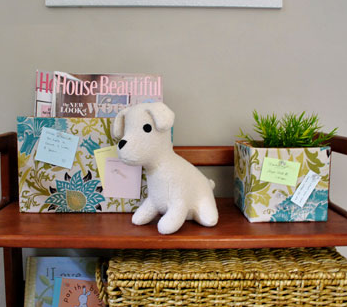
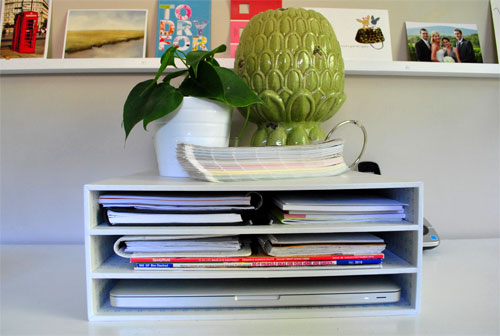
You may have spotted our little DIY cork vases back in the big office reveal (and the follow up guest bedroom/playroom post). And now we’re back to share our two-different-looks tutorial. Yup, you can keep them au naturale… … or cover the cork with fabric for a playful printed look: We first got the idea to create cork vases for pinning up little reminders and paint swatches that we loved from seeing an expensive designer cork lamp a while back. It seemed like such a smart way to keep from forgetting Clara’s checkups along with our dental appointments- and to add some aesthetically pleasing function to the room as well. But we didn’t need a
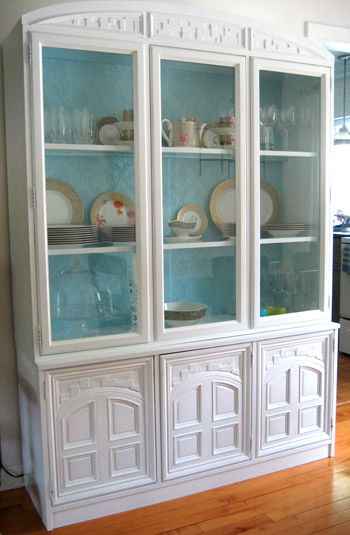
Tanis wanted an extra special cabinet for her extra sentimental china and all it took was some white and blue paint plus some texture wallpaper to get a one-of-a-kind look.
To anyone wondering how we capture Clara’s weekly growth picture, here’s a quick tutorial about how we photograph and then Photoshop the image.
We originally wanted to include a few shots of the office as it looks when it’s converted into a guest bedroom in this morning’s post, but we just snapped too many pics to squeeze it all in! So here’s a p.s. post of sorts, with photos of the little tweaks and twists that we implement when we need it to work full time as a guest bedroom for our friends and family. Here’s the full-sized sofa bed all folded out and dressed for company (with linens that we already owned from the full sized bed that used to exist in the space before the room was converted into a two-person office). The pillows are from
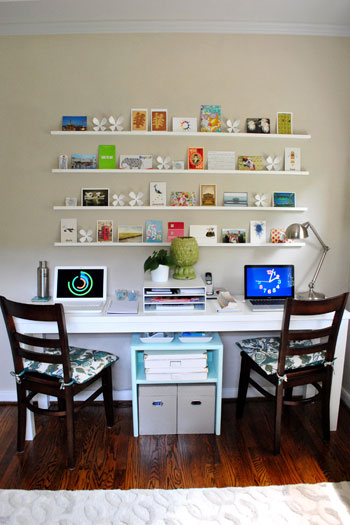
Do you hear that high pitched scream? It’s me, all the way in Richmond, shouting at the top of my lungs that the office/guest room/playroom makeover is finished. Woot! Come on in and take a look around. But wait, for old time’s sake, let’s check out the room as it looked when we moved in: And here it is now, all office/guest room/playroomed out: We love this room because although it’s only a 10 x 10.5′ box, it easily gets the best light in the house. So it’s not a bad spot to spend 80+ hours a week logging blog time, playtime, and accommodating the occasional guest or two. It was totally worth all the
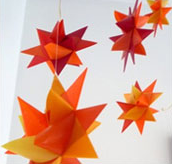
Giving away two papercraft-tastic prizes from two awesome Etsy Sellers: The Starcraft and This Neck of The Woods. Enter to win three prizes through Aug 11, 2010.
Anyone wondering what a whole-house alarm will run you? Or looking to see what a new patio will set you back? Behold, Fixr.com’s “Remodeling Cost Guides.” They’ve created a handy little average budget breakdown of a slew of house-related projects to help homeowners wrap their minds around the amount of money that these undertakings might possibly set them back. Just head over to this link and scroll down below the image shown above to see a ton of links that lead you to some pretty heavily researched guestimations for everything from building a swimming pool or sauna to installing a tin roof or renovating a kitchen or bath. Of course things like location and the