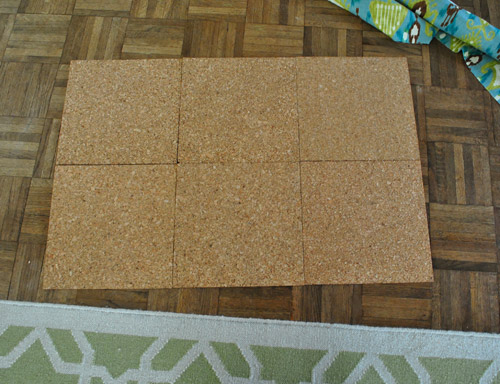
It’s time for a board meeting guys. Nothing official, just an actual meeting of cork boards, like so:
Let’s back up. I had this random idea that a hidden bulletin board in my closet would be a fun place to tack up a bunch of pages I’ve torn out of magazines. You know, cute outfits, haircuts, and other various tips/reminders that I rip out (like how to check my freckles for signs of skin cancer – yes I actually do that). That way, instead of shoving them somewhere like a drawer or letting them pile up on my desk, I can see them all at a glance… with the push of a few hangers.
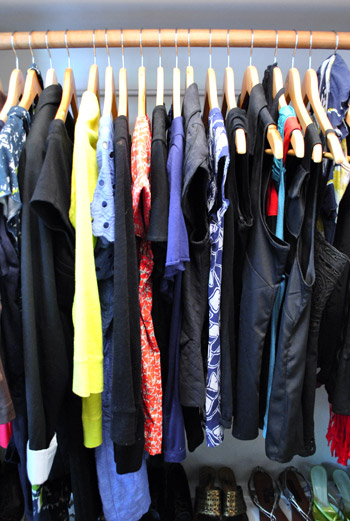
See what I mean?
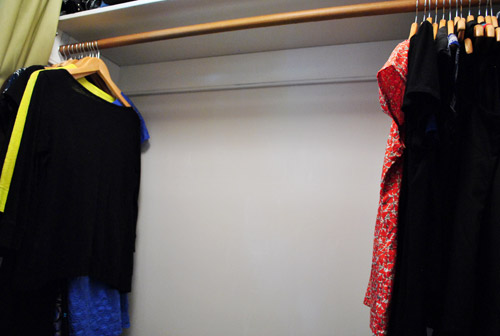
When I push my clothes to the side there’s a nice big swatch of unused wall space on my side of the closet. And that way my lady mag cuttings won’t be all up in John’s face (or anyone else’s really) except for mine – when I want to see them. And if I don’t I can just leave my hangers in their normal position and my incognito board is… incognito.
So to make a little fabric covered cork bulletin board, I grabbed two $6 packs of cork from Target (for a total of eight squares, but I only used six so I think I’ll use the other two to make cork flooring for Clara’s someday dollhouse – haha). Oh and I had leftover fabric (called Khanjali Peacock by Robert Allen) from making the curtains in the dining room and upholstering the chairs in the office (originally snagged on clearance for $12 a yard from a local fabric outlet called U-Fab). So I opted to use that already-owned fabric to dress up my cork.
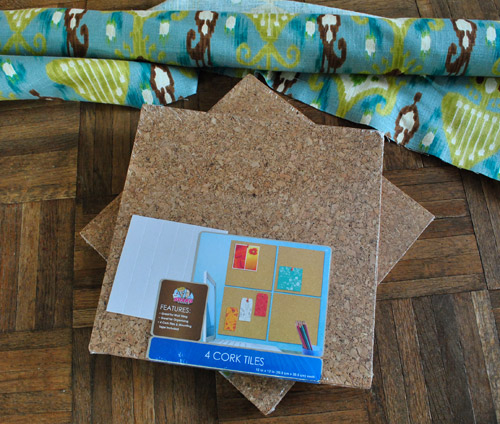
That makes the total cost of this project $12 for the cork (since I already had the fabric), but it might run you $15-$25 to make a board this big if you don’t have fabric on hand and have to buy some. A smaller board with just four squares will only run you six bucks for the cork though, so that’s another option.
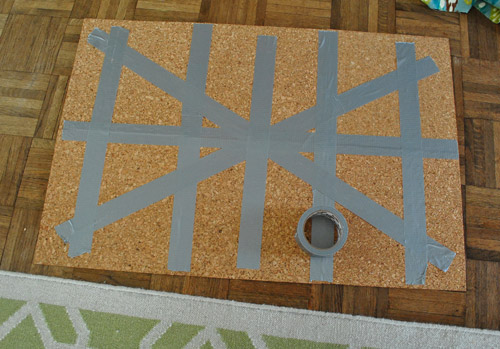
Anyway, back to the meeting of boards. I just lined up six of them like this and used duct tape to connect them (the cork is exactly the same on both sides, so just use whatever side that you tape together as the back).
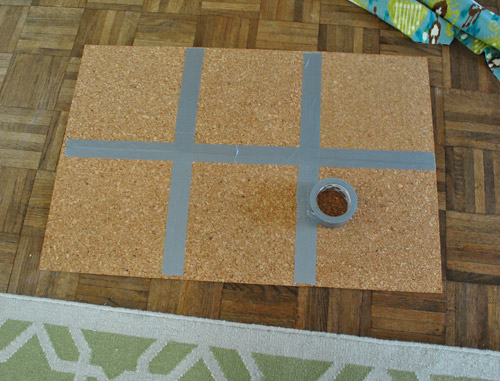
Then I added a little more duct tape to reinforce it (since thin sheets of cork are pretty floppy).
Then I cut a piece of fabric that was about 2″ larger (on all sides) than the 36 x 24″ cork rectangle that I had made.
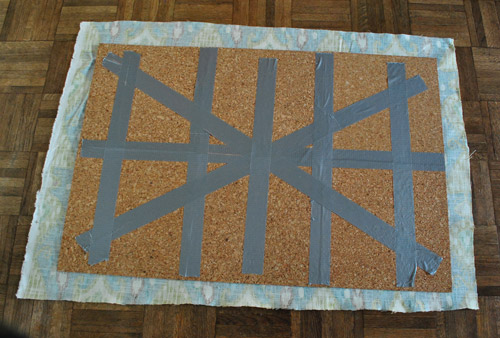
And I pulled them around the back and used duct tape to secure them nice and tight.
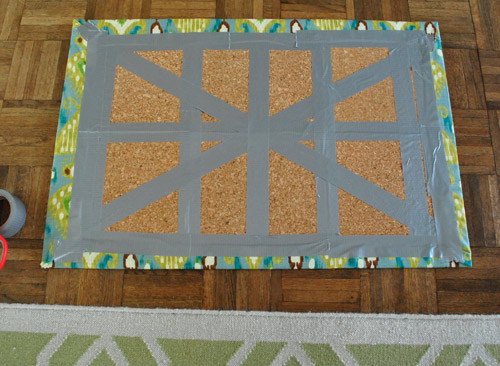
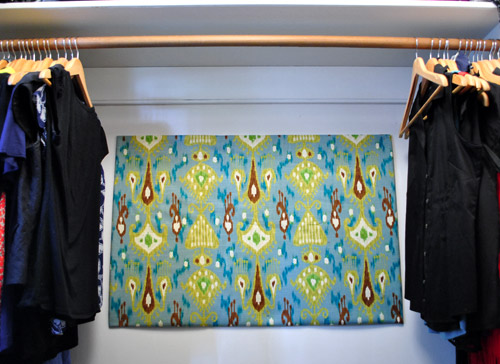
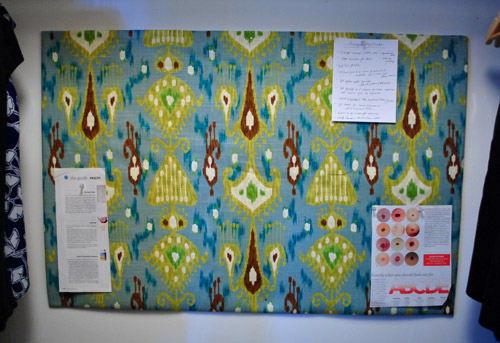
Oh and before I cut my remnant I paid attention to the pattern so it would look nice and centered. Here she is from the front after her nip and tuck:

And here she is after I used six small nails to tap the four corners (and the top middle and bottom middle) right into the wall to secure it. This way I can just remove the nails to free up my board if I ever want to remove it to repaint the closet for example – or want to hang it somewhere else someday.
Then I started pinning things up. First I pinned some notes/reminders I took about three years ago from a book called Gorgeously Green (love that book). And an article about how-to-alleviate-allergies from Real Simple (this pollen is trying to kill me). And a skin cancer checklist thing from Glamour magazine to keep me from being neurotic and thinking every last freckle is bad news. What? I was burned a lot as a kid. And you know $herdog rocks the pasty white limbs (evidenced here and here).
Then it was time for the fun stuff: People/bags/coats/hair that I like (you know, to help me combat the dreaded Mom Slump that I most definitely have fallen into).
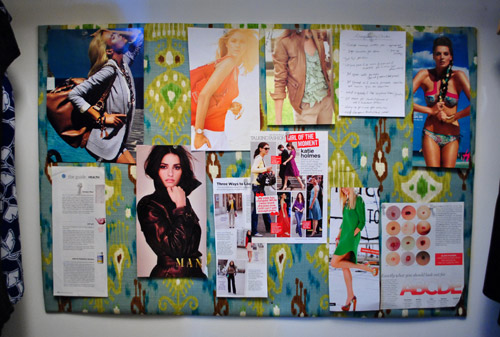
It was about this moment that I realized that patterned fabric + a junkload of stuff pinned at random = chaos. So if you’re more of a less-is-more person, using a more subtle fabric (like tan burlap or linen) or even leaving the cork boards naked might be more your speed. But oddly enough, I love it. Imperfectly cluttered and all. Maybe because I used to make crazy-busy magazine collages as a kid? And it’s especially convenient in the back of my closet because I can just slide my hangers into their normal positions and hide it all away from view.
So what did I do? I piled even more on there. Haha.
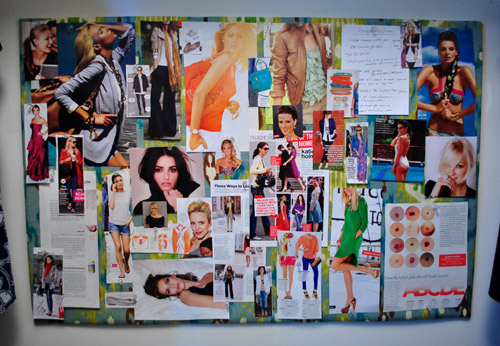
It might not always be this paper-riddled and crazy down the line (I have vague plans to remove some things once I try the hairstyle or buy the item that inspired me to rip it out). But it’s so much fun to stare at that I’m having a hard time leaving my closet.
So you’ll be comforted to know that I’m not any more fabulous or well coiffed, but I spent the better part of last night hanging out in a 5 x 6 space with lots of people who are. And the good times were rolling.
Whenever I feel bad for subjecting John to my Lady-Business Board, I just slide those hangers closed and it looks like this:
I think it takes me back to grade school when I had a poster of Joey Mcintyre (yes, of New Kids On The Block fame) hidden in the back of my closet so I could go in there and sigh at him. Which I did every day after school. At length.
*slides hangers back to unveil Joey poster* Oh Joey. *sighs, slides hangers back to hide Joey poster, wistfully leaves closet*
Anyone else hiding things behind other things? Or tearing out haircuts and clothing far more fabulous than your own (sometimes pretty things are just fun to look at). Or embracing a little controlled chaos? Sure my $12 pinboard was pretty without all that stuff on it, but seeing all of my tear sheets hanging out together in front of it makes me nerd out.
Psst- Check out another pinboard project involving cork squares here.

S says
I love secret hiding spots! They make your things that much more exciting to “find” and use, don’t they?! Just recently I snuck my daughter’s bibs behind one of our cabinet doors. We keep her baby food in there so it made sense. And it is totally necessary in our very storage less kitchen! I actually just posted about it a few weeks ago: http://keepitneat.wordpress.com/2012/03/18/bibs-in-hiding/
Sneaky storage!
YoungHouseLove says
So smart!!
xo
s
Lindsay says
this was AWESOME!! i recently started a blog and making a pinboard like yours is my latest post! it was sooo simple and my pictures and special things are no longer falling off my old system of ribbons strips and clothespins and landing in the pup’s water bowl!! thanks for the inspiration :)
YoungHouseLove says
Aw, so glad! Yours looks great!
xo,
s
Janelle says
Pinterest before it was Pinterest.
lrlockwood says
OOH! I just did one of these in my craft room but didn’t cover it in fabric. I used foam board behind it to give it some substance and so my tacks didn’t go through my wall. Just cut it to fit behind the cork and double sided sticky taped the cork to it.. LOVE your idea covering it in fabric. Nice touch…
YoungHouseLove says
So smart to use the foam board to beef it up!
xo,
s
grace adkins says
Thank you for posting this! It inspired to make my own version of a fabric covered bulletin board. You can check mine out here http://graceadkins.blogspot.com/2012/09/diy-framed-and-fabric-covered-bulletin.html
YoungHouseLove says
That came out so cute! Love it!
xo,
s