We no strangers to removing unsightly trees. In fact, taking care of the dead/dying/dangerous trees that we were warned might fall on our first house during our home inspection was a big part of the transformation of the front yard. But taking out these particular trees was a new challenge… because they were in the form of tile in our bathroom:
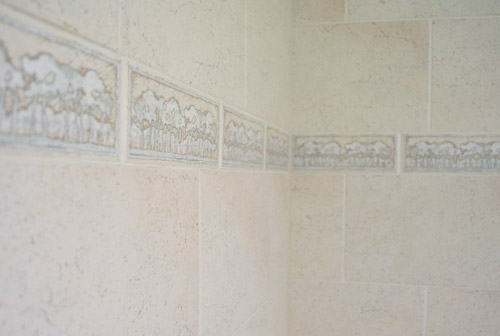
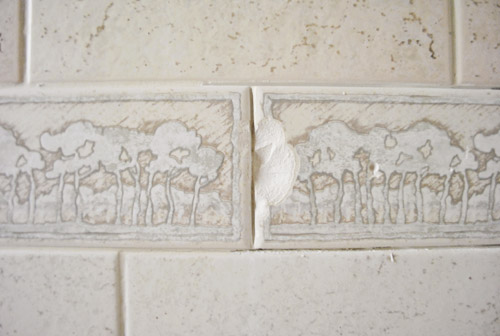
We’ve never been crazy about the beige-on-beige color scheme going on when it comes to the tile in that bathroom, but at least most of it is neutral enough to not call that much attention to itself. Except for that tree-tacular border. Every time we walk in the opening chant from The Lion King plays on repeat in our heads. Feel free to listen to it as you read this post (you can bet your buns we were singing it throughout this project).
It’s just not what we would have picked to encircle the entire bathroom (it’s on all four walls, the same tree sketch on each tile, over and over again). It’s like groundhog day without Bill Murray.
Thankfully, tile isn’t permanent. And we’ve seen people cut out offending tiles (whether they’re broken, ugly, or both) and replace them with something more their style. We even tackled a little bit of that in our kitchen when we did some bracket-reduction surgery here.
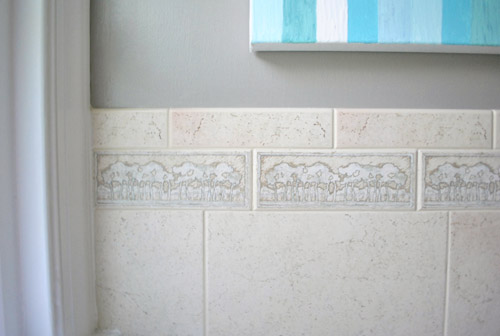
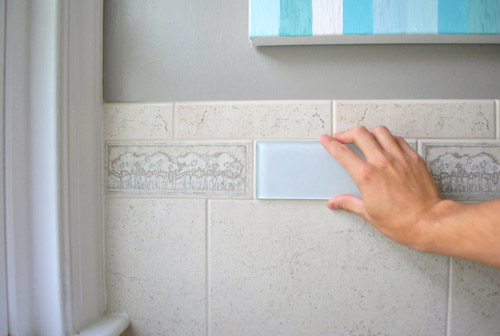
So we debated for a while about what we wanted to put in its place, and finally decided on some classic clear glass subway tiles (sort of like the glossy and reflective cousin of the classic white subway tile). They were the perfect size and we felt like they’d help update the room like some of the other beige-to-white changes that we’ve made (painting the of-white trim, swapping out the beige toilet, etc). See how holding just one of them up to the old border sort of modernizes and freshens the whole room and breaks up the monochromatic beige-on-beige tile action? They sort of look blue here (since they’re reflecting the blue painting) but they’re clear glass in person – which is really cool since they pick up colors in the room, whatever they are.
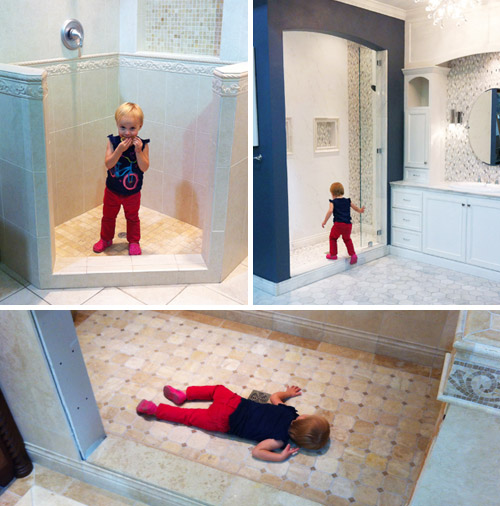
After checking out a couple of sources (local tile shops and big box stores like Home Depot), we found these guys at The Tile Shop, which is also where we got our kitchen penny tile. And with our 10% discount (the code is YHL10, which works for everyone) we only needed about $50 worth of tile to redo the entire border. So it actually was a pretty quick and easy shopping trip… except for having to repeatedly peel Clara away from all of the displays. For some reason she’s obsessed with crawling in and out of all of the fake showers. And laying down in them. We call that last shot “The Crime Scene.”
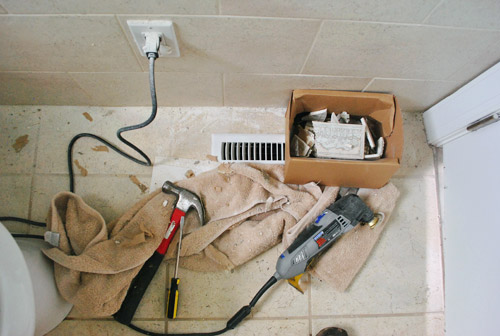
Even though the tile was pretty affordable, the project total quickly jumped with the purchase of the tool that we’d need to cut out the old tile: a Dremel MultiMax (here’s an affiliate link to the one we bought for ya). It – plus the special head for grout – ran us about $130. But I called it part of John’s Father’s Day gift (and a late Mother’s Day gift to myself, haha) since it was high time we “transplanted” those tree tiles. We figure it’s a tool that’ll come in handy a lot over the years (it has a bunch of different heads), so it’s not just a one-project-thing. We’ve actually used it on two other projects since, including the deck so it’s already paying off!

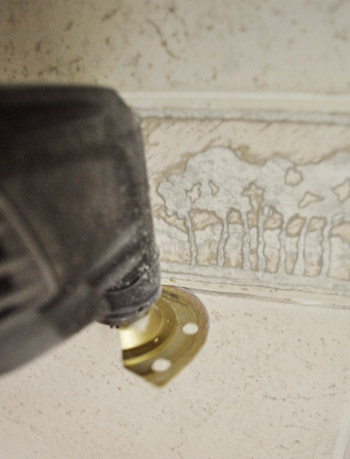
We were a bit hesitant to just have at it, but the Dremel felt like a pretty straightforward tool. We attached the special grout attachment, plugged it in, turned it on, and slowly pressed the oscillating head (it sort of just shakes back and forth quickly) into the grout line.
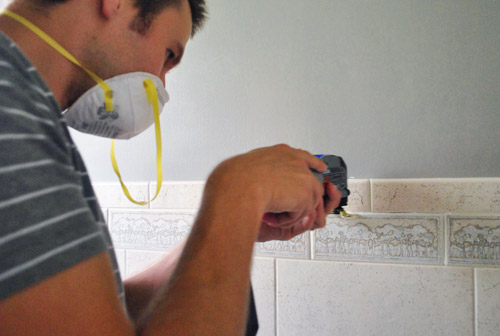
John got to take it for a spin first (new-tool-lover that he is) but I also got in on the fun. It wasn’t the fastest process in the world, but we liked that the attachment was strong enough to break up the grout – but not really strong enough to majorly scratch the tile. So if we slipped a little bit we didn’t have to worry about ruining the surrounding tiles (you probably could, but you’d have to lay into them with some force, and that wasn’t our game plan). Oh and once we got started, the groove between the tiles acted as a natural guide to keep our line straight – so that was nice.
Once we had removed the grout around one tile we half expected it to just pop off the wall with a light flick of the flat-head screwdriver. Nope. Instead it just chipped off a bit and came flying at us like a ceramic bullet.
In an unusual reversal of roles, I was just about ready to throw up my hands and declare this entire project too difficult (I’m usually the chipper we-can-do-it cheerleader while John voices his doubts). I think I was just riled up because that chipped piece of tile-shrapnel hit my neck and gave me a small cut. Thank goodness we were both wearing safety glasses so the eyeballs were protected. Since John’s neck remained unscathed (and he probably was enjoying this role reversal of being the one who soldiers on) he carefully tapped at it the edge a bit more with a screwdriver and hammer… and eventually was able to get under our first tile!
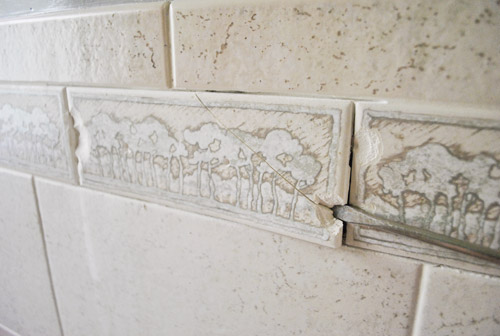
A bit more prying later and voila – we had one tile down, and about three dozen more to go.
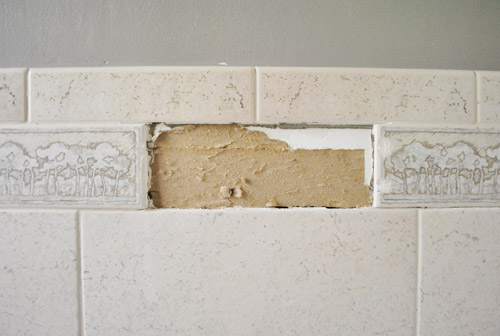
You can see in these shots that it looks like these tiles were applied to drywall, not cement board. It’s not ideal, but not problematic enough that we were going to tear the whole thing off and replace it with with the sturdier stuff (this is not the shower wall, it’s the wall next to the toilet).
Did I mention this process was kinda messy?
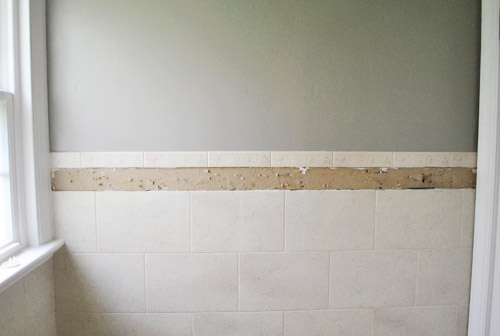
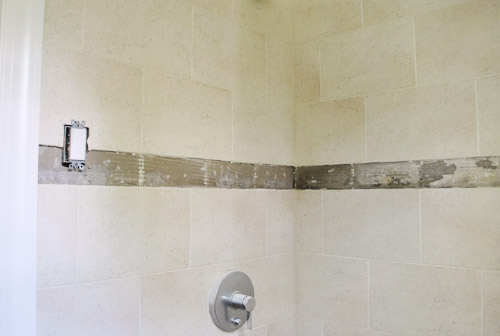
The other rows of tile came off easier actually (the difference between thinset on cement vs. thinset on drywall paper) so the process speed up a little bit (although cutting out all of that grout was still more time consuming that we expected).
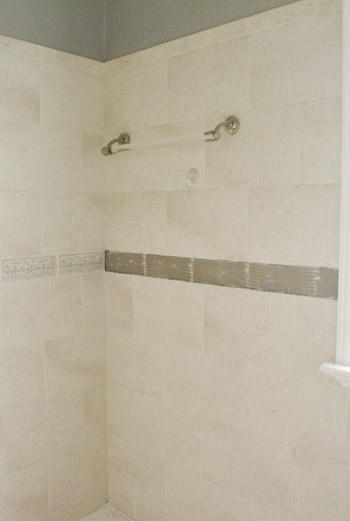
But by the end of Clara’s nap (about 2.5 hours this particular day) we had managed to get all of the tile off the wall successfully, without any more tile-inflicted wounds. High fives ensued. Update: A few folks have asked why there’s a light switch in the shower in the photo below this one, but it’s actually located outside of the shower curtain near the door to the bathroom, so it doesn’t get wet.
And we had continued to make quite a mess on the floor. More high fives were enjoyed.
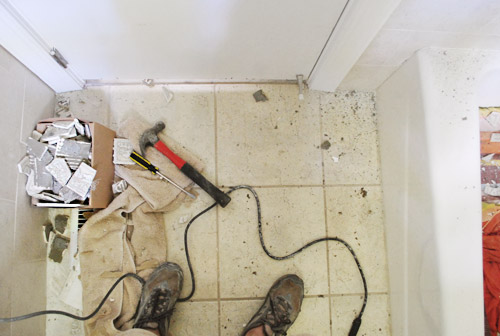
Accomplishing any project within the span on one nap always falls within the “victory” column for us. After taking another half hour to sweep up and wipe down the room (followed by showering in the hall bath), the room was ready for tiling. But we’ll cover that tomorrow since we still have a few things to finish and some photos to snap before we can share that whole shebang. Who else has rocked some tile removal? Anyone use a Dremel (or similar rotary tool) for the task? Any high fives going on, or are we the only ones trying to keep those alive?
Psst- To follow this bathroom sprucing project from the start, check out this planning post, this painting post, this light-swapping post, this art and trim-painting post, this toilet-updating post, this window frosting and shampoo wrangling post, and this toilet selling/buying and door-cutting-down post.

Lindsay says
My hubby and I just bought a big old house with a hideous guest bathroom. I thought maybe I’d have to board the thing up, but now that I know I can remove some of the delightfully 70s tile border, it might not be quite as unsightly! Thanks for enlightening me!
Jennifer says
I just have to say that the crime scene picture was hysterical and made me LOL!!
I like the tile and like how it reflects the colors in the room so no matter what you decorate the bathroom with it will match and look modern!
Martina says
We’ve tiled but never de-tiled. Definitely keeping the high fives alive at our house, too. We even taught our 10 month old how to properly celebrate a victory with us.
YoungHouseLove says
Haha, nice!
xo,
s
Donna says
Oh my goodness, those pictures of Clara are hilarious. We went tile shopping this week and our 11 month old is also fascinated with tiles. He kept walking – practically running – from the non-tiled floor onto the tiles floor samples and slapping the tiled walls. Too funny!
Lindsey @ A Pear to Remember says
I’m curious about your take on the opening vocals to Circle of Life. I like to chant, “Pink pajamas, pink is on the bottom. Pink pajamas, pink is on the bottom. Pink pajamas, pink is on the bottom.” Preferrably in a jamaican accent.
YoungHouseLove says
Haha, someone else said that too. So funny!
xo,
s
acp says
We have been putting off this exact project! Hideous 3D pink and purple flowers in a band through the shower and rest of the bathroom surrounded by decent white tile. It’s gotta happen! Thank you for (yet again) reading my mind and testing out tricky jobs :)