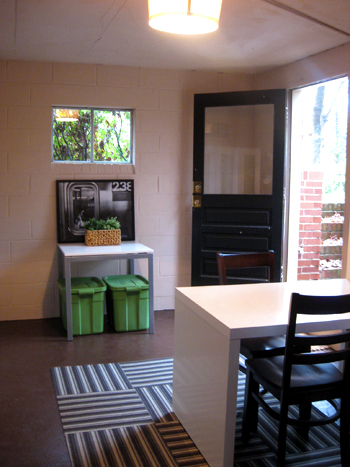
We’re back with our weekly basement update (here’s where we left off) and this week we painted the dingy built-in cabinet, added some art, obscured the semi-sheer doors to our armoires and brought in a bevy of bins to organize everything we have on hand (and everything we’re sure we’ll acquire down the line- now there’s lots of room to grow). Here’s just a taste of the latest updates:
But before we get to all the dirty details we owe a huuuuuge thank you to the wonderful peeps at True Value who made a lot of this week’s undertakings possible thanks to their generous gift card (which we’ve been using left and right these days). True Value was the source of the paint for the built-in and a slew of storage bins that we picked up to maximize both armoires and the space under the little Ikea table that we already owned near the door. Our basement never looked so good. Seriously the spiders who used to live down there wouldn’t even recognize the place. Thanks True Value!

But back to this week’s latest projects. First we grabbed some crisp white semi-gloss paint to clean up the built-in wall cabinet that we inherited with the house (we have big plans for what we’ll store there so stay tuned). Here’s what we started with, just to refresh your memory:
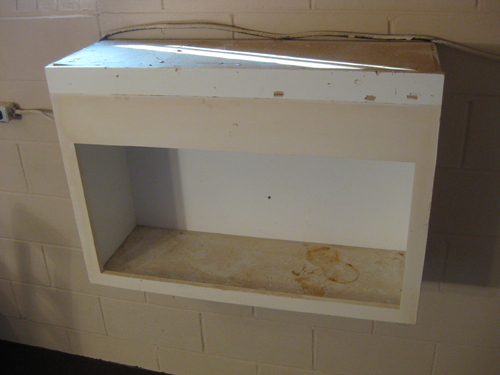
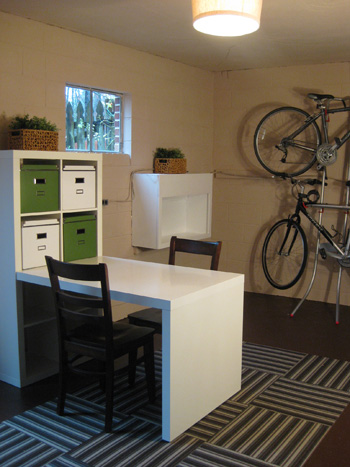
And here’s how it looks with a few coats of white paint. It honestly looks as new as our recently purchased Ikea desk to the left of it. Yay paint!
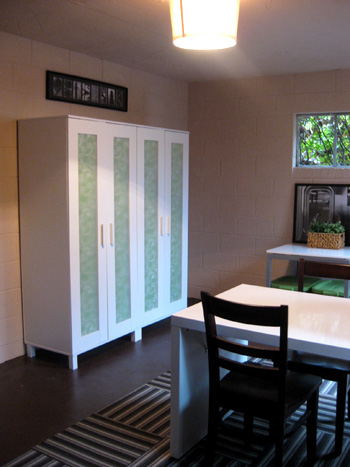
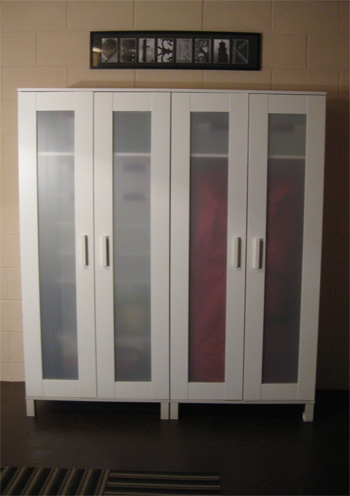
You also may have noticed that we dealt with the semi-sheer panels on the two wardrobes we recently picked up. See, after we filled one with our giant Christmas tree bag and added a few bins up top…

… and used the other armoire to house eight variously sized bins (only two of which we’ve filled- so we still have a lot of available real estate)…
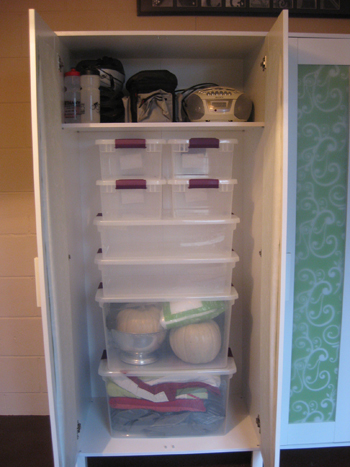
… we were left with colors coming through the fronts of the doors, which looked a bit chaotic and unbalanced thanks mostly to the big red tree bag on the right.
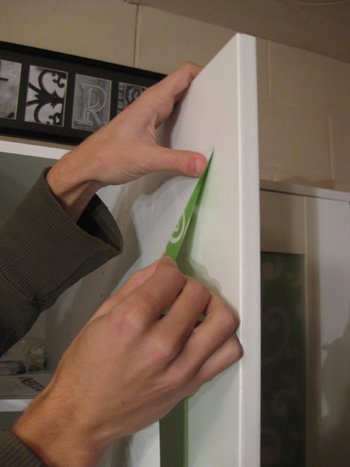
So we snagged two rolls of green and white wrapping paper from Target and cut them each down the middle of the roll to create four nearly perfectly sized panels of paper that we trimmed down a bit more and double-stick-taped to the inside of each door.
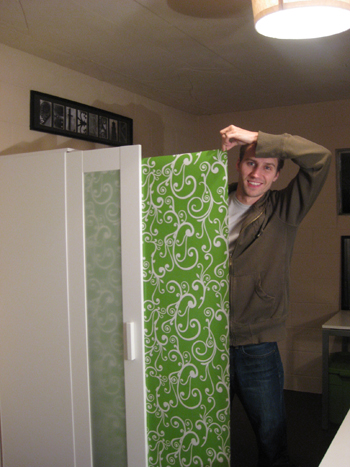
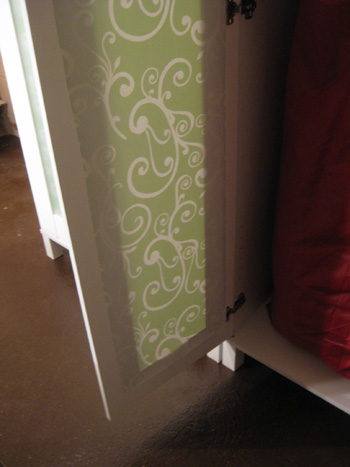
Presto, fun color and pattern that comes right through the semi-sheer door panes and adds some textured interest to the entire room. And the total project cost was just $6 (with some paper left over to wrap a few presents). Can’t beat that with a stick.
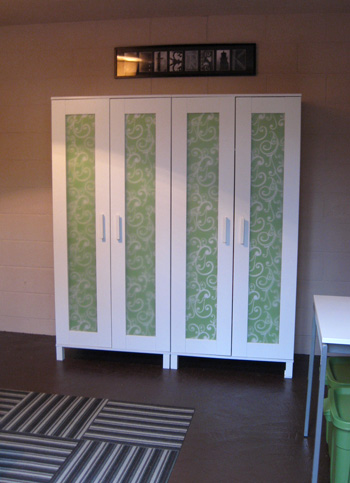
And you might notice the art hanging above the armoire (along with the large black and white framed print leaning above the table near the window). Well, the print near the window was one that we already had laying around – and it was as if it was meant for the basement (the black frame and moody art looks great with the black stripes in our rug). And the long framed piece above the armoire was actually a recent groomsman gift for John (it’s our last name spelled out in photographs of objects that resemble letters) and it also worked perfectly with the newly spruced basement color scheme.
But how did we hang the print above the armoire when our cinder block walls are so famously difficult to screw into (everything we’ve attempted to secure into the wall pulls out seconds later with a puff of dust)? Well, we grabbed some Command Picture Hanging Strips… and they did the trick! They’re super strong sticky strips that act sort of like extra-strength velcro to hold things in place.
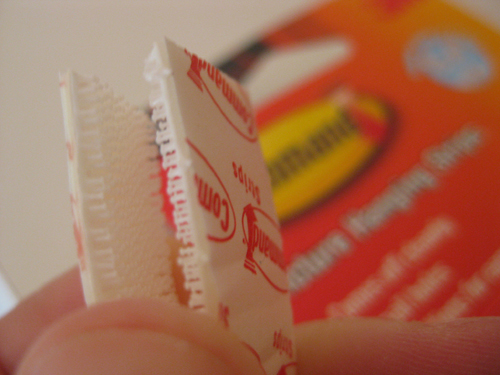
You just remove the protective backing and stick one side to the back of the frame…
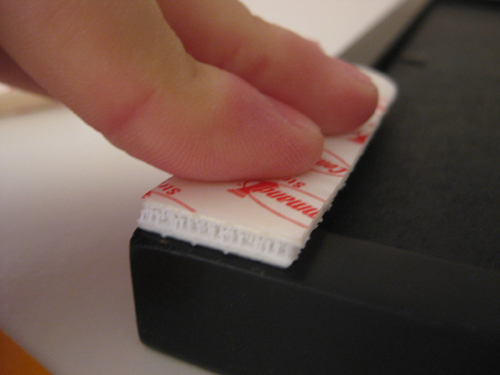
… and remove the other side’s protective backing and stick that side of the strip to the wall. Then you apply some decent pressure to the frame against the wall to get things to stick well for about a minute and then separate the pseudo-velcro strips so the pieces on the wall can “cure” for an hour or two without the weight of the frame pulling down on them. Then it’s time to reattach the velcro-ish pieces on the back of the frame to the two pieces that are then completely secure on the wall. Voila: your art is officially hung in a totally screw-free manner. It was so much less frustrating than fighting with our temperamental cinder block!
And because we visually revealed what we were using the bins in both armoires to store (some Halloween decor, an air mattress, some family quilts, etc) we might as well share what those two green bins under the table by the window are currently housing:
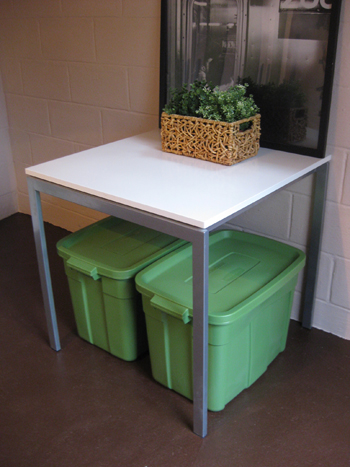
They’re storing all of our Christmas decor, which is super amazing since it used to be strewn about the house in various kitchen cabinets, bins under the bed, and boxes in my closet.
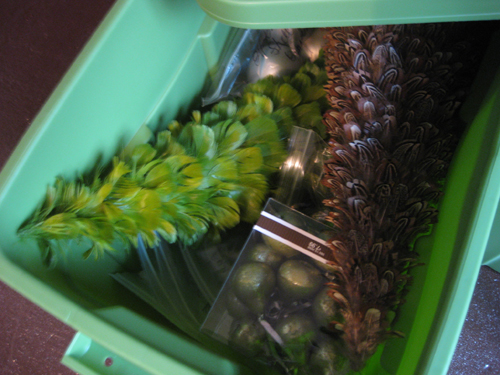
It’s so nice to have everything reunited in those cheerful oversized green bins. This stuff shouldn’t excite us that much but for some strange reason it just rocks our world.
So that’s where we are as of this week. Of course we’re still not finished (we have to add some privacy to those windows, create a screen to hide the ugly water heater and share our fun little storage project for the newly painted built-in cabinet) so stay tuned. And speaking of not being finished, do you guys have any projects that are half done? We’d love to know what you’ve started but have yet to finish. Because we of all people can totally relate to how that feels…
Psst- Want to look back on our big basement makeover from start to almost-finished? Here’s the first post, the second post, the third post, the forth post, and the fifth post. Ah memories.

kat says
I know this is an old post, but wanted to let you know that the link from the projects page is broken. I think you’re missing an “h”.
YoungHouseLove says
Thanks for the tip, all fixed!
xo,
s
Shanice says
This looks fantastic! I would love it if you joined and contribute your awesome posts at my link party at City of Creative Dreams on Fridays :D Hope to see you there at City of Creative Dreams Link Party